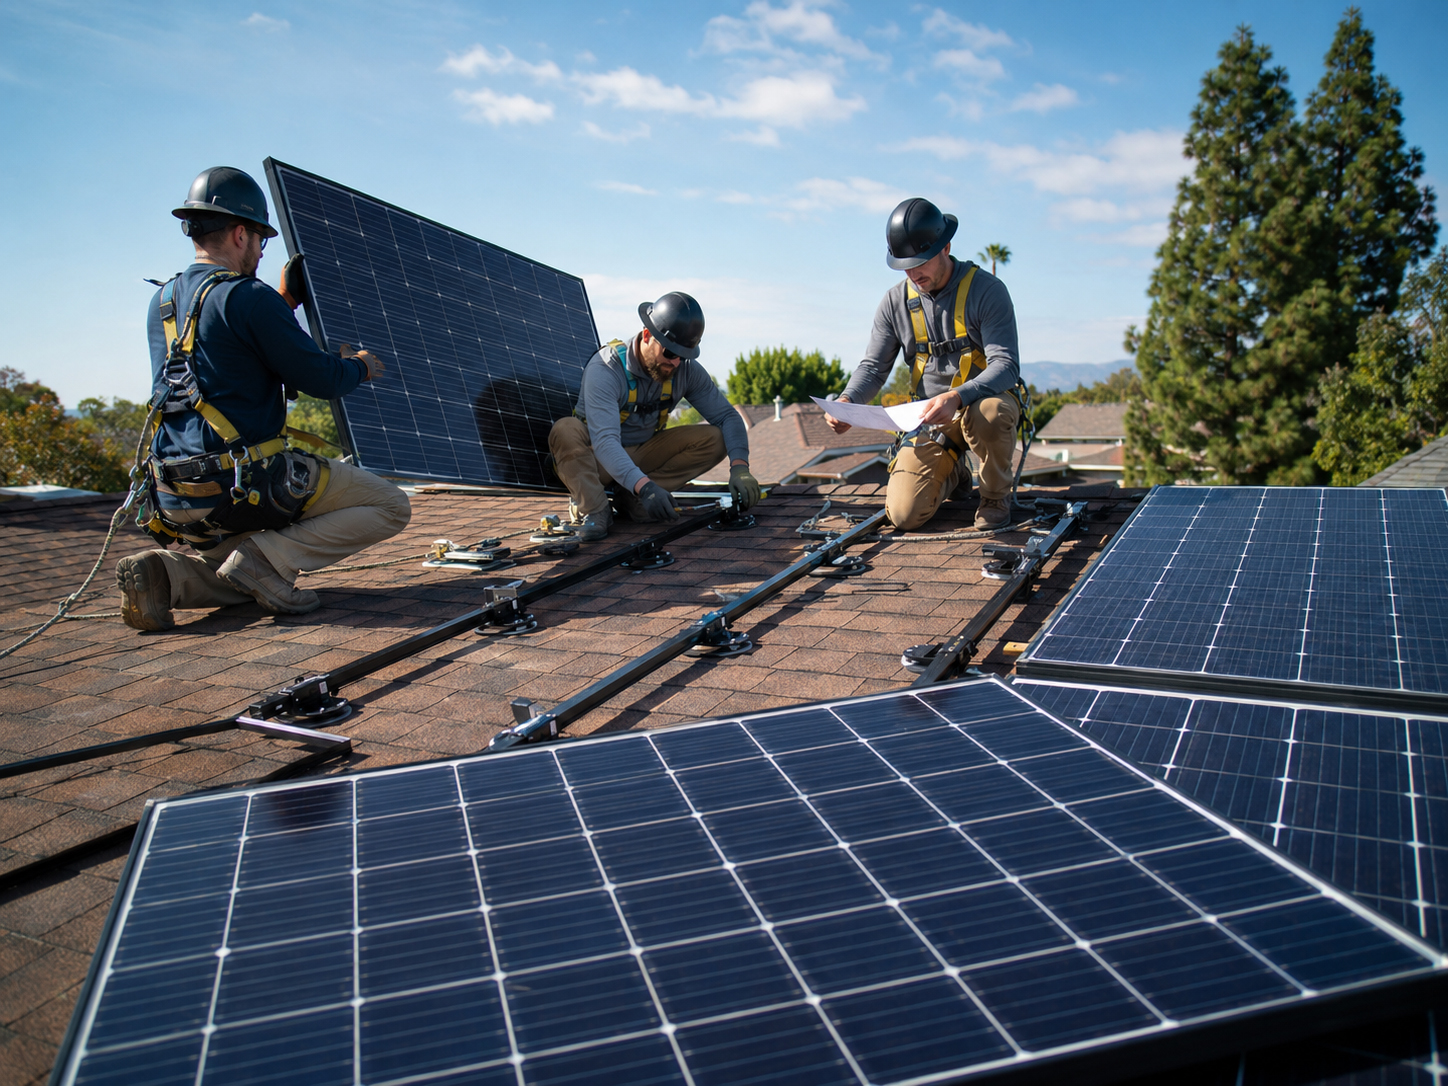
ABC Solar field methods
ABC Solar Installation Methods
Solar panels are only the visible part. The installation method is the hidden discipline: roof review, rafter attachment, waterproofing, flashing, rails, ballast, structure, inspections, and long-term serviceability.
Start with the building
ABC Solar treats mounting as construction first.
The installation method is chosen after the roof, structure, electrical path, service access, and inspection requirements are understood.
A clean solar installation starts before the first panel arrives. The roof type, roof age, rafter spacing, roof penetrations, waterproofing plan, conduit route, inverter location, city inspection path, and utility requirements all shape the final method.
Field guide principle: the mounting plan must protect the roof, transfer loads into structure, satisfy the permit set, and remain serviceable after installation.
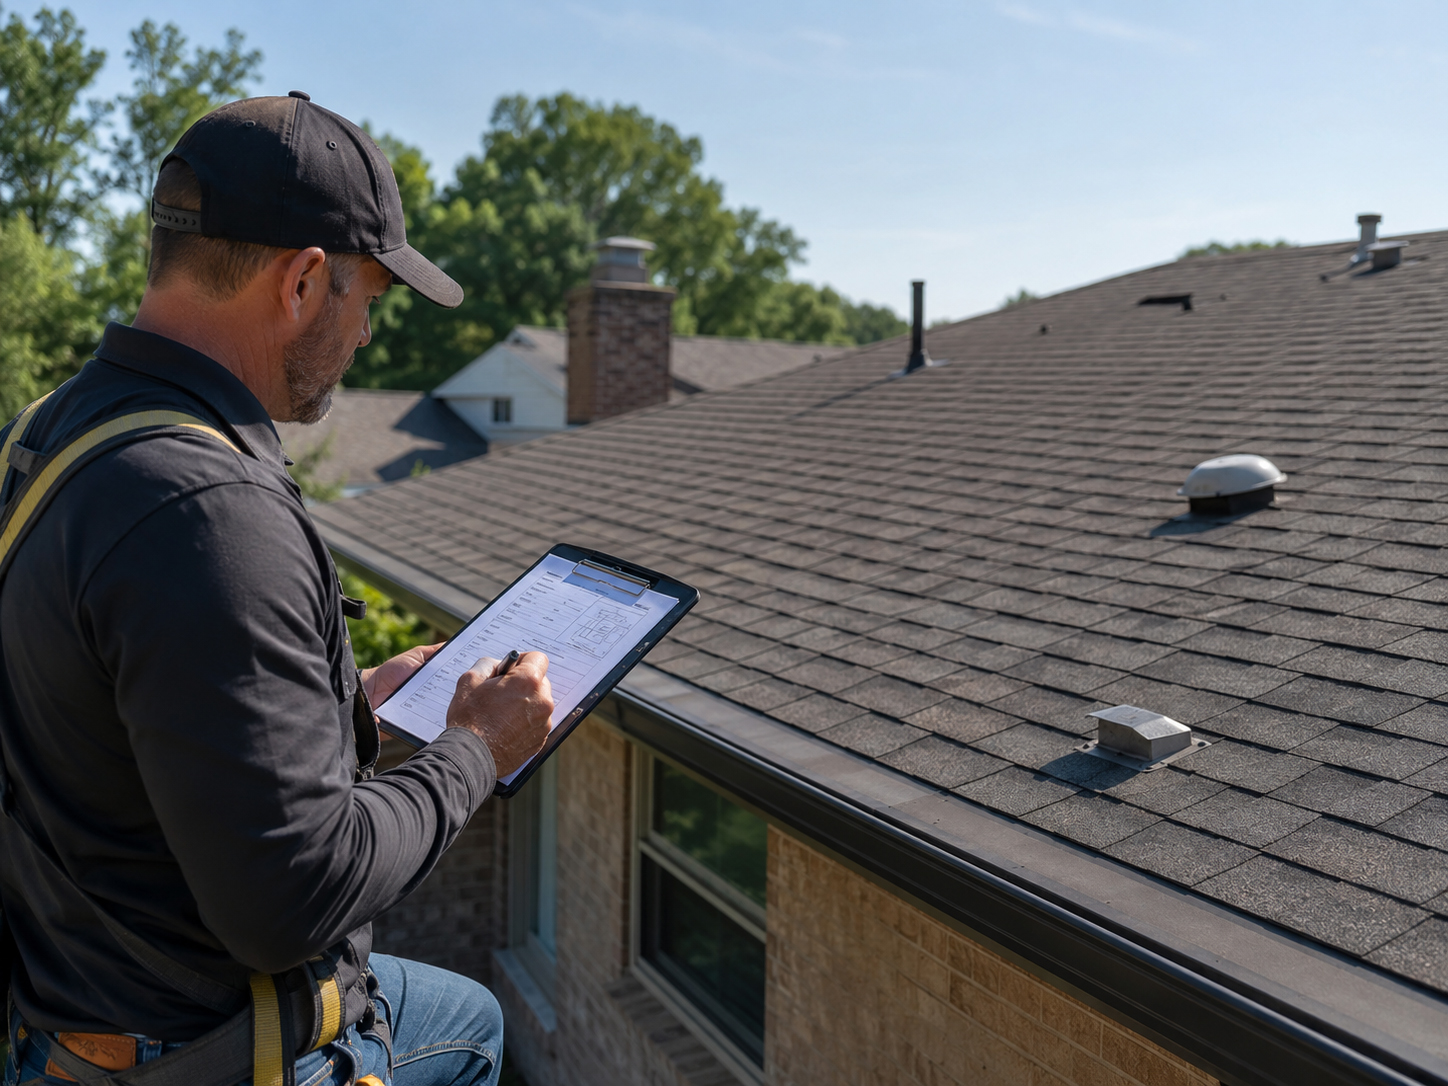
Method sequence
The ABC Solar mounting workflow.
The practical order matters. The mounting method should come from the site, not from a generic assumption.
Evaluate the roof
Identify roof type, age, condition, slope, available area, obstructions, access, and any signs that roofing work should happen before solar.
Locate the structure
Confirm rafters, spacing, load paths, attachment locations, and whether structural review or reinforcement may be needed.
Plan penetrations
Mark roof penetration locations, attachment points, flashing strategy, conduit routes, and places that must be inspected before concealment.
Install mounting feet
Mounting feet hold rails and transfer forces. Their placement, waterproofing, and attachment quality are central to system durability.
Set rails and clamps
Rails and clamps create the panel plane, but they must follow the attachment pattern and structural logic below them.
Inspect and document
The best mounting work is visible, explainable, documented, and ready for city inspection before the system is energized.
Roof-mounted methods
Sloped roof installation methods.
Sloped roofs are not interchangeable. Composition shingle, tile, metal, wood shake, and unusual roof assemblies each require a different review.
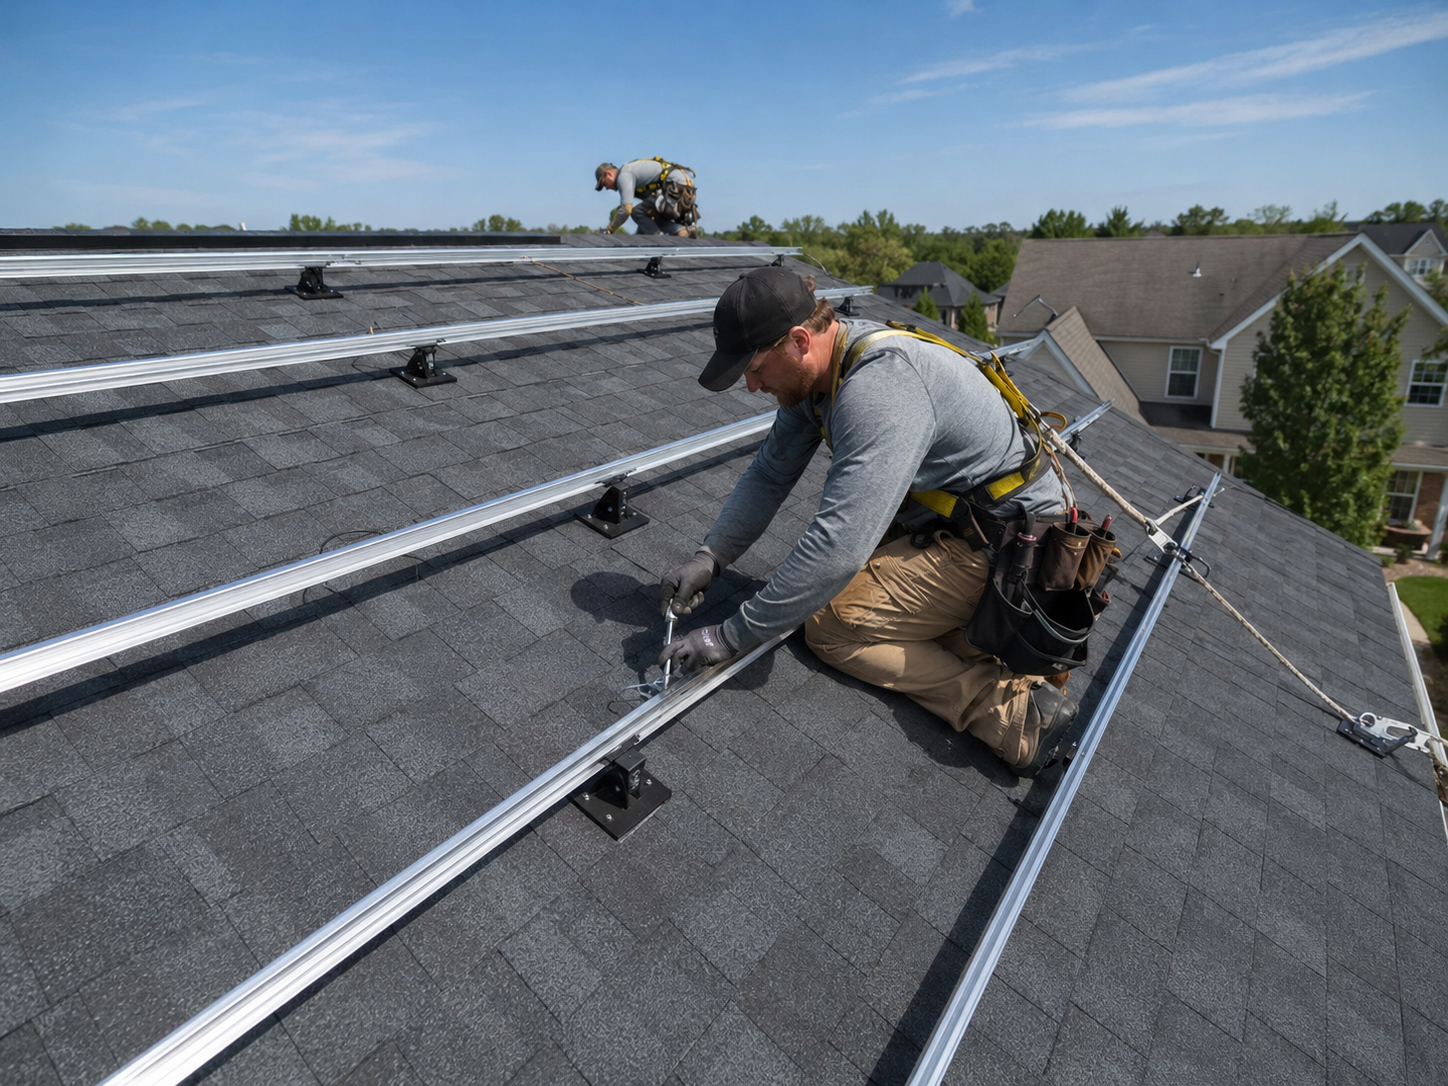
Composition Shingle
Flashed mounting feet, lag bolts into rafters, rails, clamps, and waterproofing discipline for common residential roofs.
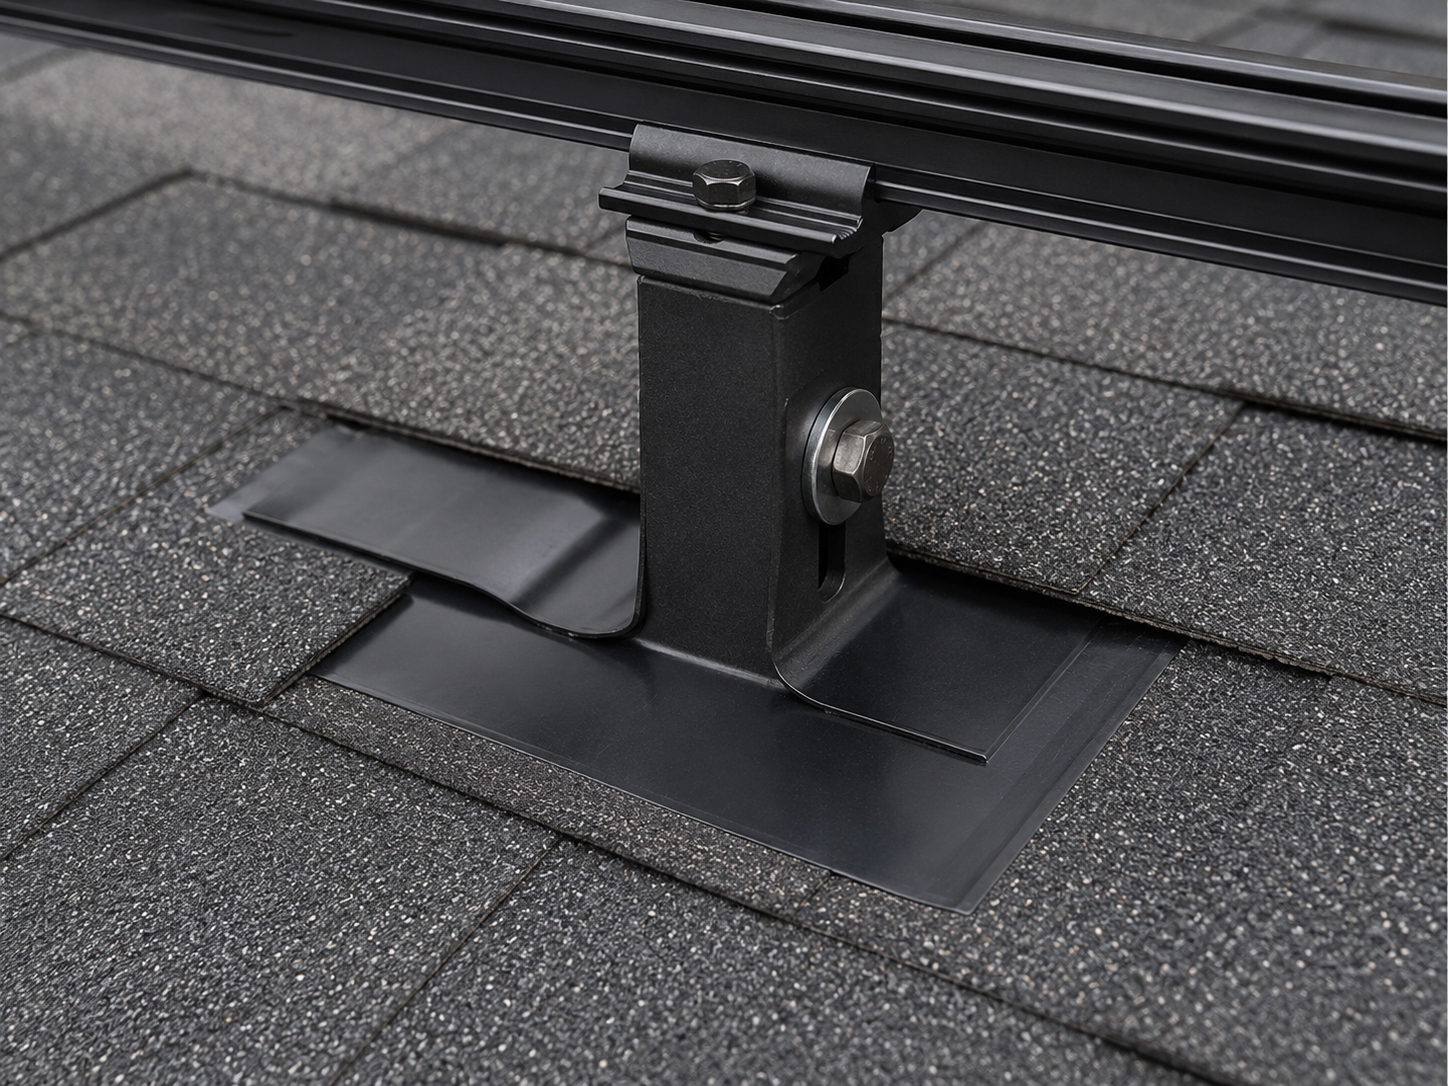
Asphalt Shingle
A practical look at flashed solar mounts and the roofing layers that must remain protected.
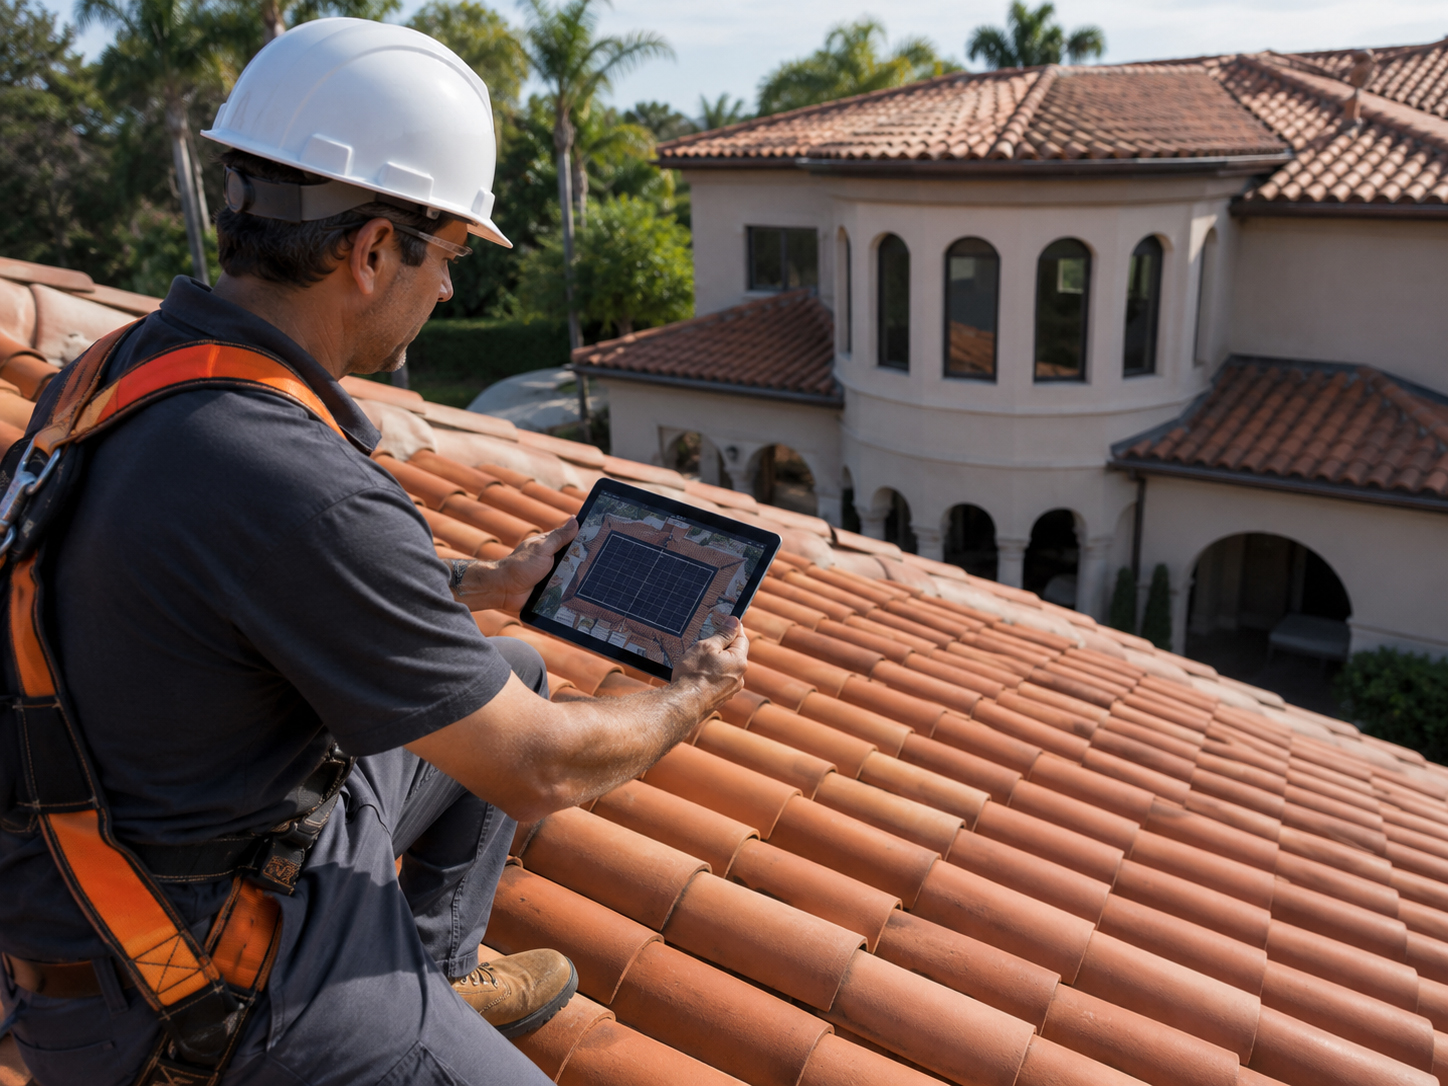
Tile Roof Review
Tile roofs need project-specific review of roof condition, underlayment, tile type, access, and serviceability.

Spanish Tile
Spanish tile roof solar must respect the tile appearance, waterproofing layer, and long-term maintenance needs.
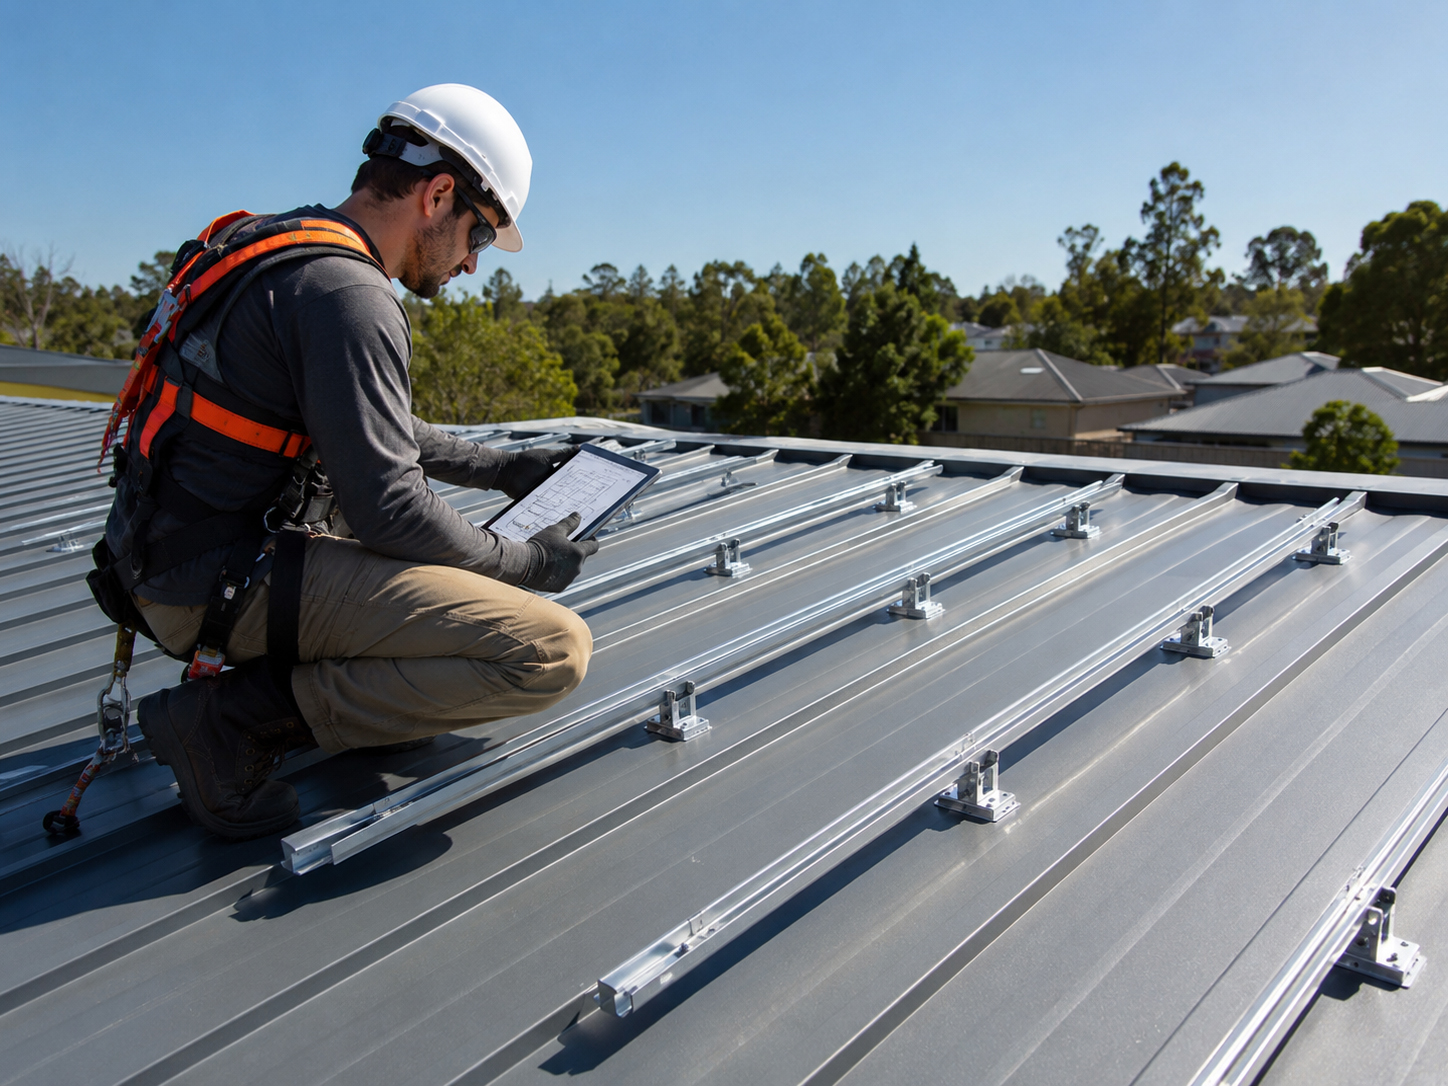
Metal Roof
Metal roof mounting review depends on the roof profile, seams, attachment approach, and manufacturer requirements.
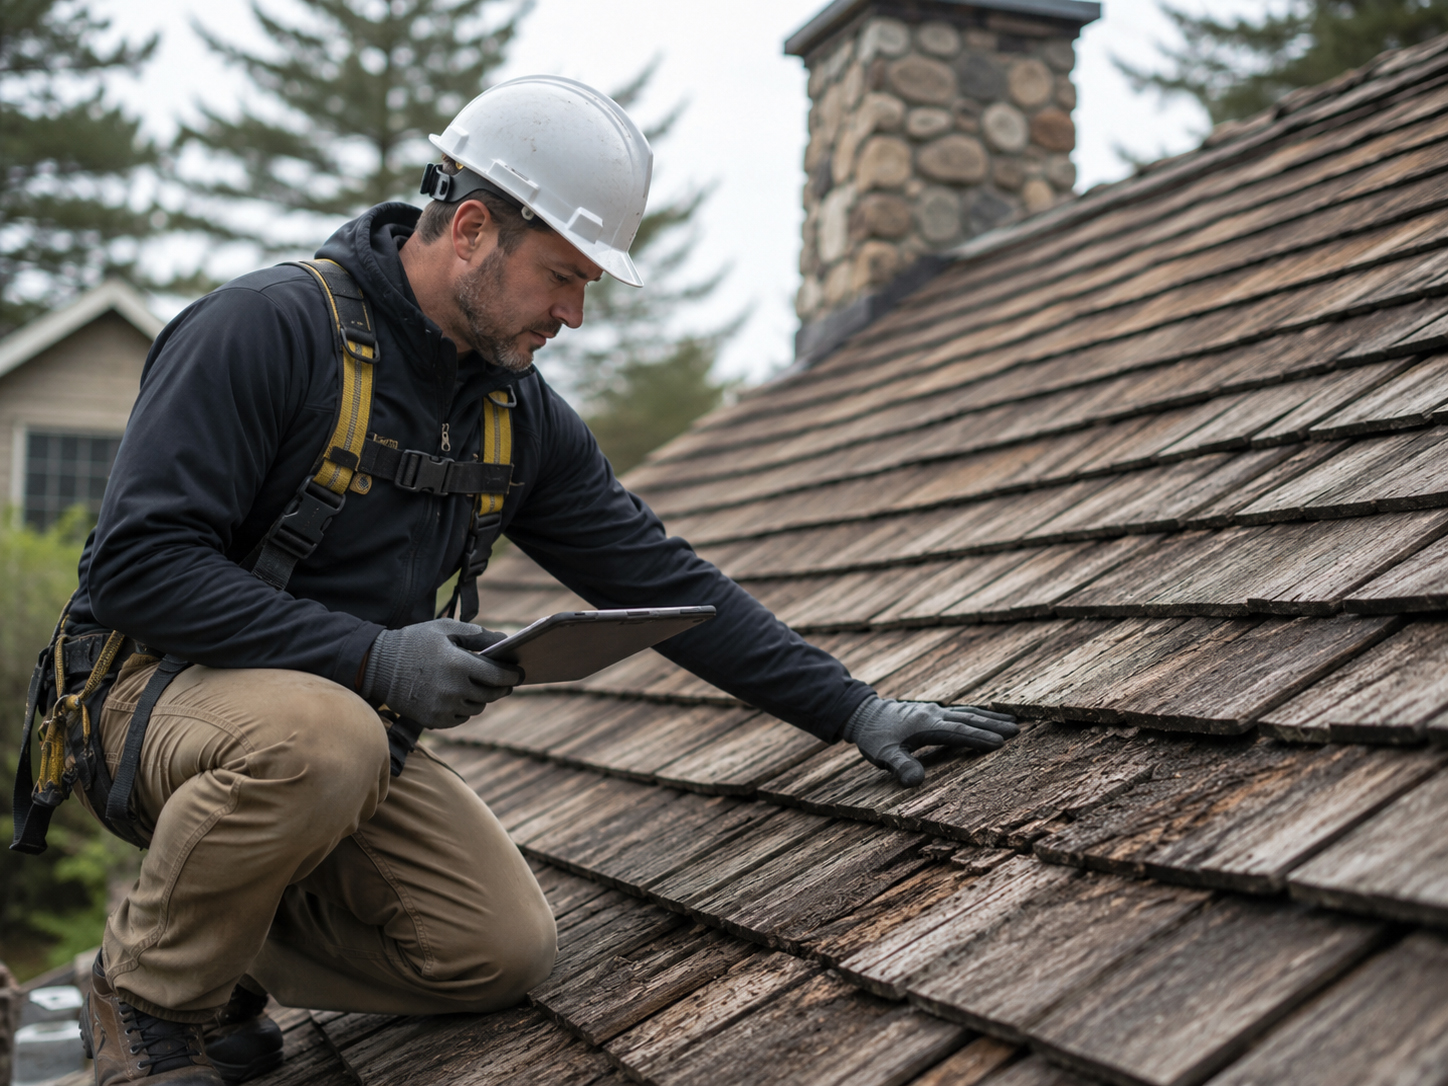
Wood Shake
Wood shake roofs require caution, condition review, fire-safety awareness, and roofing judgment before solar.
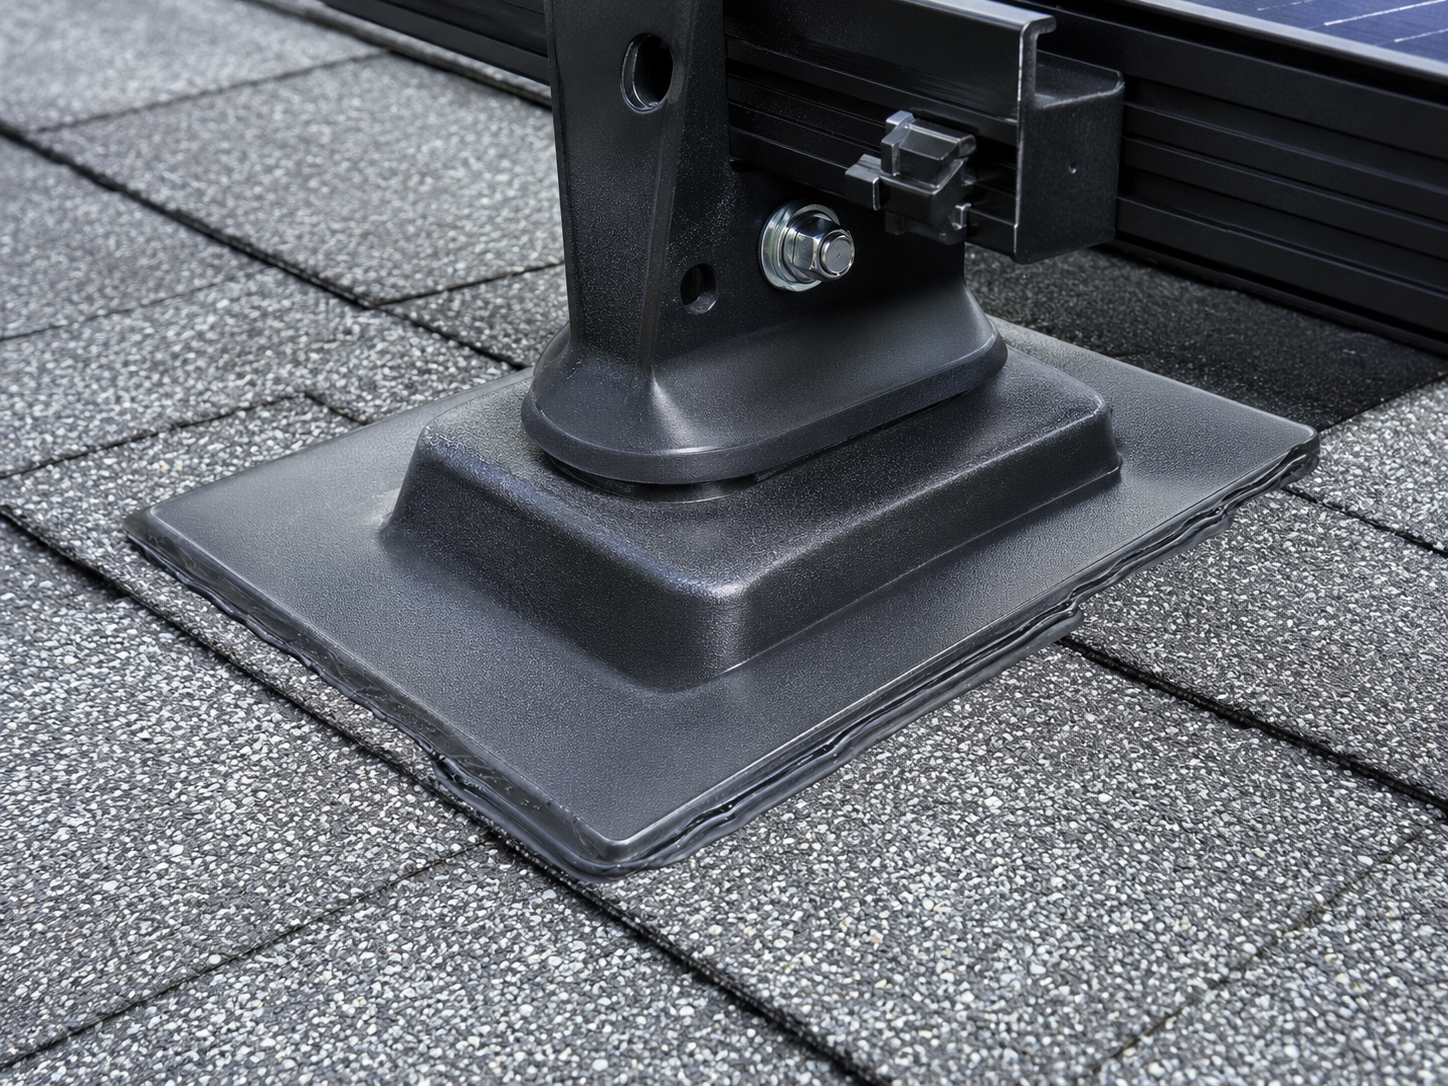
The first rule
Waterproofing is job one.
Before production numbers, before panel counts, before the final array photo: the roof must stay dry.
ABC Solar installation methods put special attention on roof penetrations, flashing, sealant, shingle layers, underlayment conditions, and inspection timing. The best time to verify waterproofing is before rails and panels cover the work.
Know where the mounting foot, lag bolt, conduit, or penetration belongs.
Integrate the mount into the roof’s water-shedding logic.
Check the waterproofing work before it disappears under the array.
Flat roof and commercial
Commercial roofs bring a different mounting conversation.
Flat roofs require attention to ballast, membrane protection, roof loading, drainage, wind exposure, access paths, and maintenance clearance.
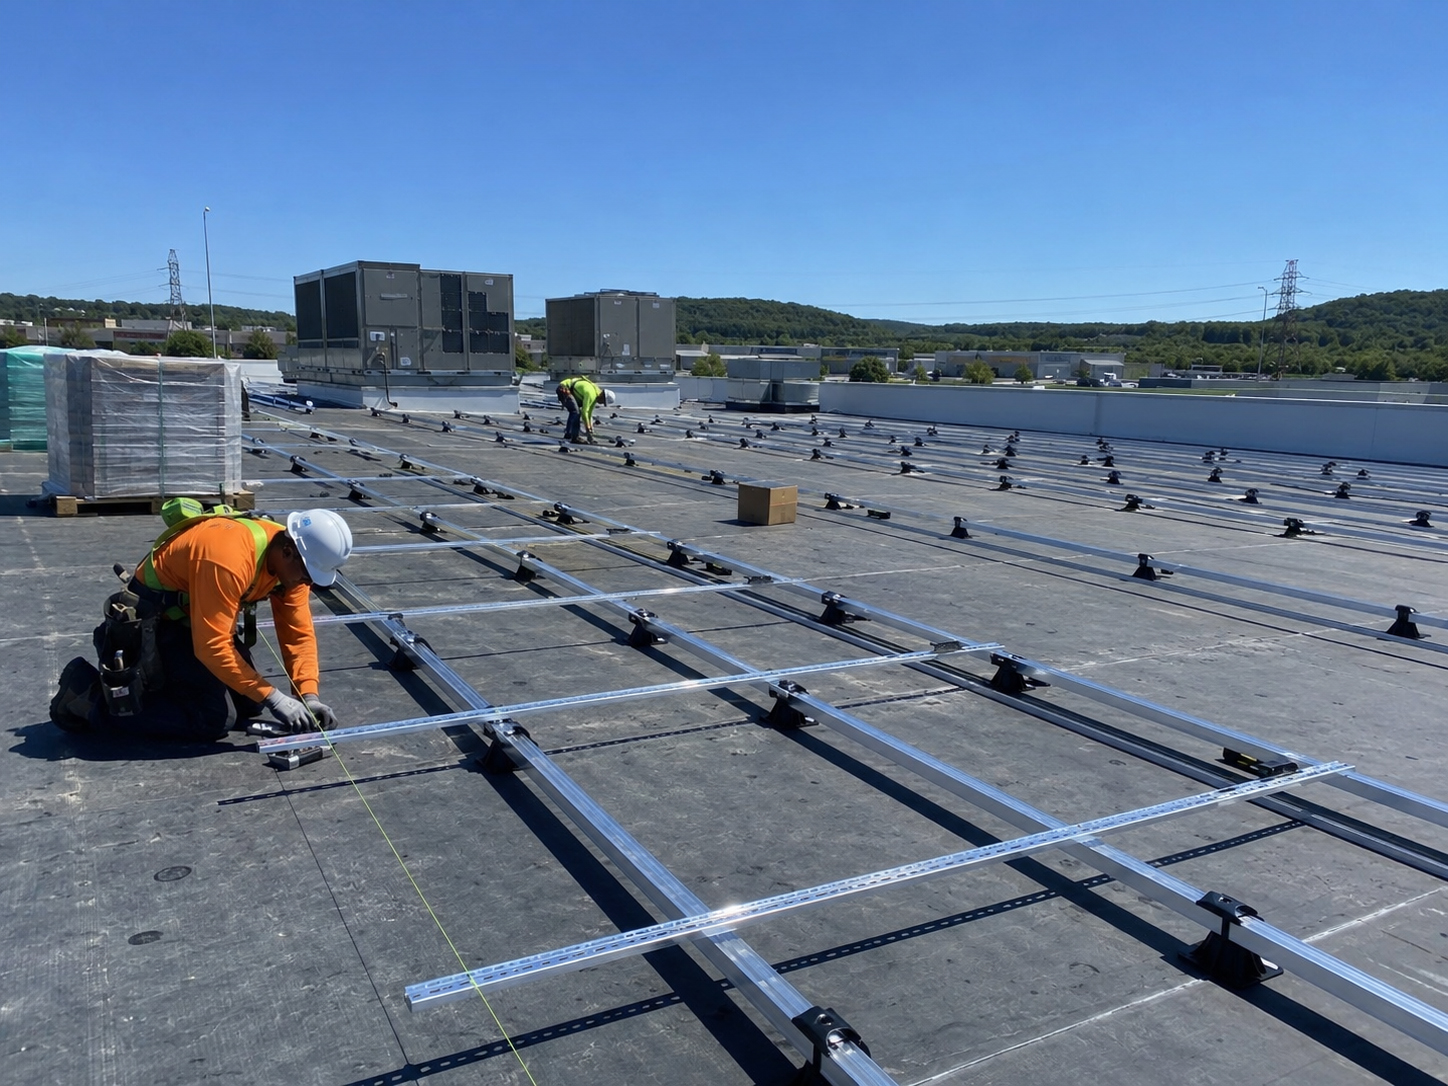
Flat Roof Solar Mounting
A field guide to commercial roof layout, roof protection, access, and mounting review.
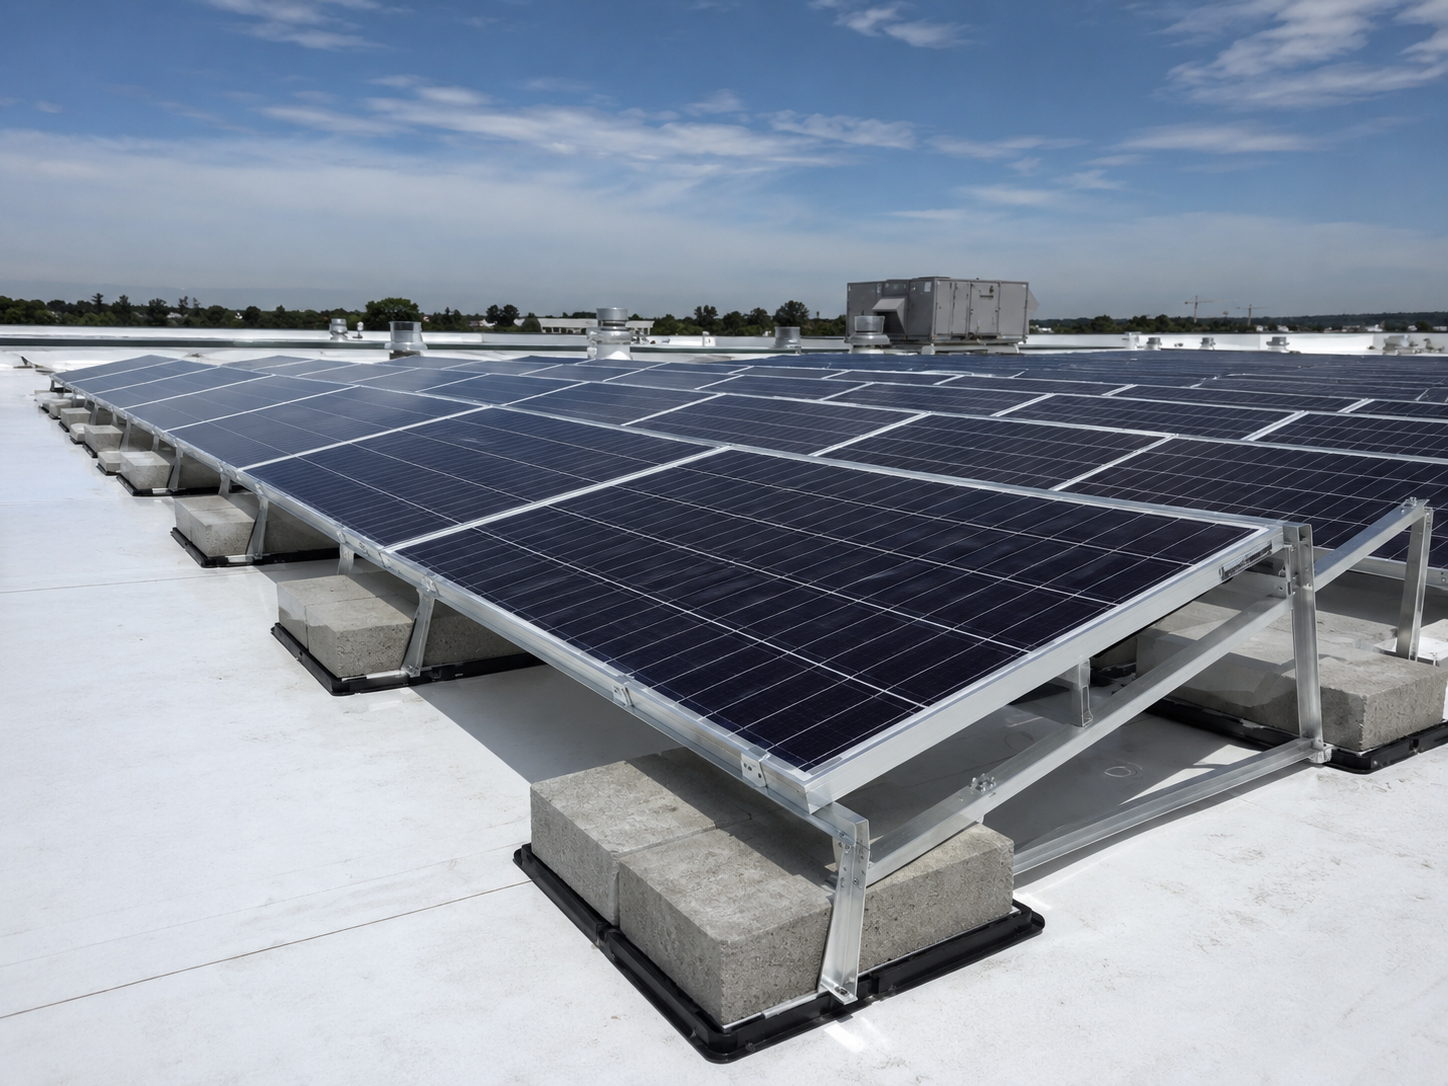
Ballasted Racking
Ballast systems reduce penetrations but increase the importance of weight, wind, and roof-load review.

Roof Load & Ballast
Added weight must be understood before equipment is placed on the roof.
Ground-mounted methods
When the roof is not the answer.
Ground-mounted solar can solve roof-space problems, but it creates its own construction questions.
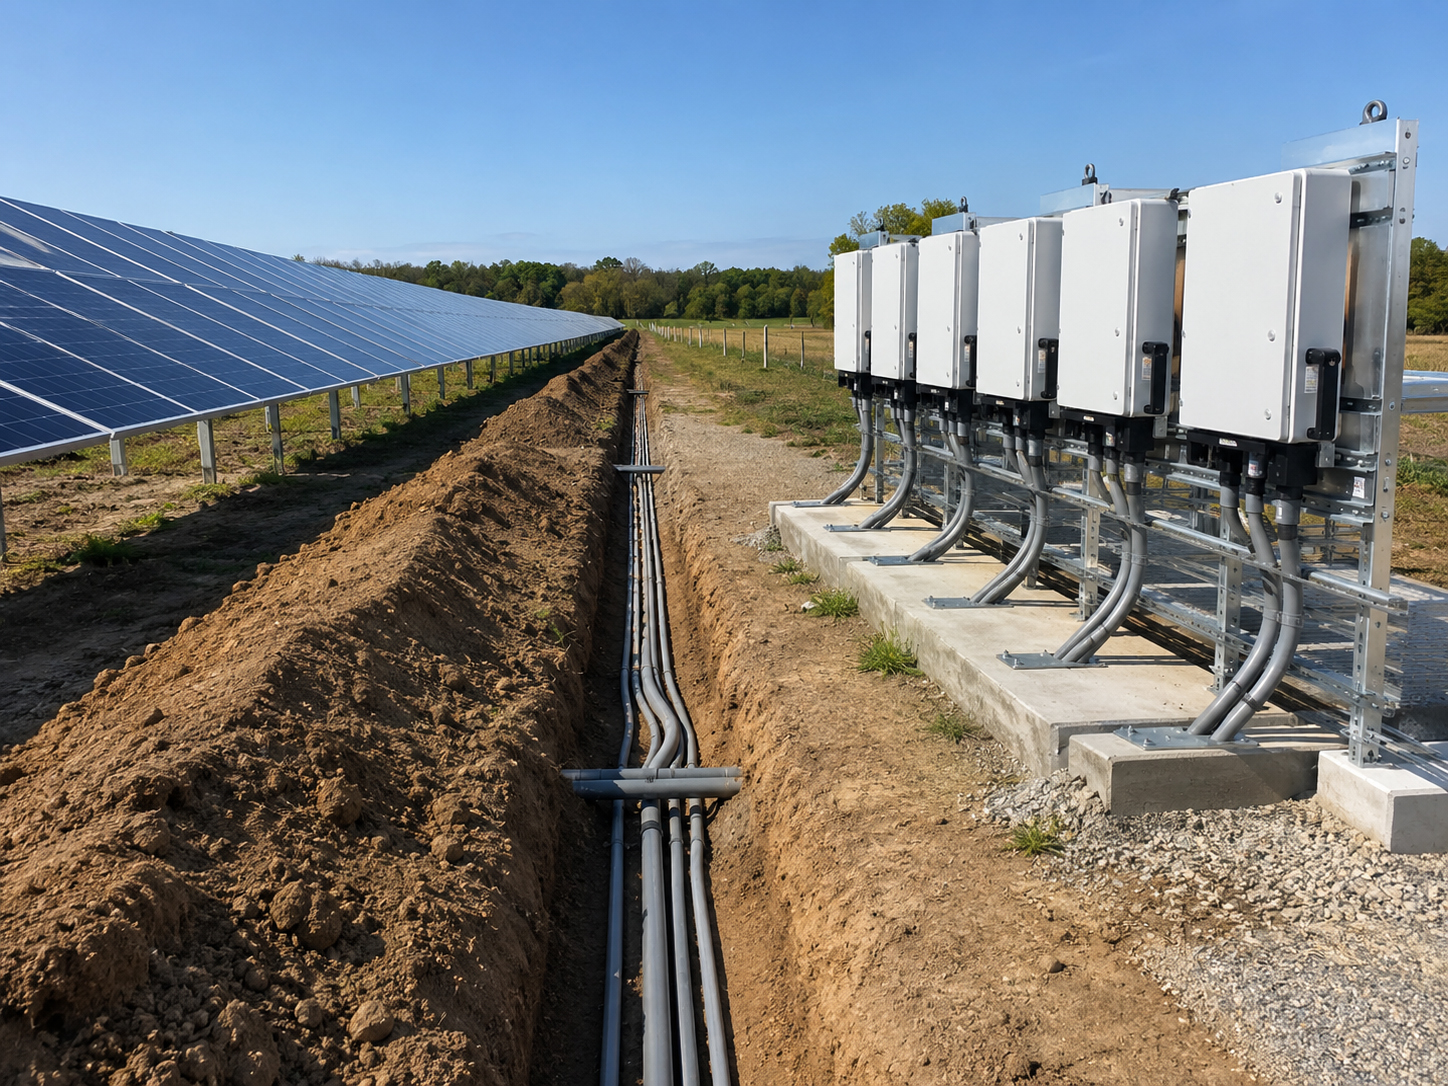
Ground mounts require site layout, posts or pipe structures, foundations, trenching, inverter placement, wire paths, service access, drainage, setback review, and long-term maintenance planning.
Ground-mount rule: the array is still a structure. It needs a foundation, load path, electrical plan, and service strategy.
Structure and inspection
The system must be explainable.
Good installation methods are not mysterious. They can be explained to homeowners, roofers, engineers, inspectors, and the crew doing the work.
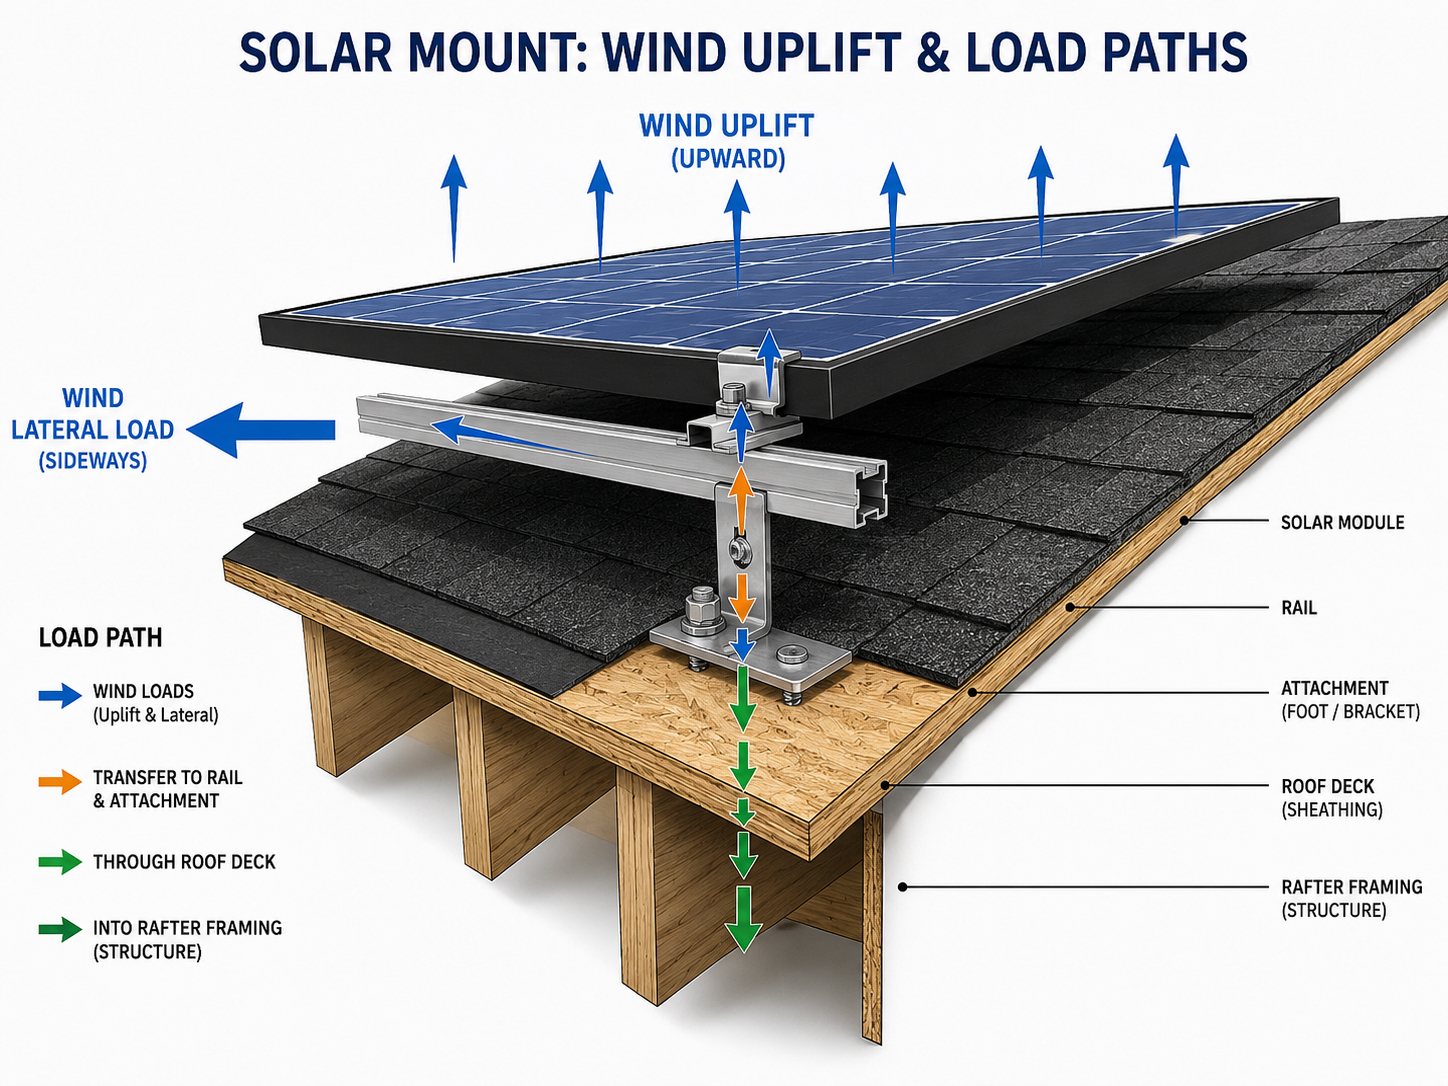
Wind Uplift
Wind wants to lift the array. The attachment method must resist it.
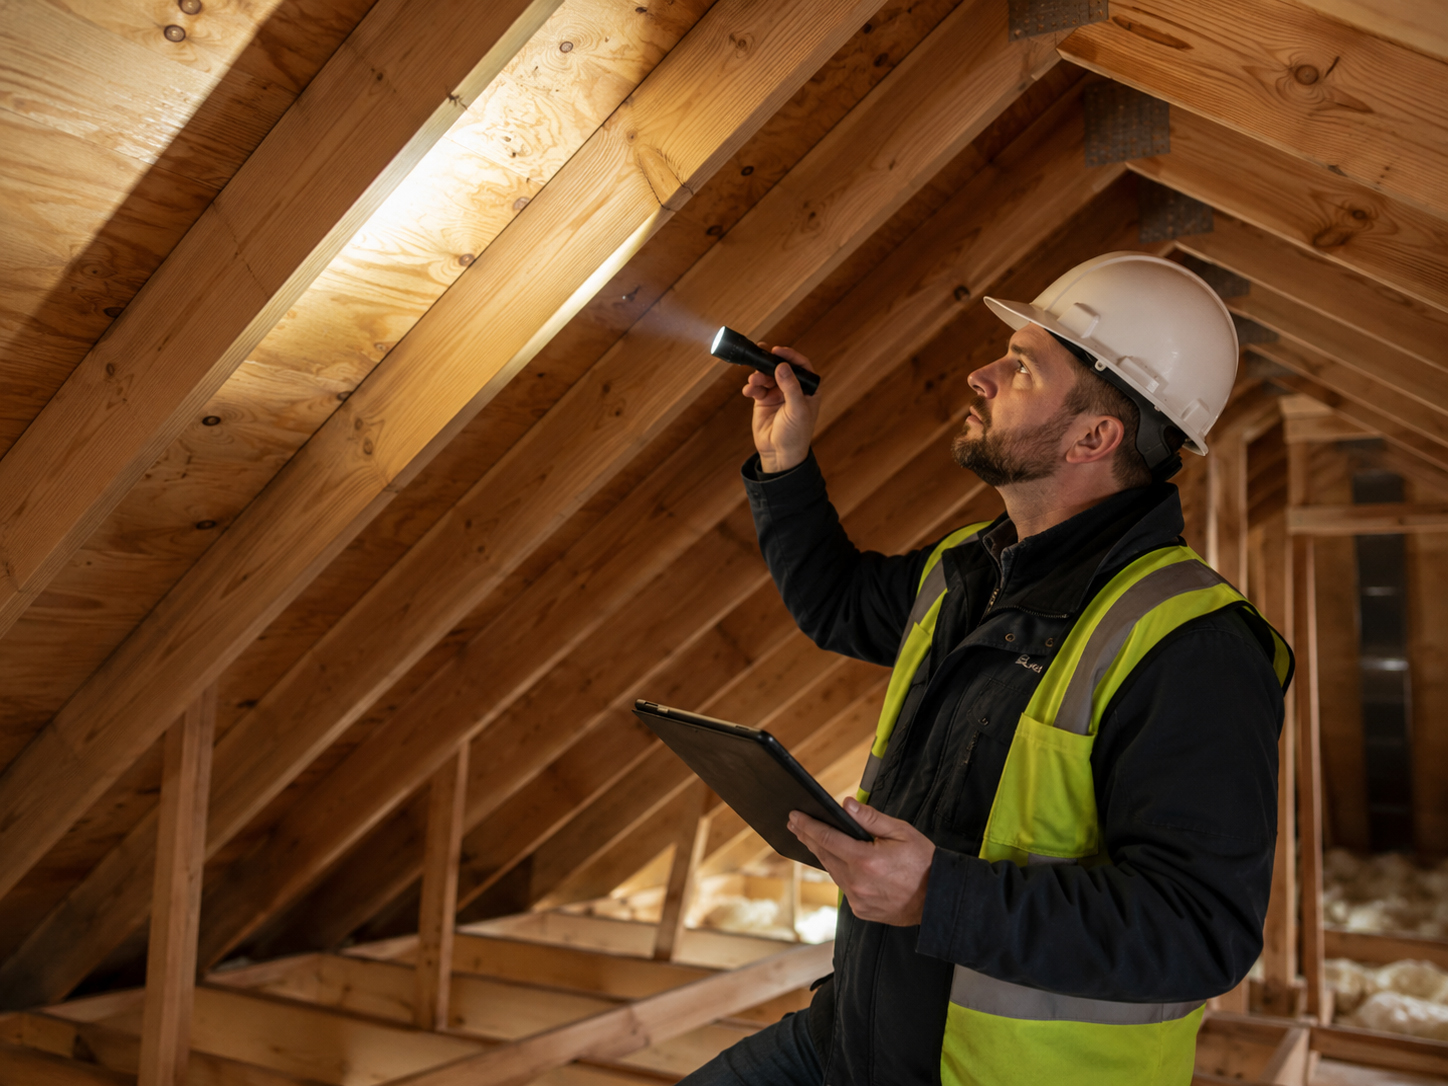
Structural Review
Roof framing and load paths must be understood before installation.
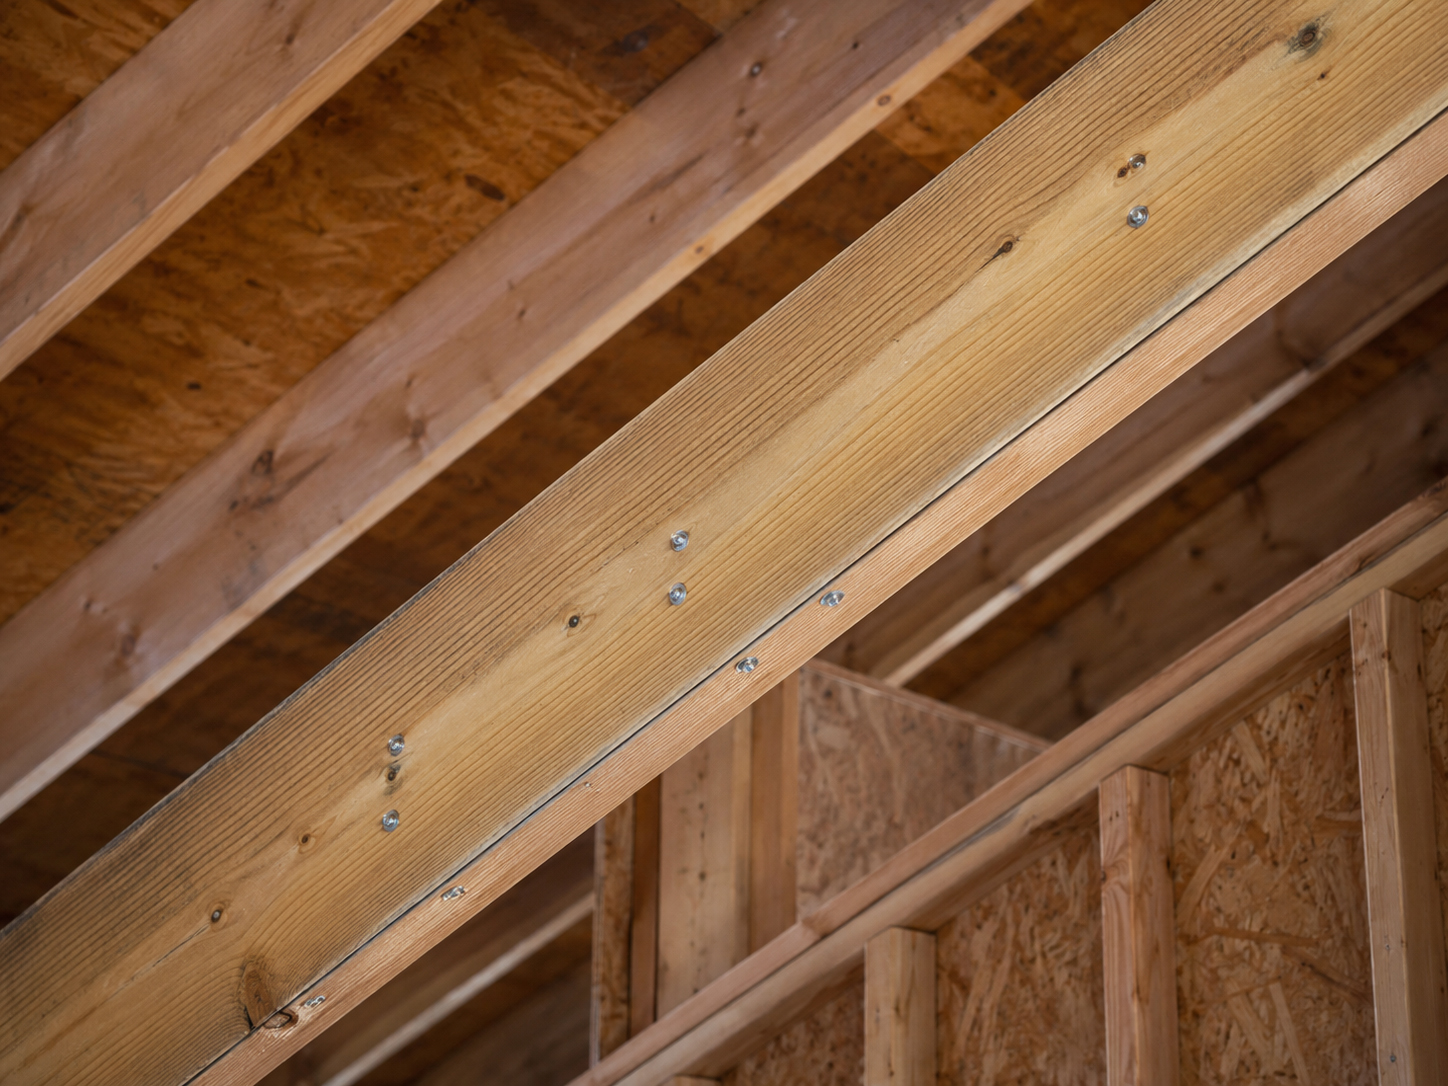
Sistered Rafters
Reinforcement concepts for projects that need stronger attachment support.
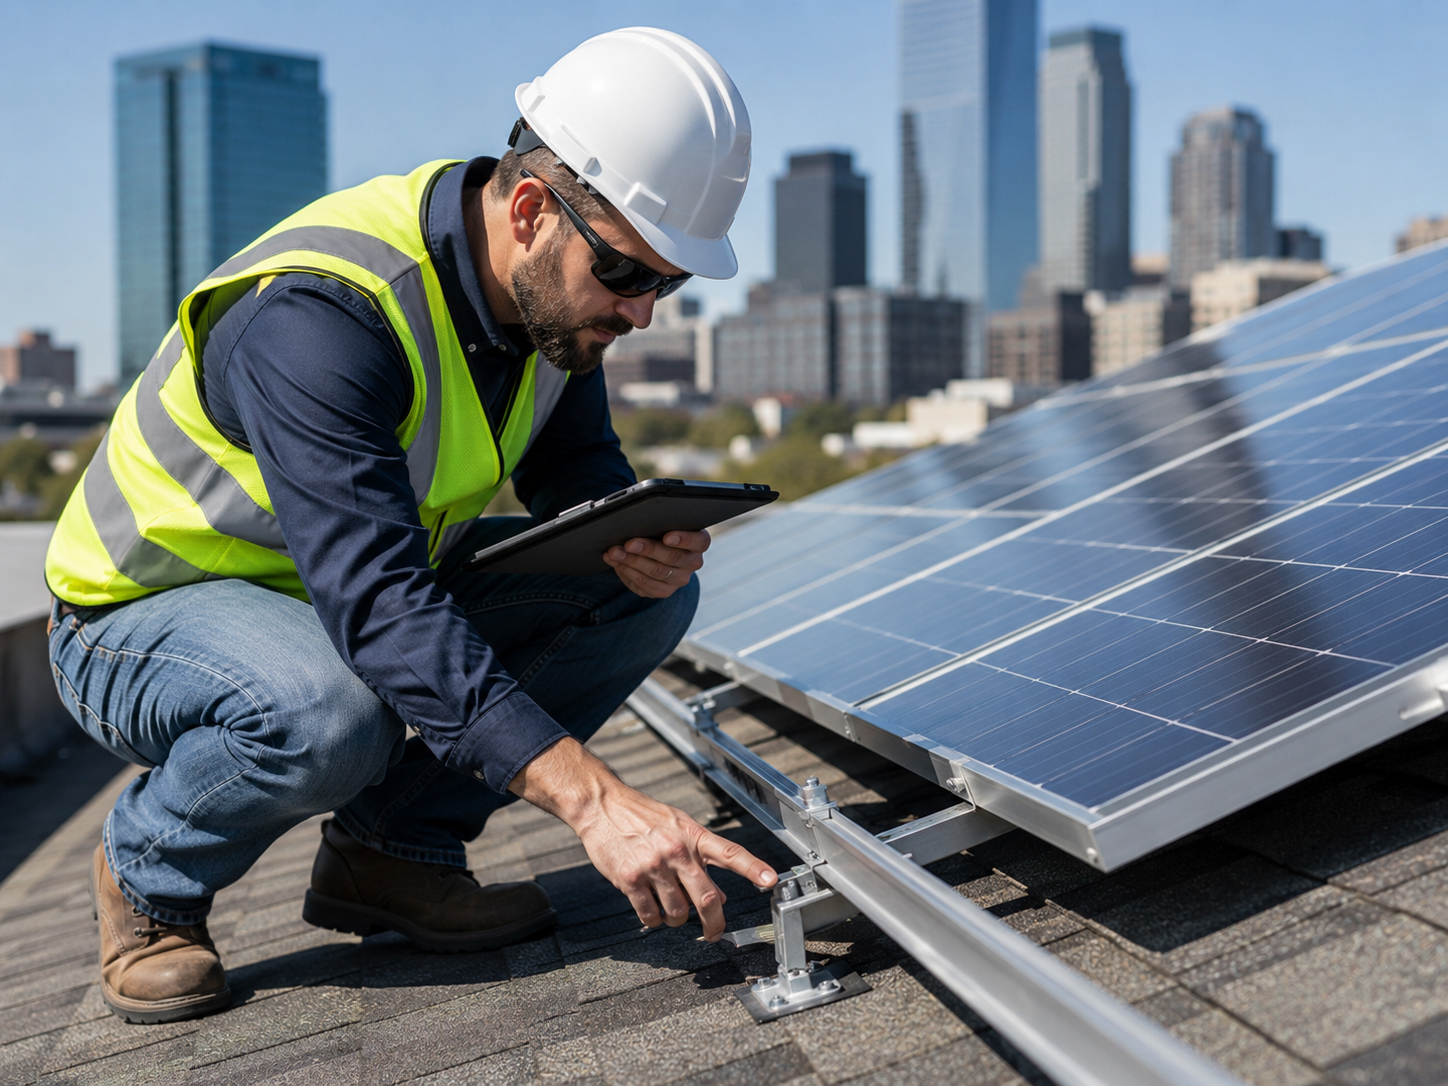
City Inspection
Permit review and inspection help verify the work before the system is complete.
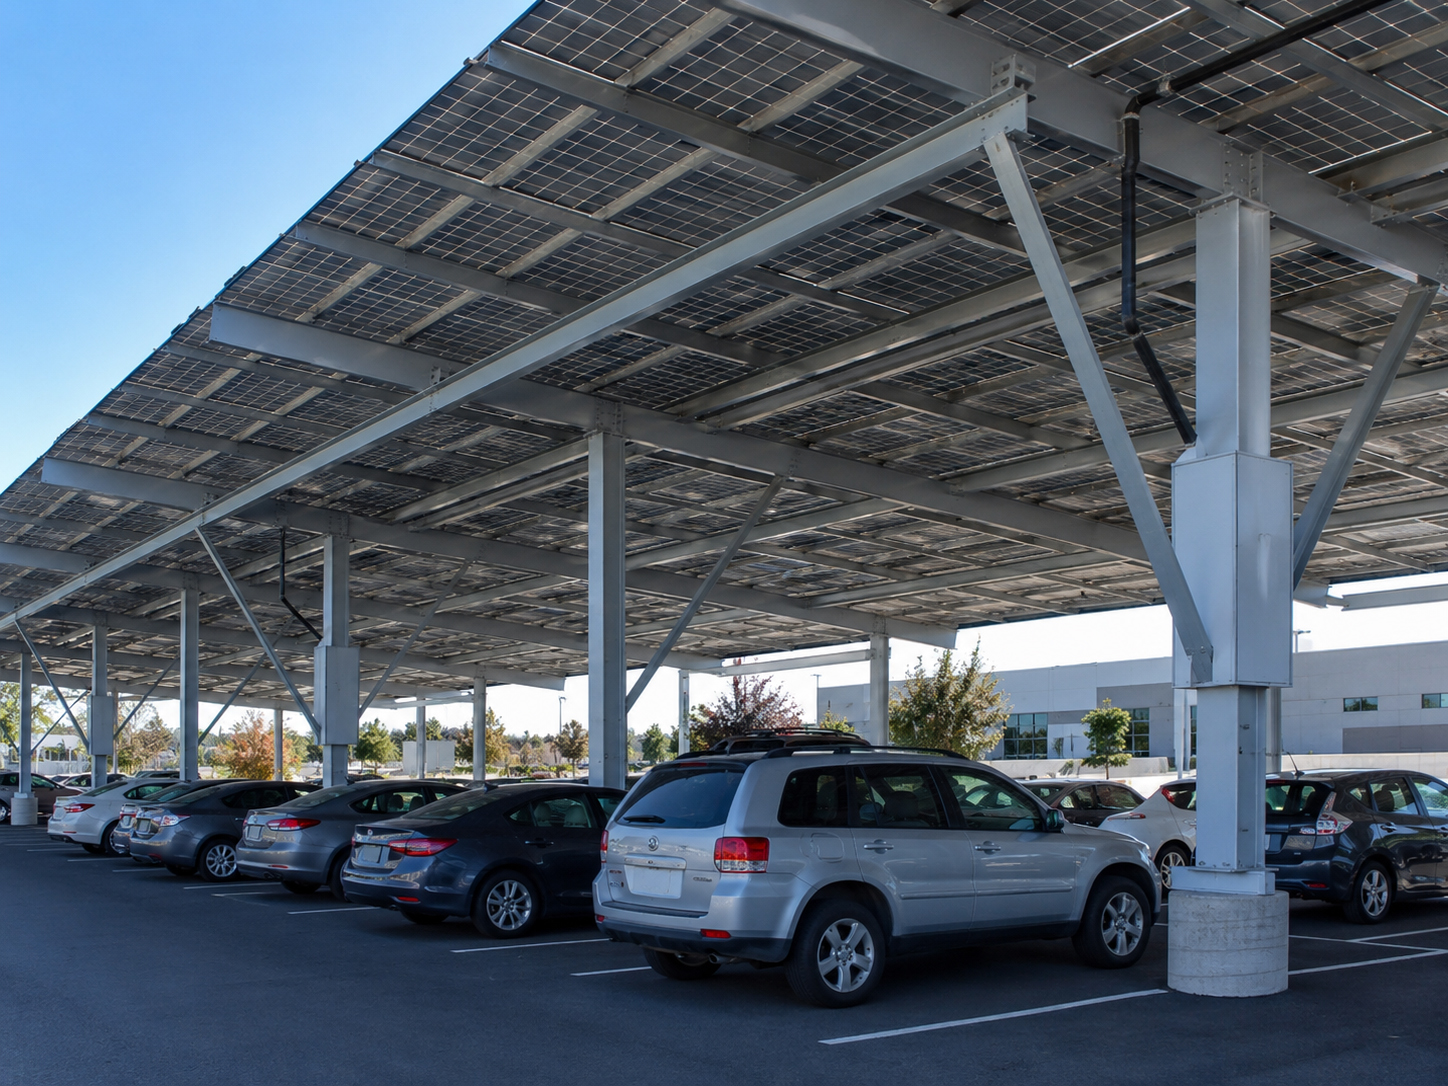
Beyond roof mounting
Carports, high-rise solar, and building-integrated systems.
Some solar systems are not simply attached to a roof. They become part of the structure.
Solar carports, high-rise solar, and building-integrated photovoltaic systems require a larger design conversation: structure, foundations, wind, waterproofing, electrical routing, access, maintenance, aesthetics, and building-envelope responsibility.
Homeowner protection
The right questions prevent the wrong surprises.
Homeowners should be able to ask plain questions about the roof before the array is installed.
What is the roof condition? Where are the rafters? Where are the penetrations? How is the flashing handled? What gets inspected? What happens if the roof needs service later? SolarMount.com makes those questions easier to ask.
Homeowner Roof Leak Questions
Next step
Start with the roof review.
The best installation method is not chosen in a vacuum. It comes from the roof, the structure, the waterproofing path, the permit set, and the job-specific conditions.