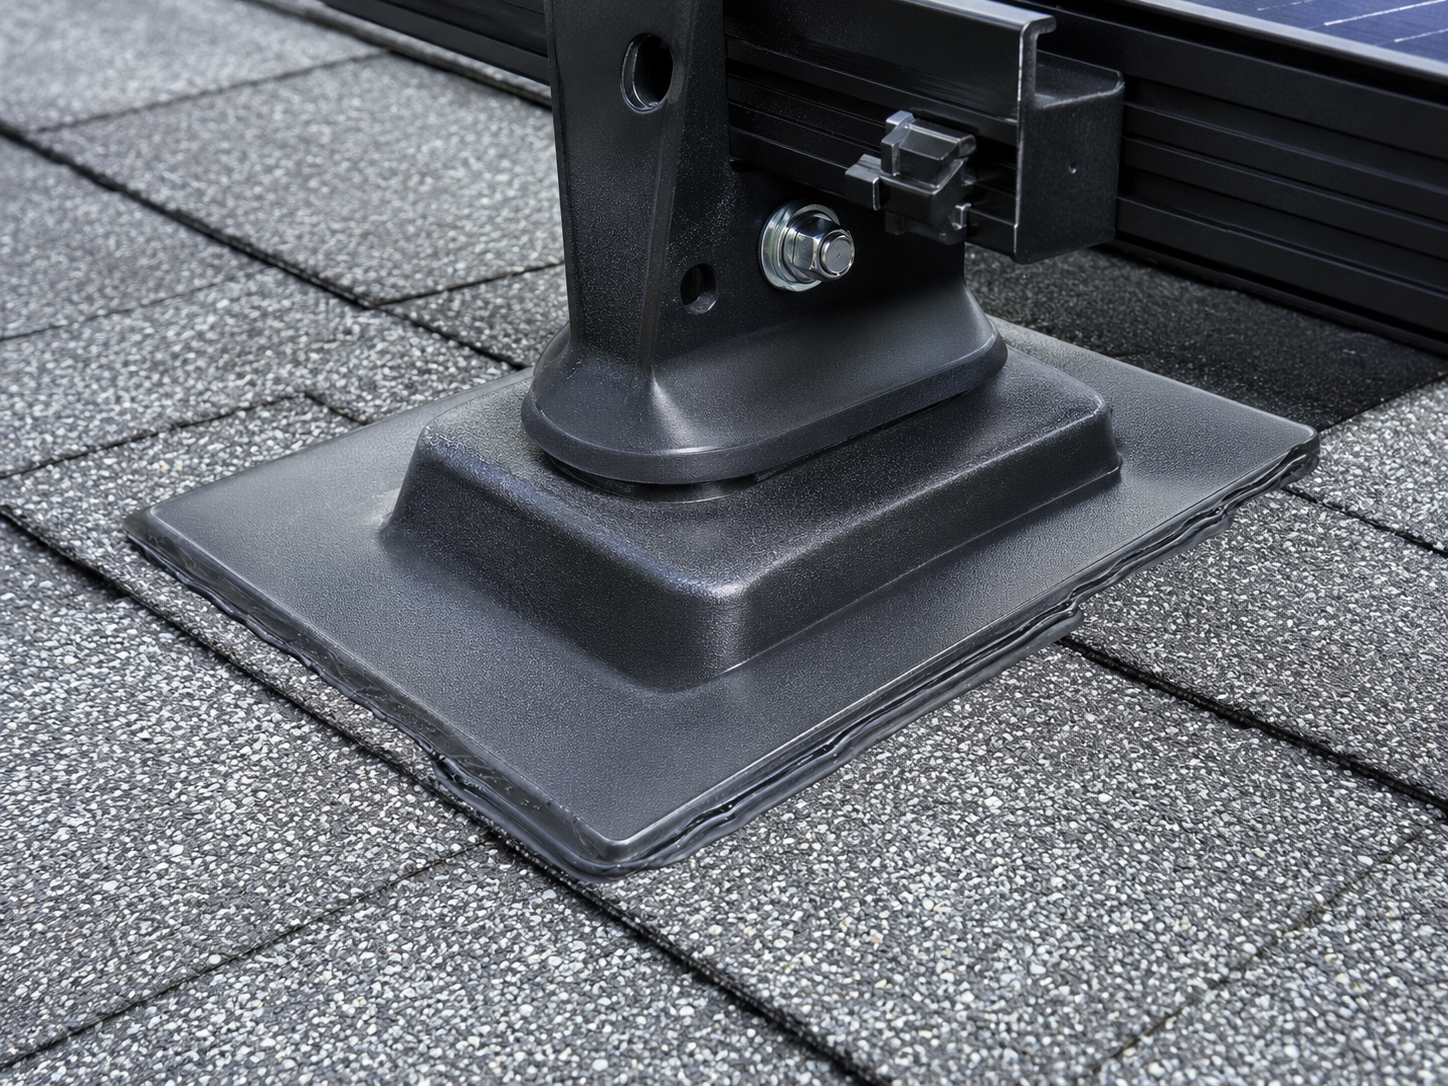
The first rule of solar mounting
Waterproofing is job one.
Panels make power. Waterproofing protects the building. Before rails, clamps, modules, and production numbers take over the conversation, every roof penetration and mounting detail must respect the roof’s water path.
Solar Bible field note
The roof must stay a roof after solar is installed.
A solar array should not compromise the building envelope. The roof’s first job is still to shed water.
Solar mounting introduces new hardware, new attachment points, new roof penetrations, new loads, new wire routes, and new service conditions. Waterproofing is the discipline that keeps those additions from becoming future roof problems.
SolarMount.com rule: every roof penetration should be located, attached, flashed, sealed, documented, and inspected before panels make the detail harder to see.
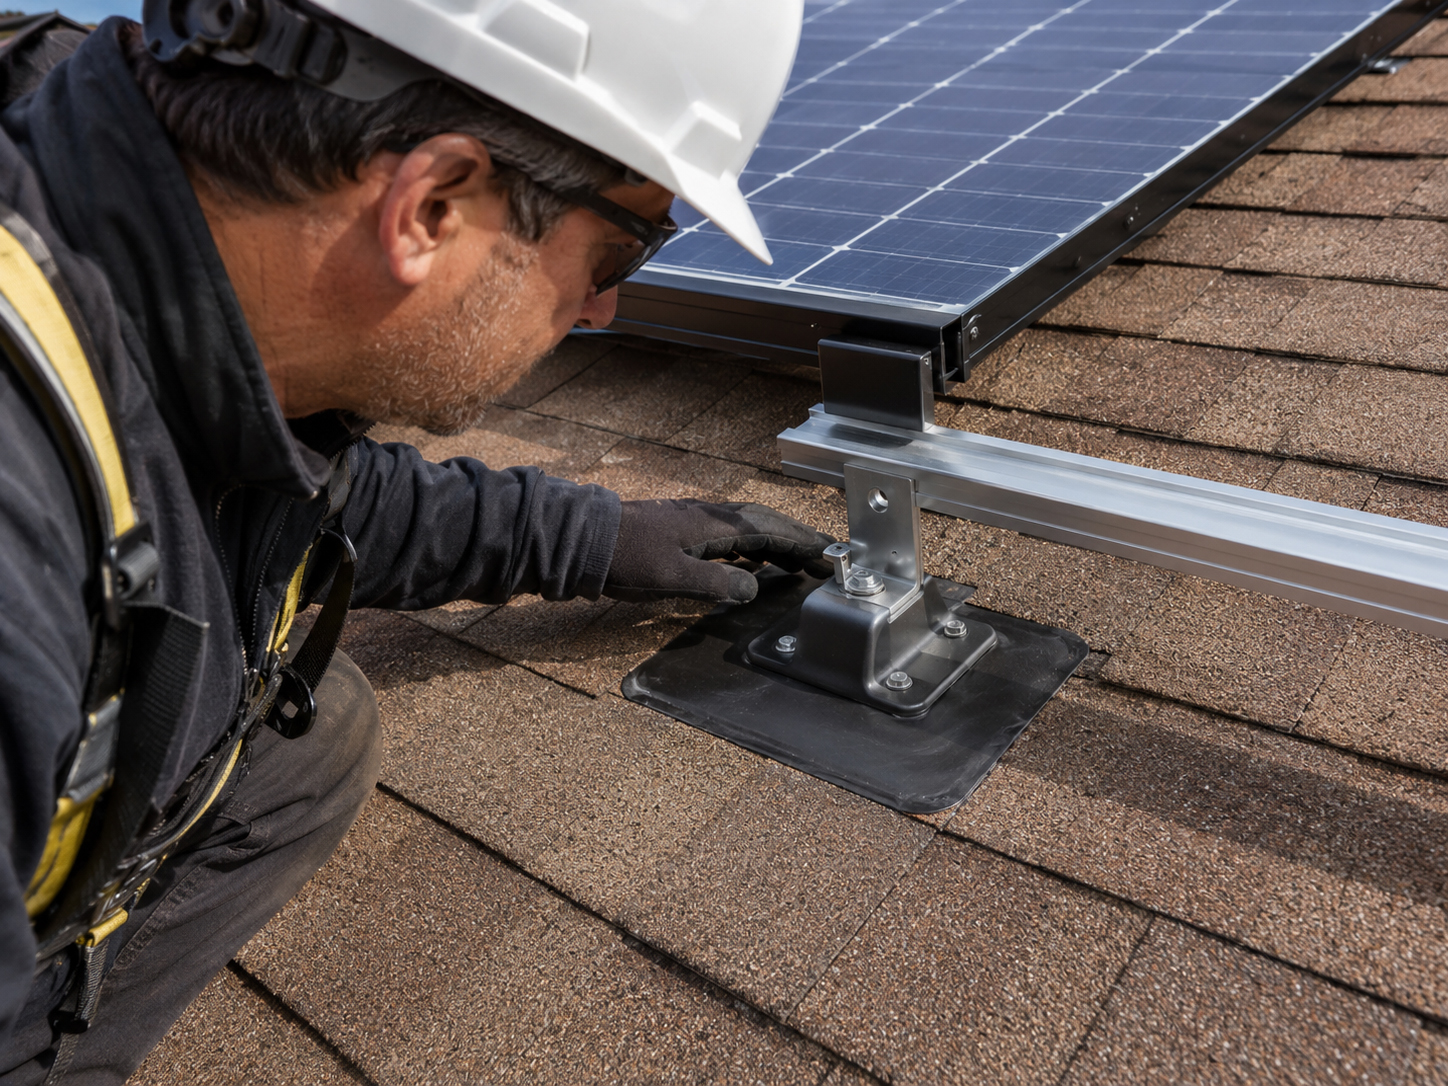
Waterproofing checklist
What must be reviewed before the roof is covered?
The best time to inspect waterproofing is before the rails and modules hide the most important details.
Roof condition
Waterproofing starts with the roof that already exists. Age, wear, repairs, brittleness, cracks, soft areas, and drainage issues must be reviewed first.
Penetration locations
Do not drill first and explain later. Attachment points should be planned around structure, water flow, roof material, and inspection visibility.
Flashing method
Flashing must integrate into the roof assembly. It is not decoration. It is the water-shedding transition around the mount.
Sealant discipline
Sealant can support the waterproofing detail, but it should not be treated as a substitute for a proper flashing and roof-integration method.
Inspection timing
The roof details should be checked while they are still visible, before rails and panels make the work harder to verify.
Future service
The waterproofing plan should anticipate future roof service, panel removal, leak investigation, and maintenance access.
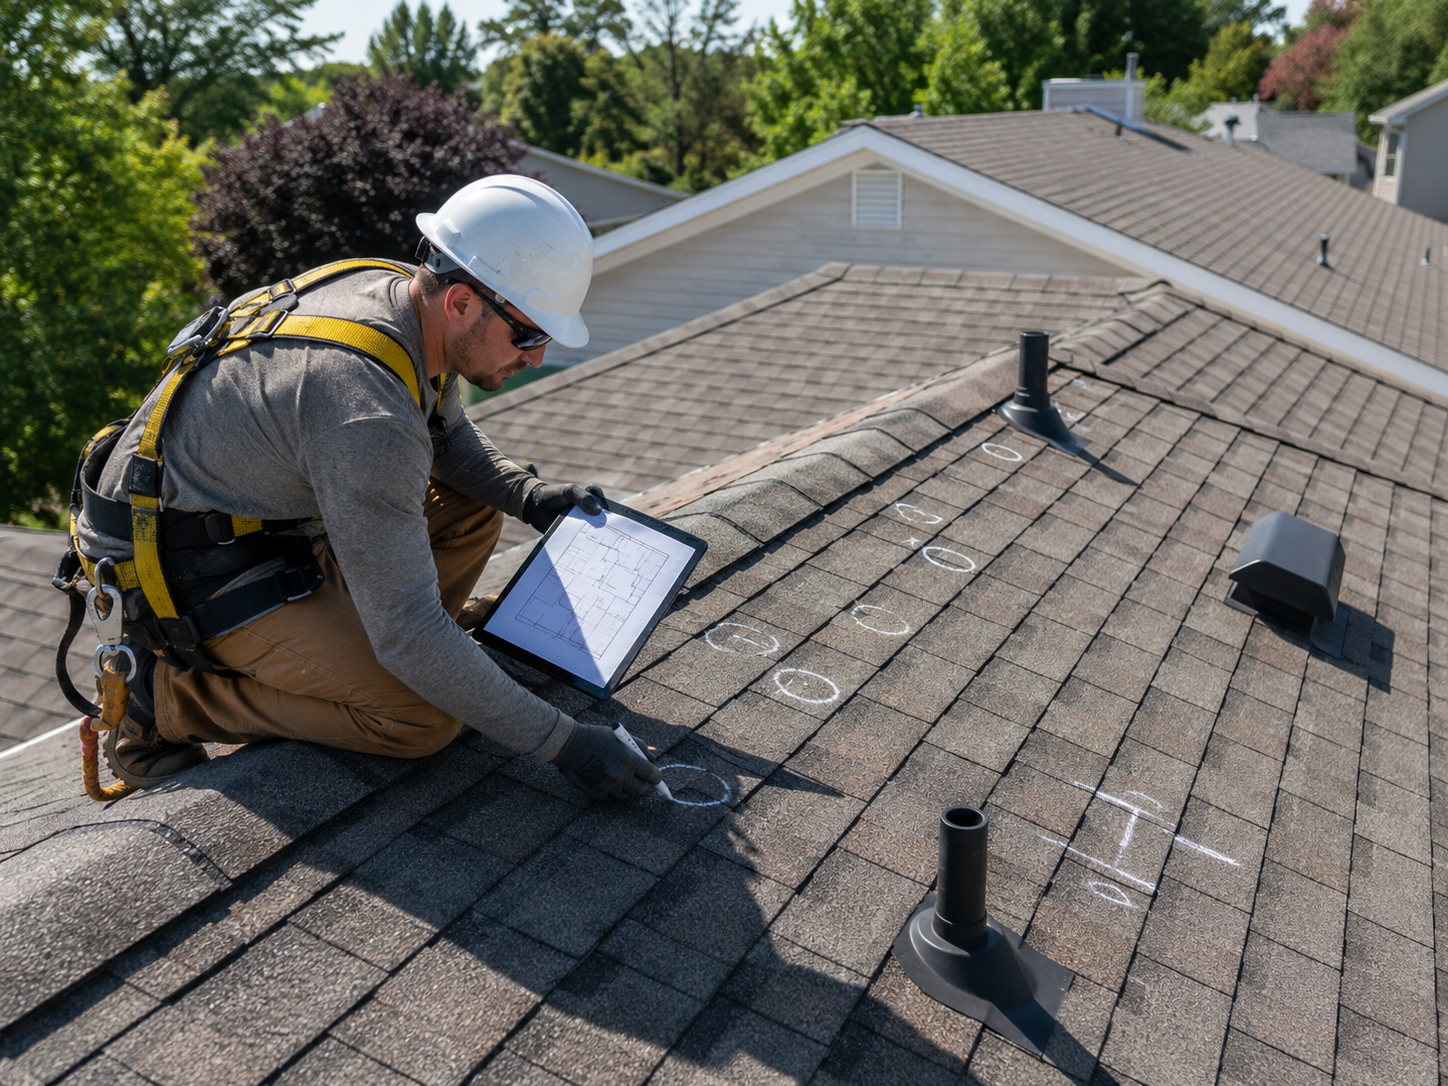
Before the hole
Waterproofing begins with location.
The roof penetration is not just a hole. It is a structural, waterproofing, and inspection decision.
A mounting location should be selected because it makes sense for the rafter or structural target, the rail layout, the roof material, the flashing method, the water path, and the approved plan set. When the location is wrong, even good sealant cannot make the detail right.
Practical rule: if the penetration location cannot be explained clearly, the installation should pause before drilling.
Flashing and sealant
Flashing handles water. Sealant supports the detail.
Good solar mounting does not rely on hope, caulk, or hidden shortcuts.
Flashing should answer these questions
- How does water flow over and around this mount?
- Does the flashing integrate with the roof material?
- Is the flashing placed under and over the correct roofing layers?
- Does the detail avoid trapping water or debris?
- Can the detail be inspected before concealment?
- Will the roof remain serviceable after panels are installed?
Sealant should be used with discipline
- Use sealant according to the approved detail and manufacturer instructions.
- Do not use sealant to hide bad placement.
- Do not treat sealant as the only waterproofing strategy.
- Do not bury questionable work under rails and panels.
- Use the correct product for the roof and mounting condition.
- Confirm the final condition before the array covers it.
Important: this page is educational. Actual flashing, sealant, roof-penetration, attachment, and inspection requirements must follow the approved permit set, manufacturer instructions, roofing requirements, engineering requirements, and local code.
Mounting feet
The mounting foot is where waterproofing and structure meet.
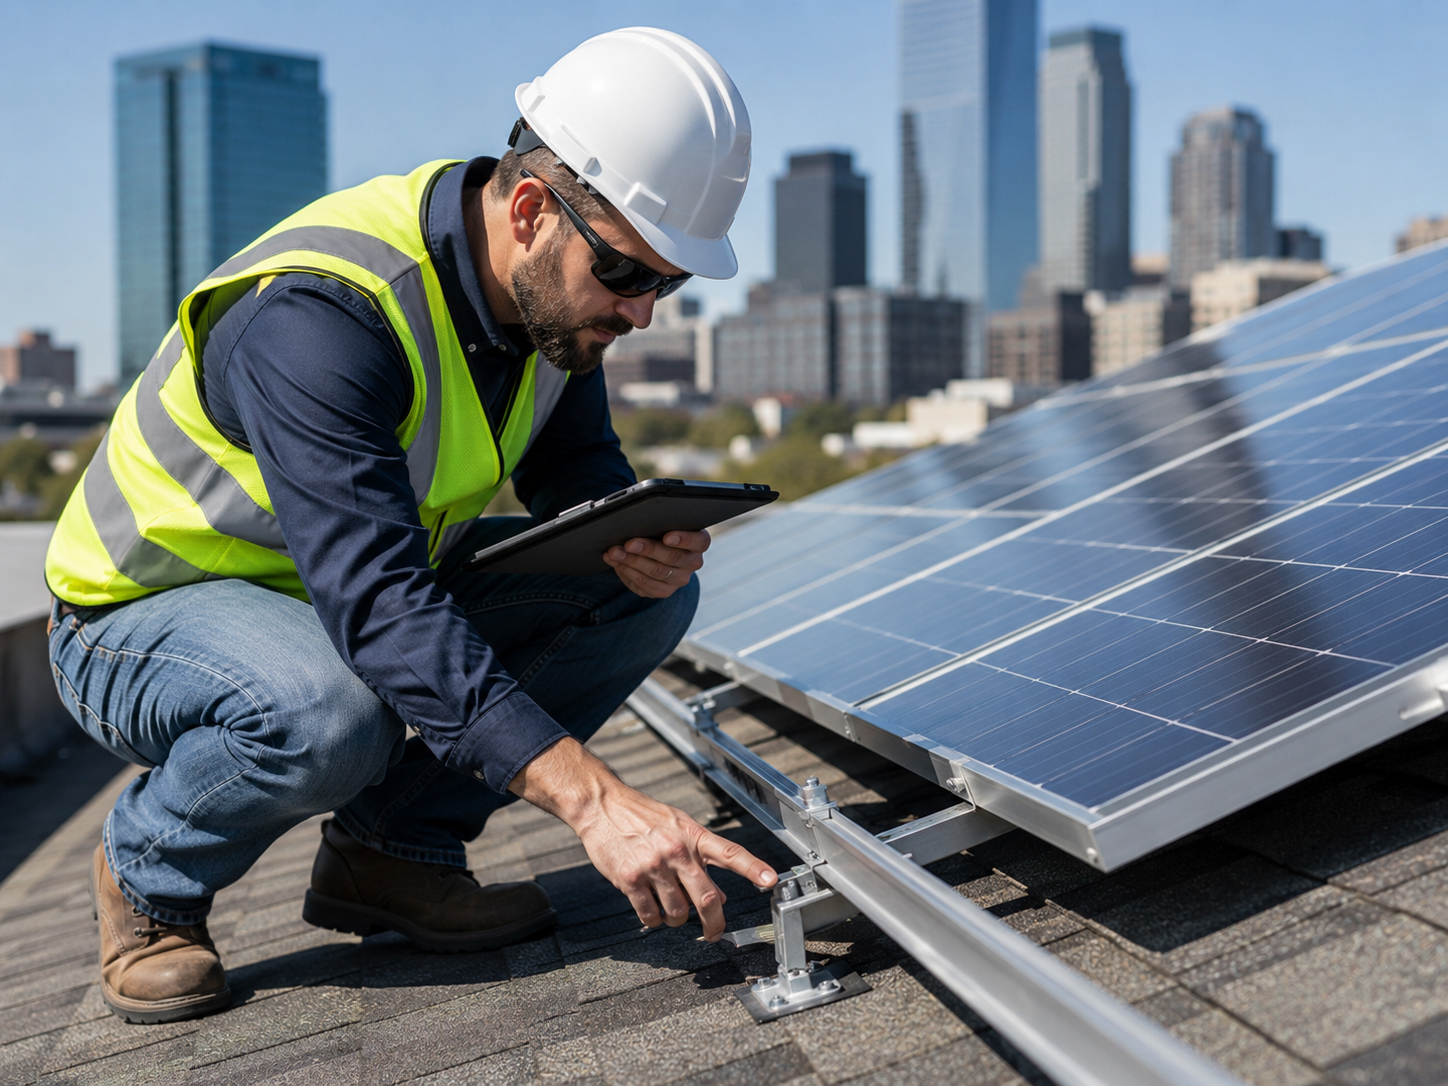
A mounting foot is not just racking hardware. It is a roof attachment detail.
The mounting foot connects the solar rail to the building. That same location must also be protected from water. The correct detail depends on roof type, rafter location, fastener method, flashing system, sealant, array layout, inspection timing, and manufacturer instructions.
Align the mount with the approved structural target and rail layout.
Use the proper flashing and sealant sequence for the roof type and approved detail.
Verify the waterproofing before rails and modules hide the work.
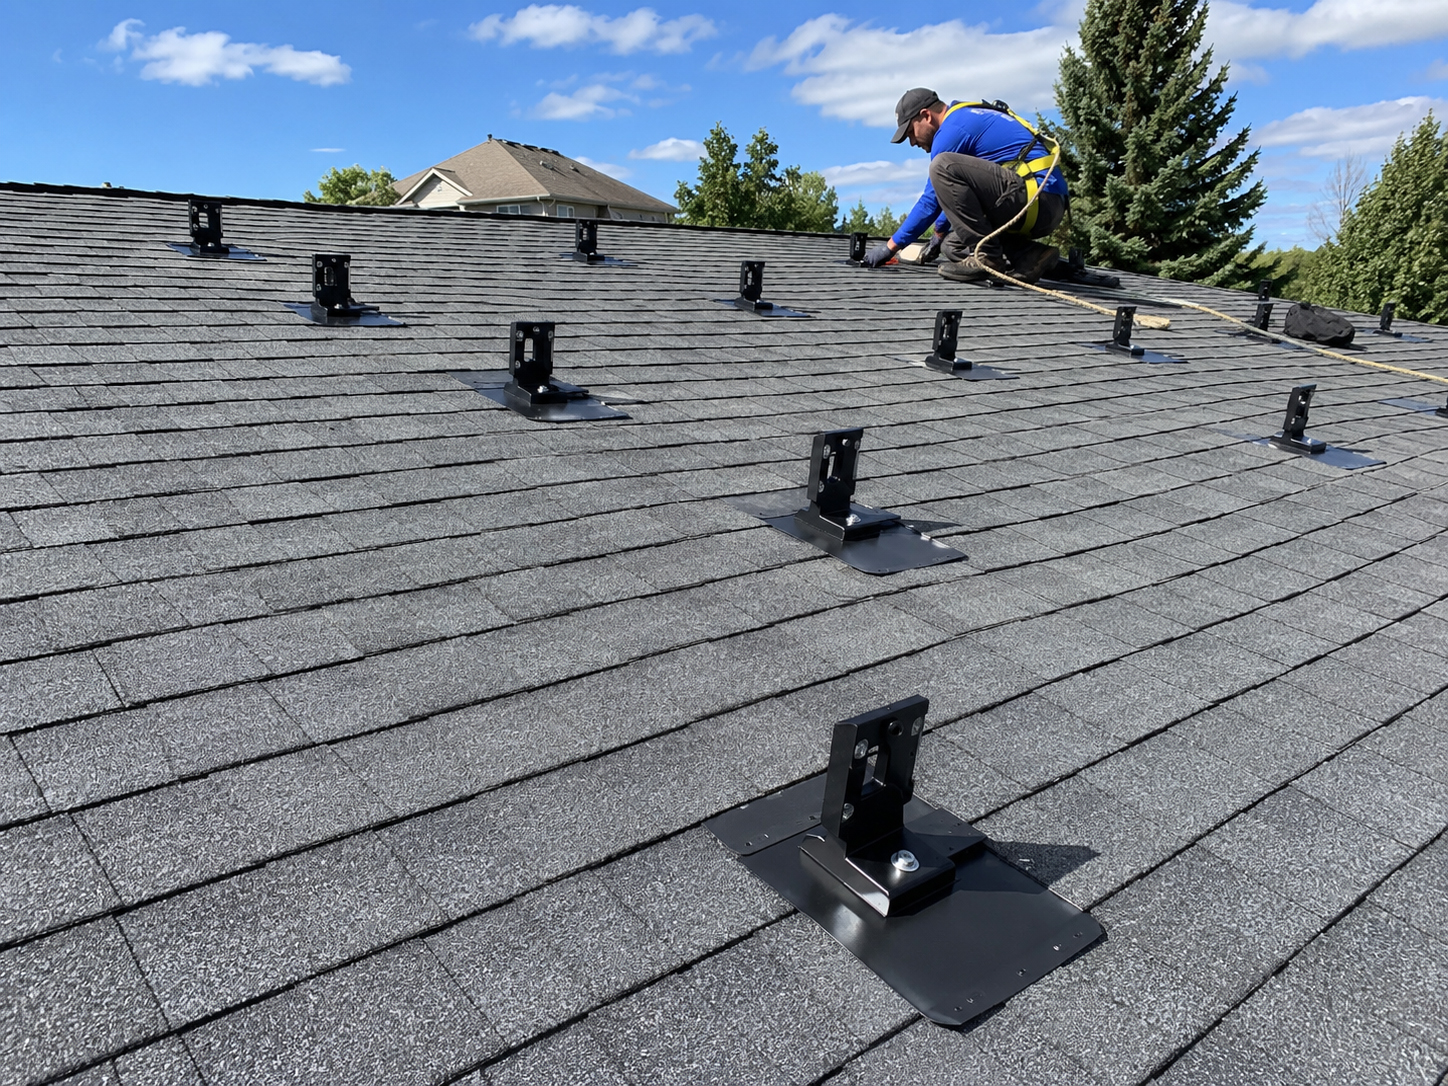
Roof-type differences
Waterproofing changes by roof type.
There is no universal waterproofing shortcut. The method must fit the roof.
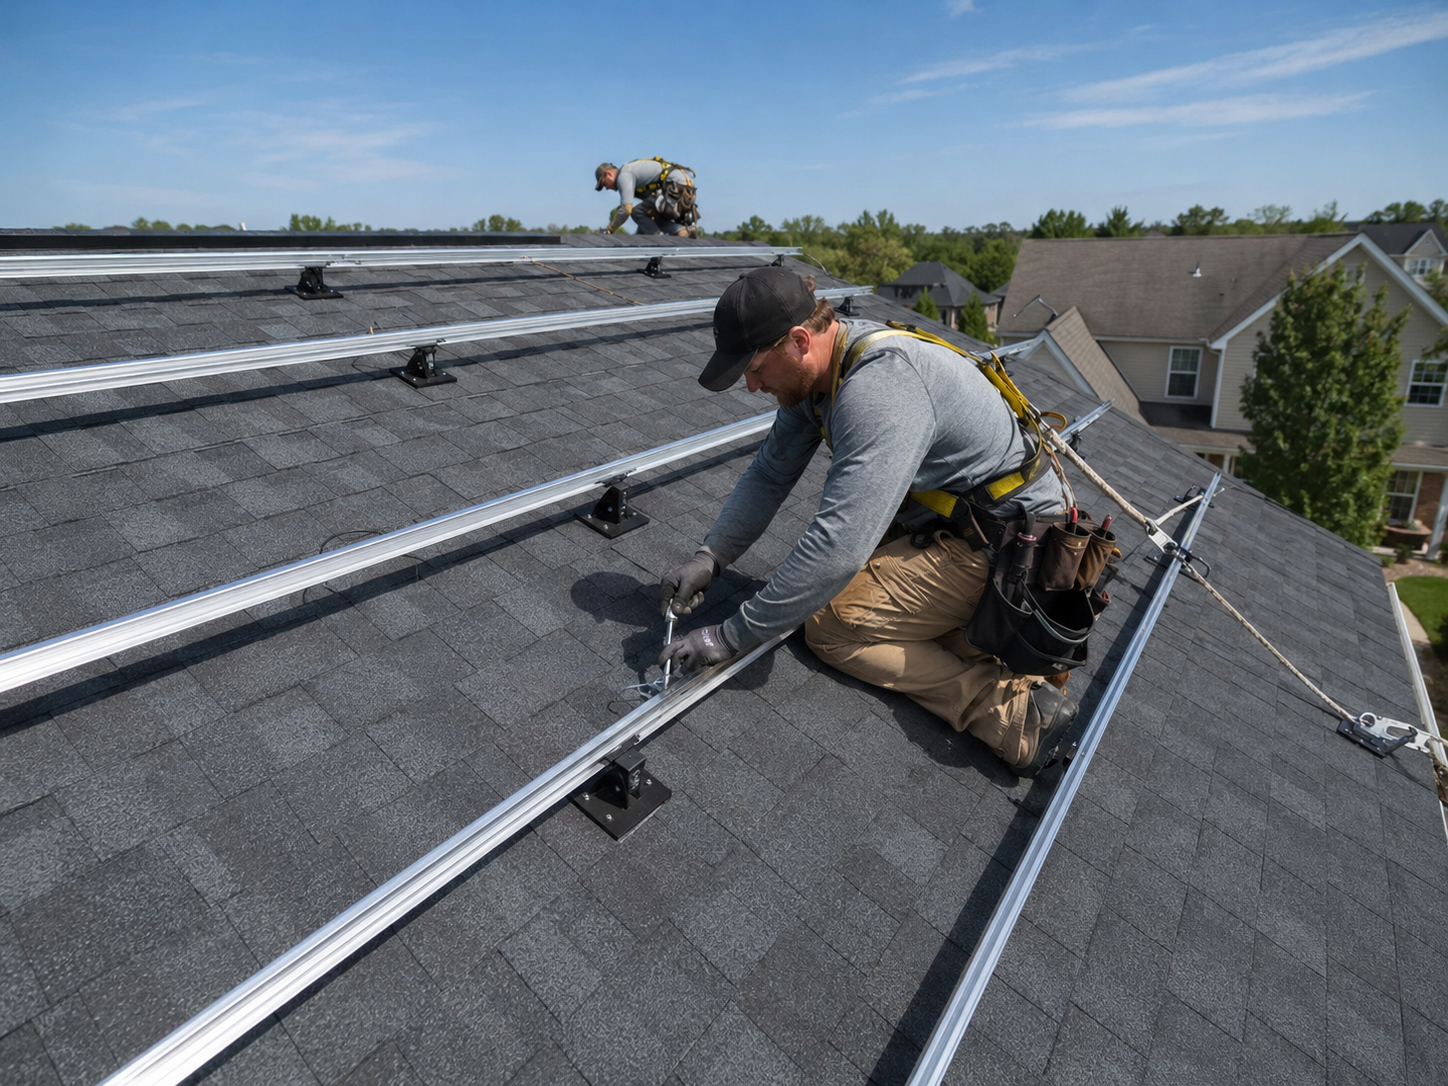
Composition Shingle
Flashing must work with shingle overlap, rafter attachment, roof condition, and water flow.
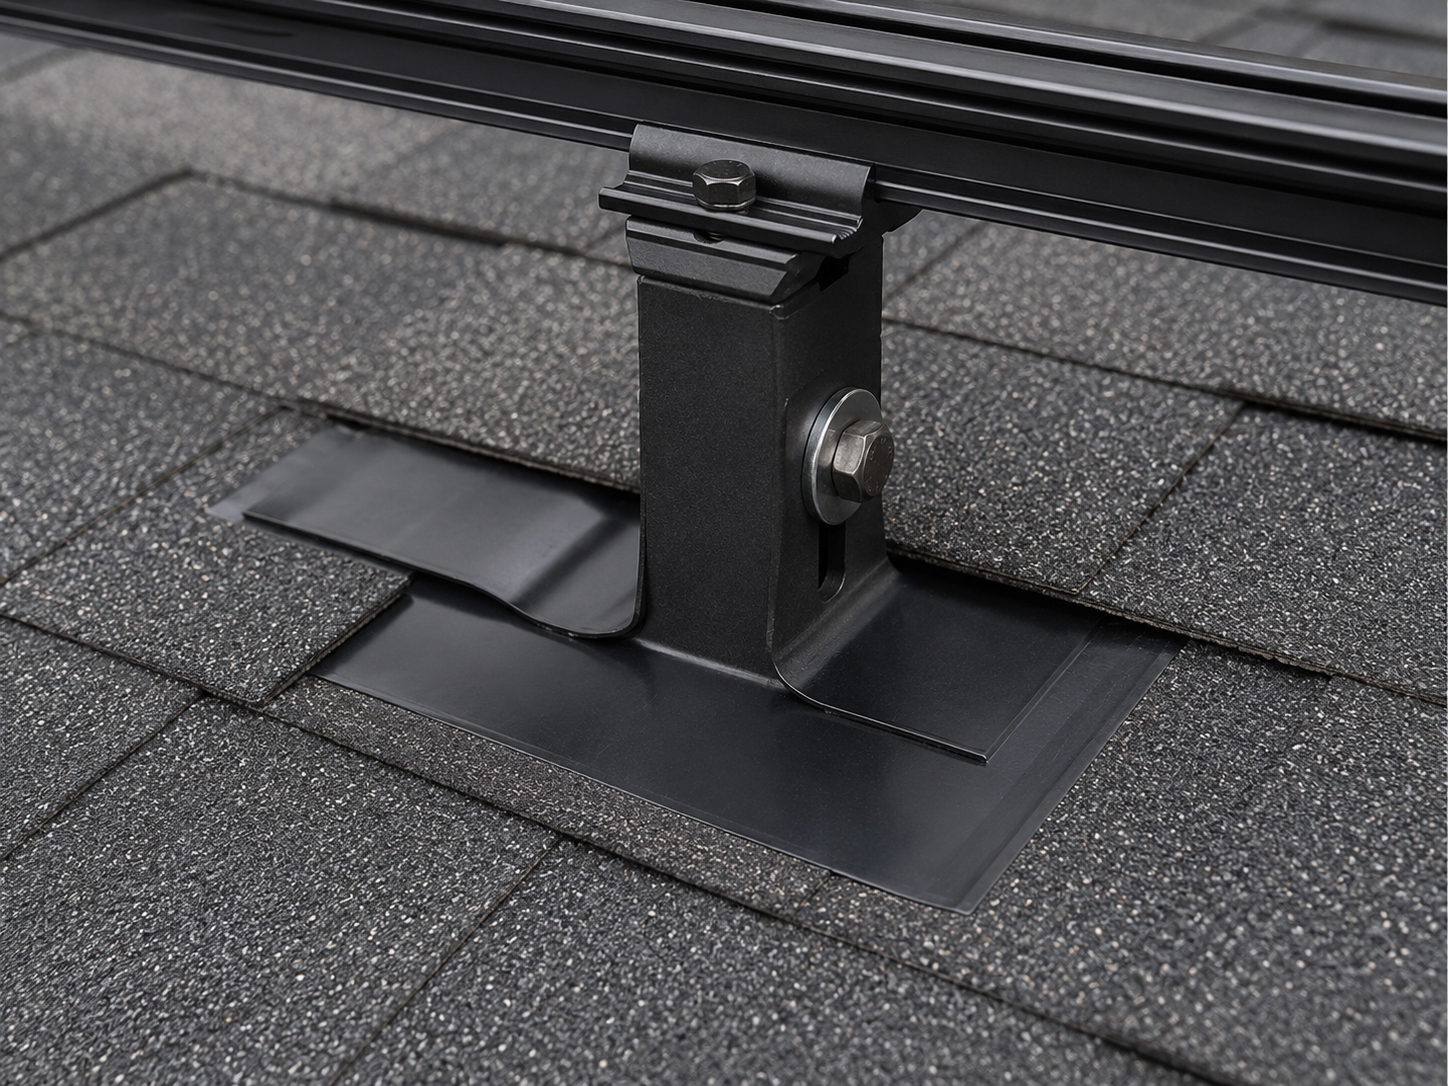
Asphalt Shingle
The flashed mount must become part of the roofing layer, not sit as an afterthought.
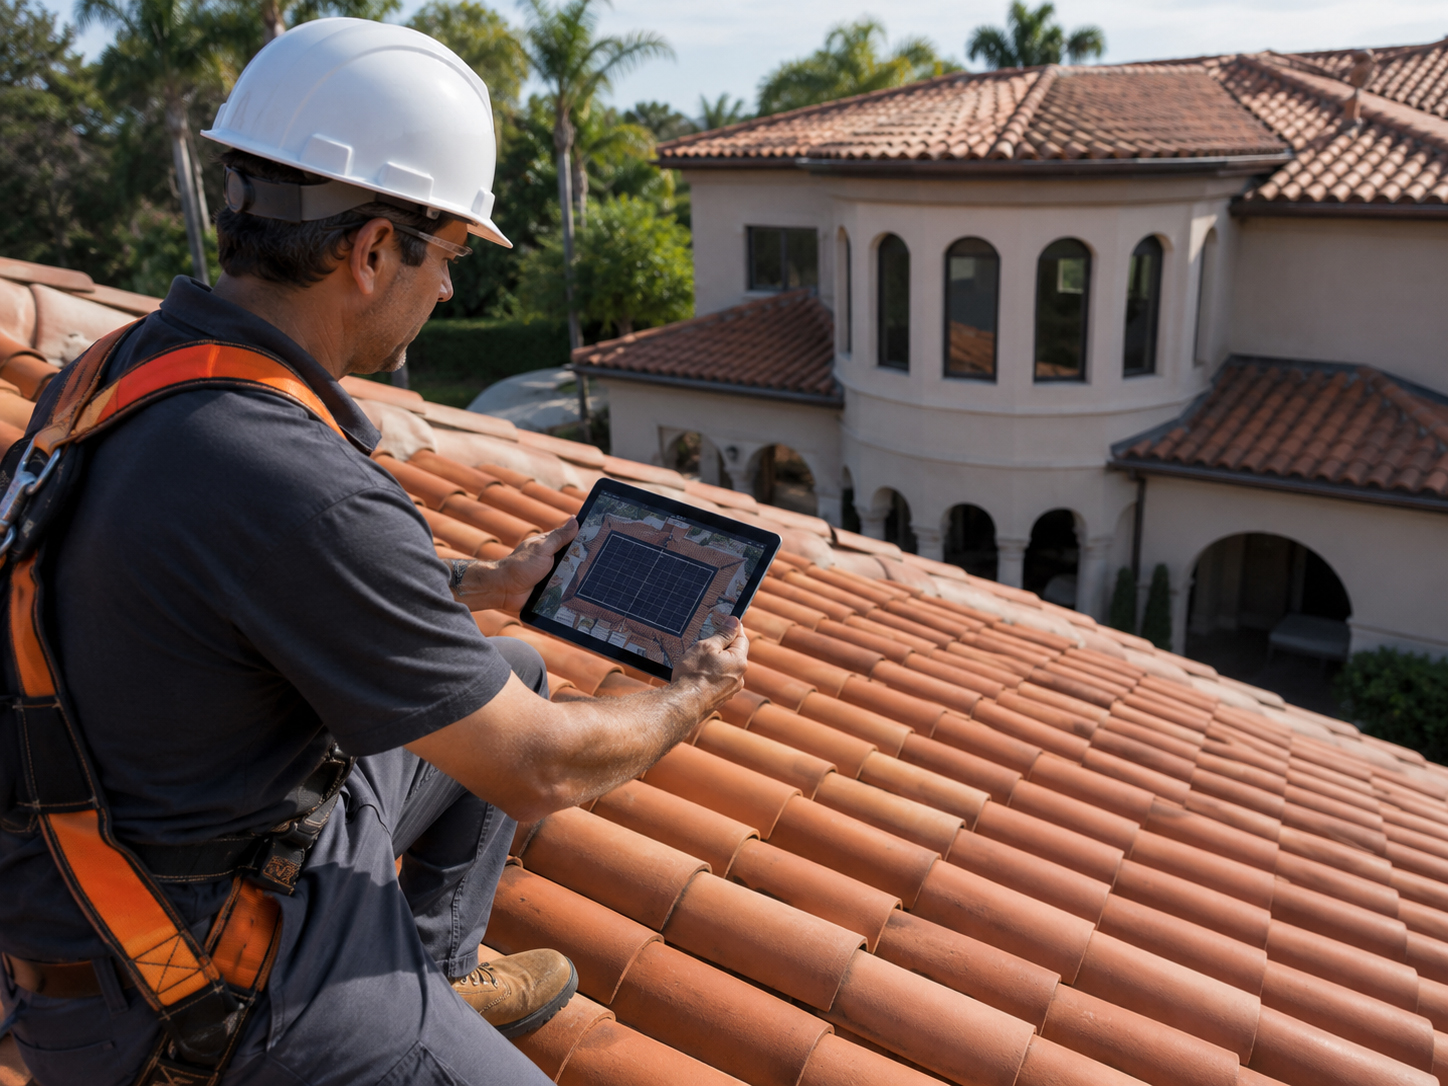
Tile Roof Review
Tile roofs require project-specific review of roof condition, underlayment, access, and serviceability.
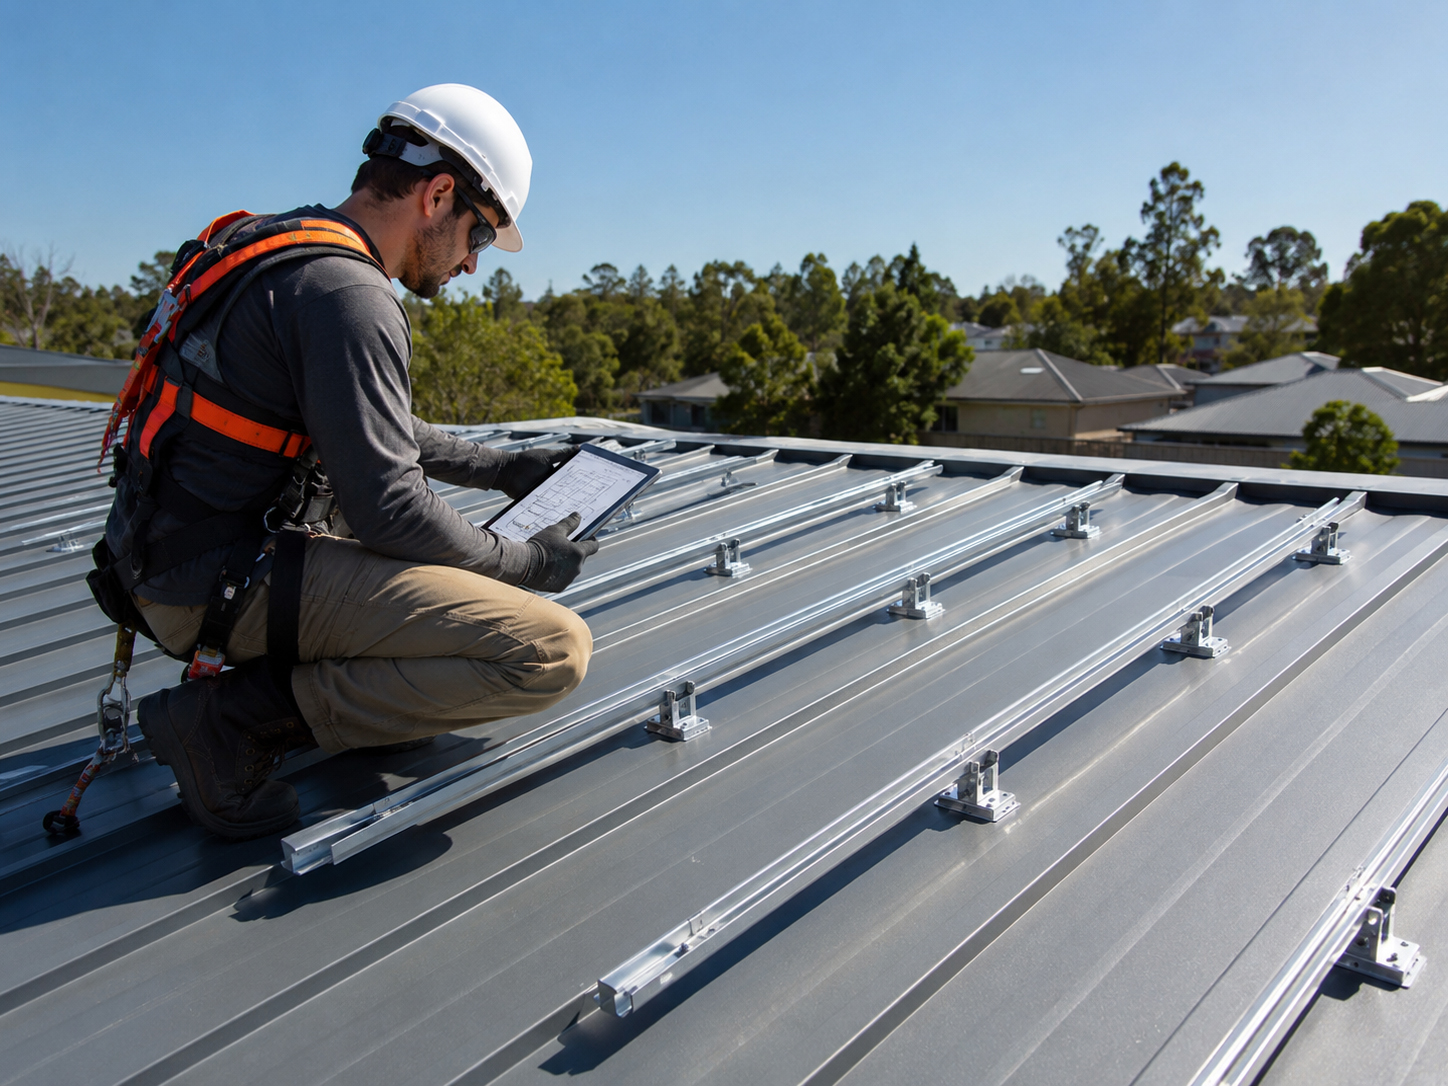
Metal Roofs
Metal roof waterproofing depends on profile, seams, fasteners, coatings, and manufacturer requirements.
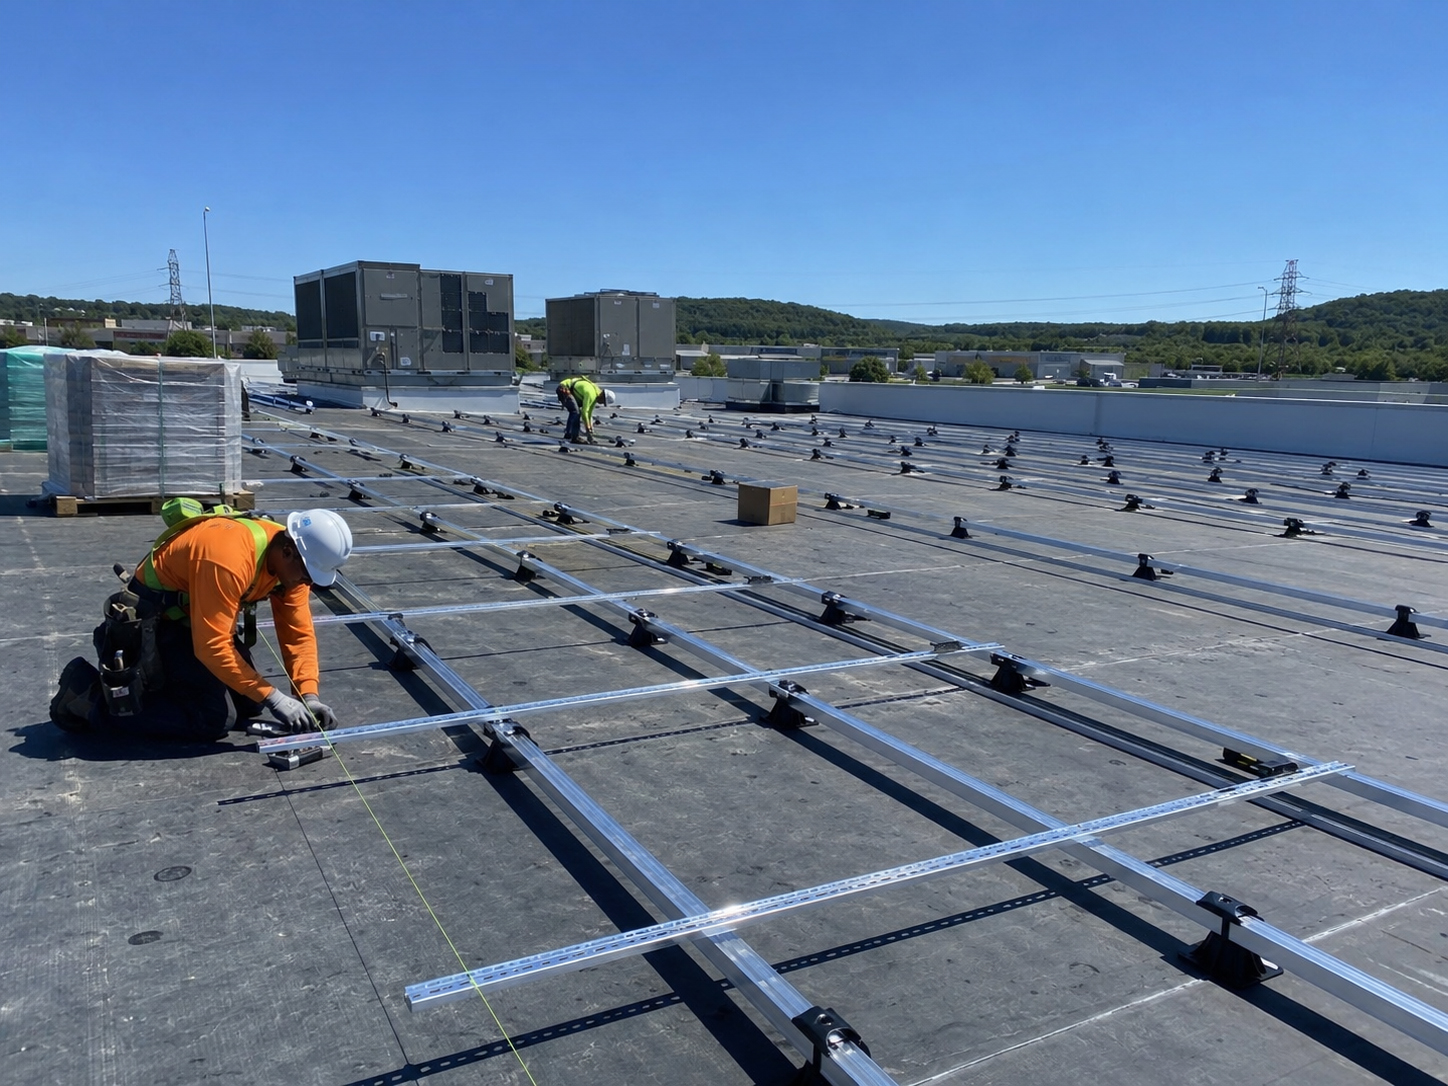
Flat Roofs
Flat roofs demand attention to membrane condition, drainage, ballast, walk paths, and roof loading.
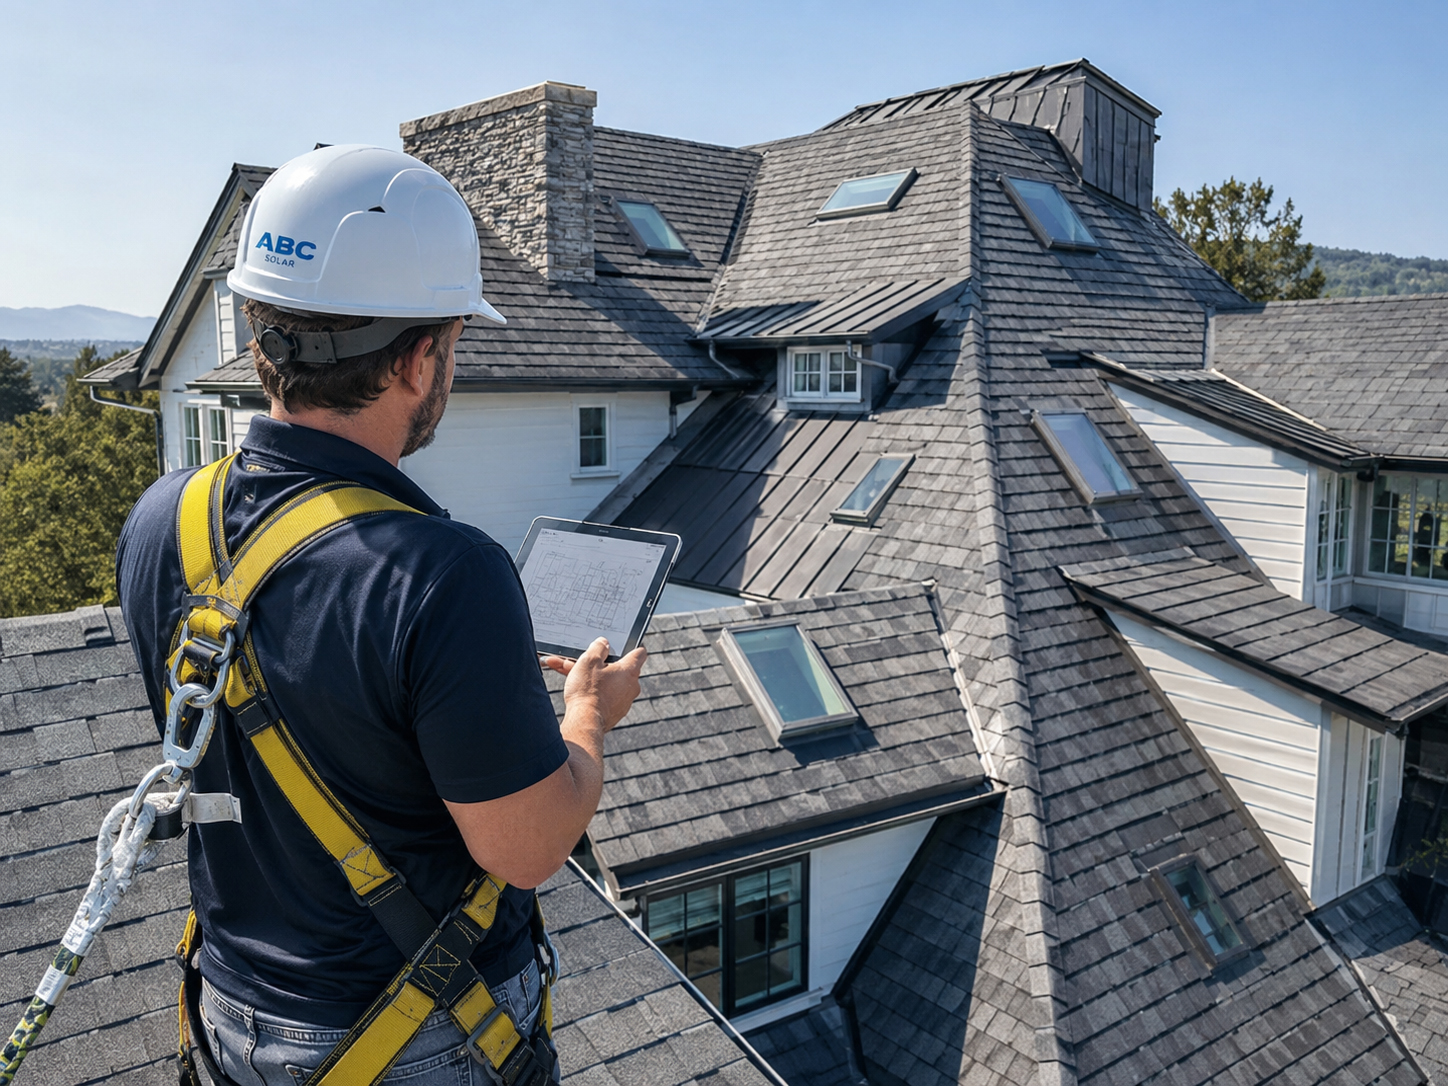
Unique Roofs
Complex roof geometry, mixed materials, valleys, dormers, and skylights change the waterproofing plan.
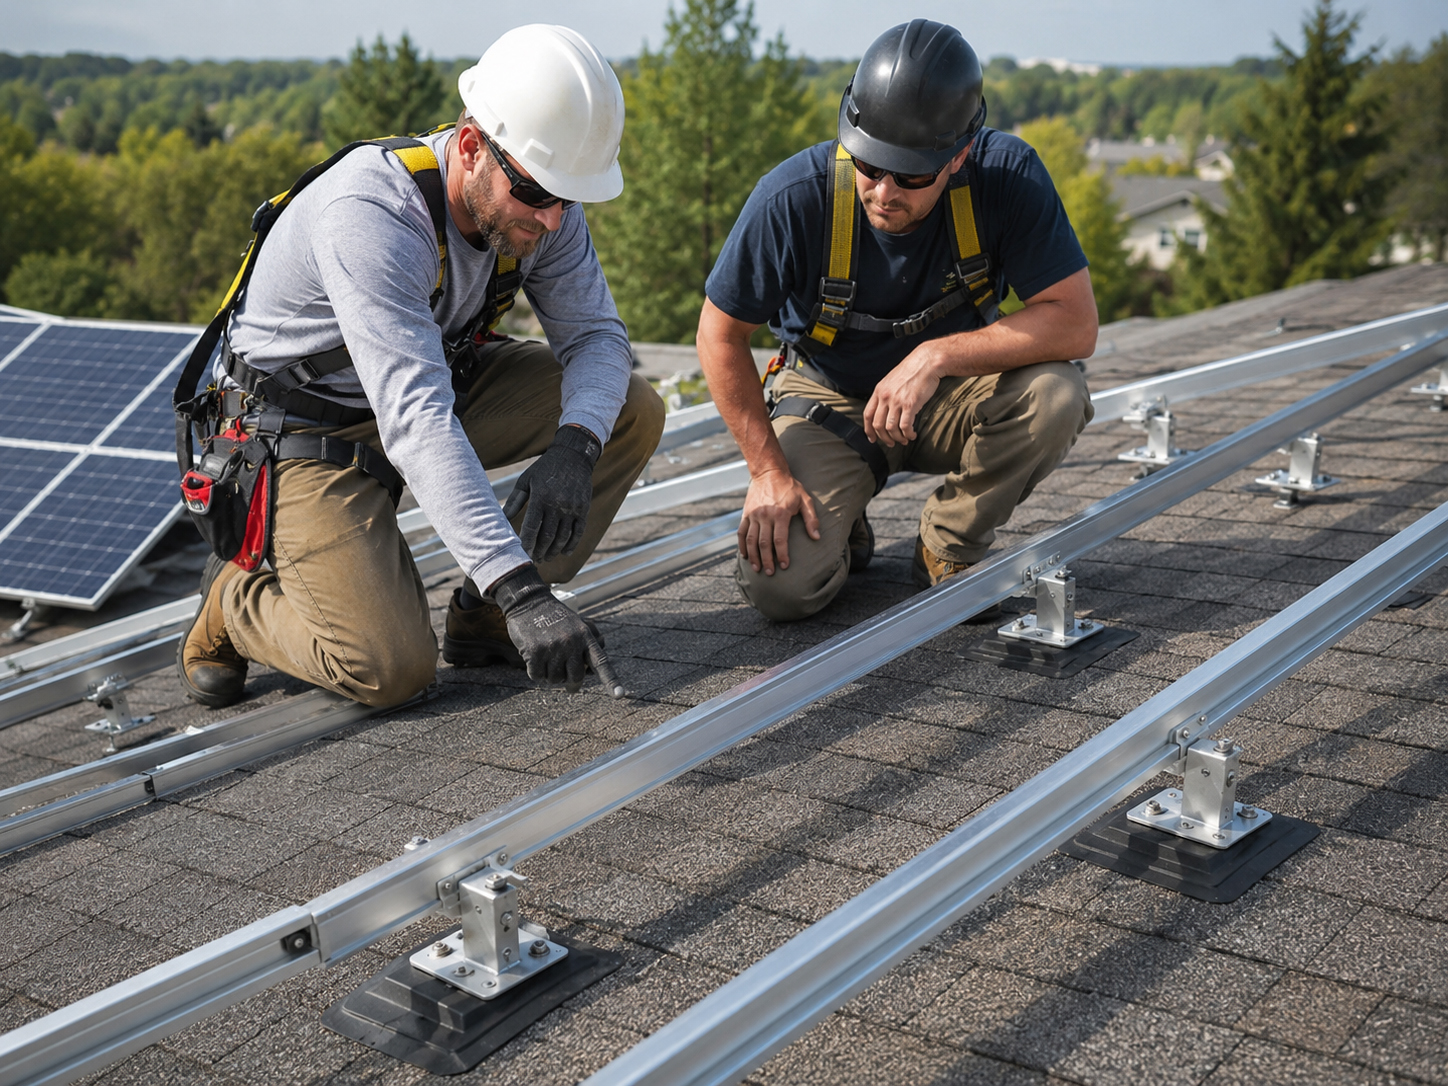
Respect both trades
Solar work and roofing work must cooperate.
The solar contractor sees the array. The roofer sees the water path. The best projects respect both.
Roofers and solar contractors should not be enemies. A durable installation benefits from roofing judgment, solar layout discipline, and clear responsibility for the roof penetrations, flashing, service access, and documentation before the array is complete.
Plain-language summary: the roof does not care which trade caused the problem. It only cares whether the water was managed correctly.
Inspection before concealment
The waterproofing moment should not be missed.
Once the rails and panels go on, the roof-protection detail may become much harder to see.
Look
Visually check the roof, mount location, flashing position, sealant condition, and nearby water path.
Photograph
Photos can document the condition before concealment and help future service teams understand the work.
Inspect
Confirm that the detail is ready for the next phase before rails, modules, and wire management cover it.
Good homeowner question: “Can you show me how the roof penetrations are flashed and waterproofed before the panels cover the work?”
Leak prevention
Leak prevention is cheaper than leak investigation.
A careful waterproofing sequence can prevent callbacks, disputes, roof damage, and homeowner frustration.
Leak investigation after solar installation can be difficult because the array may cover the roof surface, obscure flashing details, and complicate access. That is why SolarMount.com treats waterproofing as the first job, not the cleanup job.
Do not mount solar over a roof that is already asking for attention.
Know the structural target, water path, and flashing strategy first.
Confirm the detail before it disappears under the finished array.

Related field guide pages
Continue the waterproofing review.
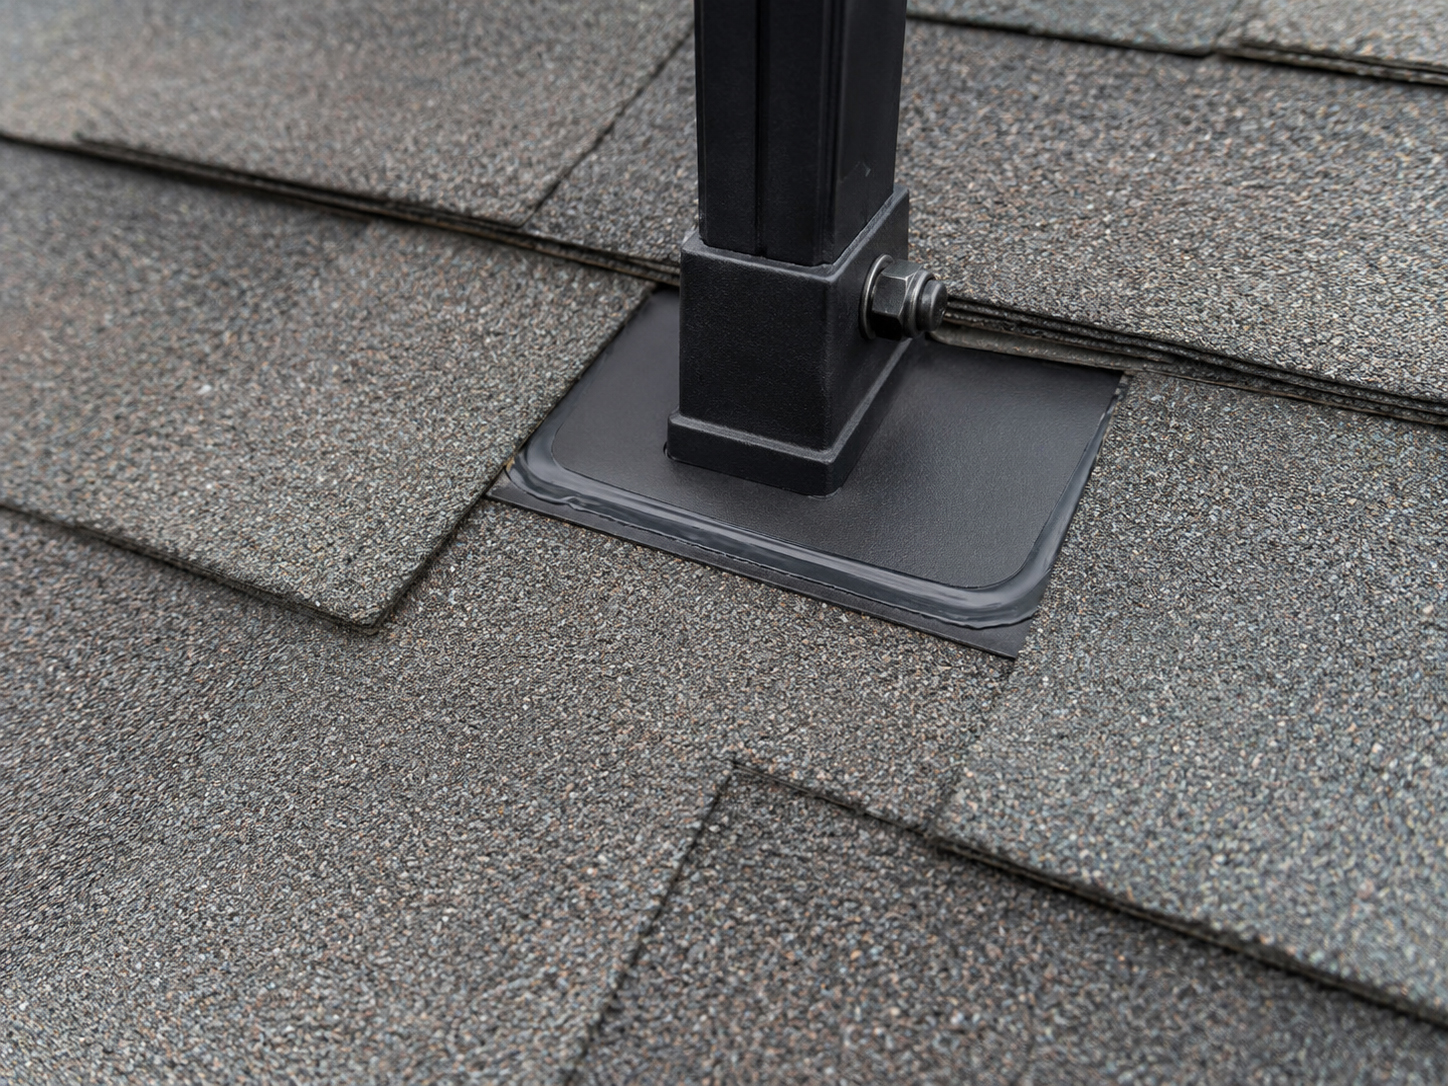
Waterproofing conclusion
Do not let the panels outrun the roof.
Waterproofing is job one because the roof must still do its first job after solar is installed: protect the building from water.