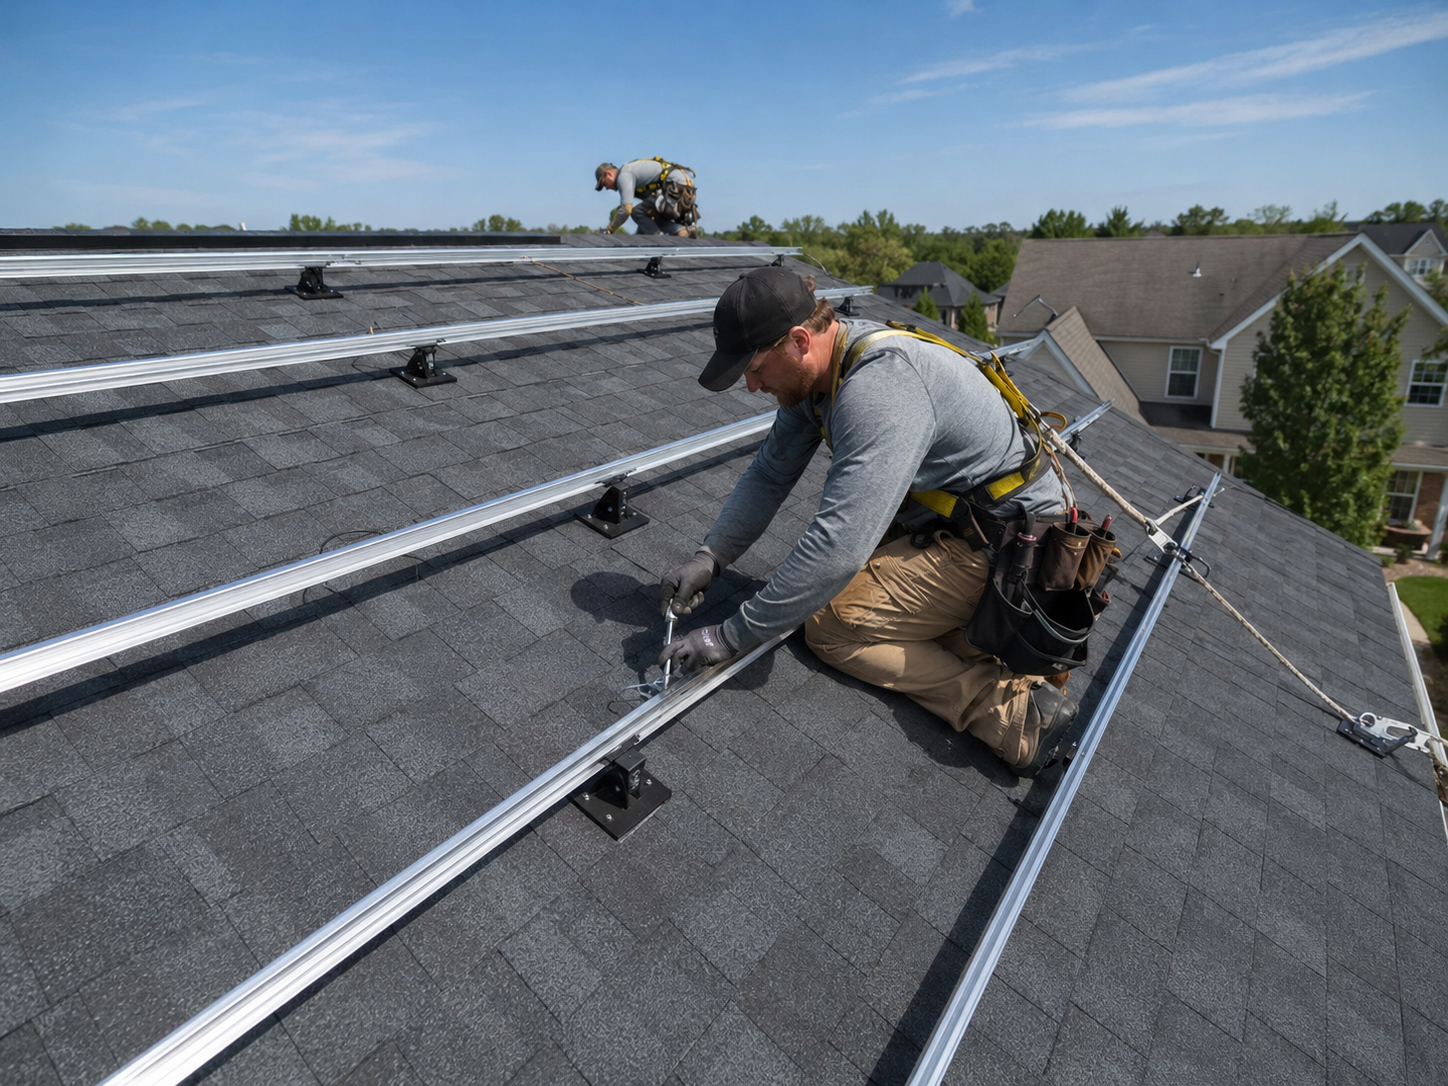
Sloped roof field guide
Composition shingle solar mounting starts with the roof.
Composition shingle roofs are common solar candidates, but the method still requires discipline: roof condition, rafter location, mounting feet, lag bolts, flashing, sealant, rails, clamps, wire management, and inspection before the work is hidden.
The workhorse roof
Composition shingle is familiar, not automatic.
A familiar roof type still deserves a serious mounting review.
Many residential solar systems are installed on composition shingle roofs because the roof planes are often accessible, the water path is understandable, and flashed mounting details are well established. That does not mean the work should be rushed. The roof age, shingle condition, rafter layout, attachment locations, flashing sequence, and final inspection still matter.
SolarMount.com rule: composition shingle mounting should be planned as a roof, structure, and waterproofing detail — not just a place to bolt down rails.
Composition shingle checklist
What should be reviewed before mounting begins?
The goal is to make the mounting plan fit the roof, not force the roof to accept a careless layout.
Roof age
Composition shingles have a service life. If the roof is near the end, reroofing before solar may be smarter than panel removal later.
Shingle condition
Review curling, cracking, brittle shingles, missing granules, old repairs, soft areas, and visible wear before installing mounting feet.
Rafter layout
Mounting feet should align with rafters or approved structural targets. The array layout must respect the framing below the shingles.
Flashing method
Flashing must integrate with the shingle layers and water path. It is the roof-protection detail around the mounting point.
Rail layout
Rails and clamps must coordinate with module layout, mounting-foot spacing, setbacks, fire pathways, and service access.
Inspection timing
Attachment and waterproofing work should be checked before rails and panels conceal the most important details.

Before solar
Do not cover a tired shingle roof with solar.
Solar panels can last for decades. The roof underneath must be part of the same long-term plan.
If the shingles are old, brittle, curled, heavily patched, leaking, or near the end of their service life, it may be better to address the roof before solar is installed. Once the array is in place, roof replacement becomes more complicated because panels, rails, wiring, and roof attachments may need to be removed and reinstalled.
Practical rule: if the roof is questionable, pause before solar mounting. A roof review now can prevent expensive roof-service problems later.
Attachment sequence
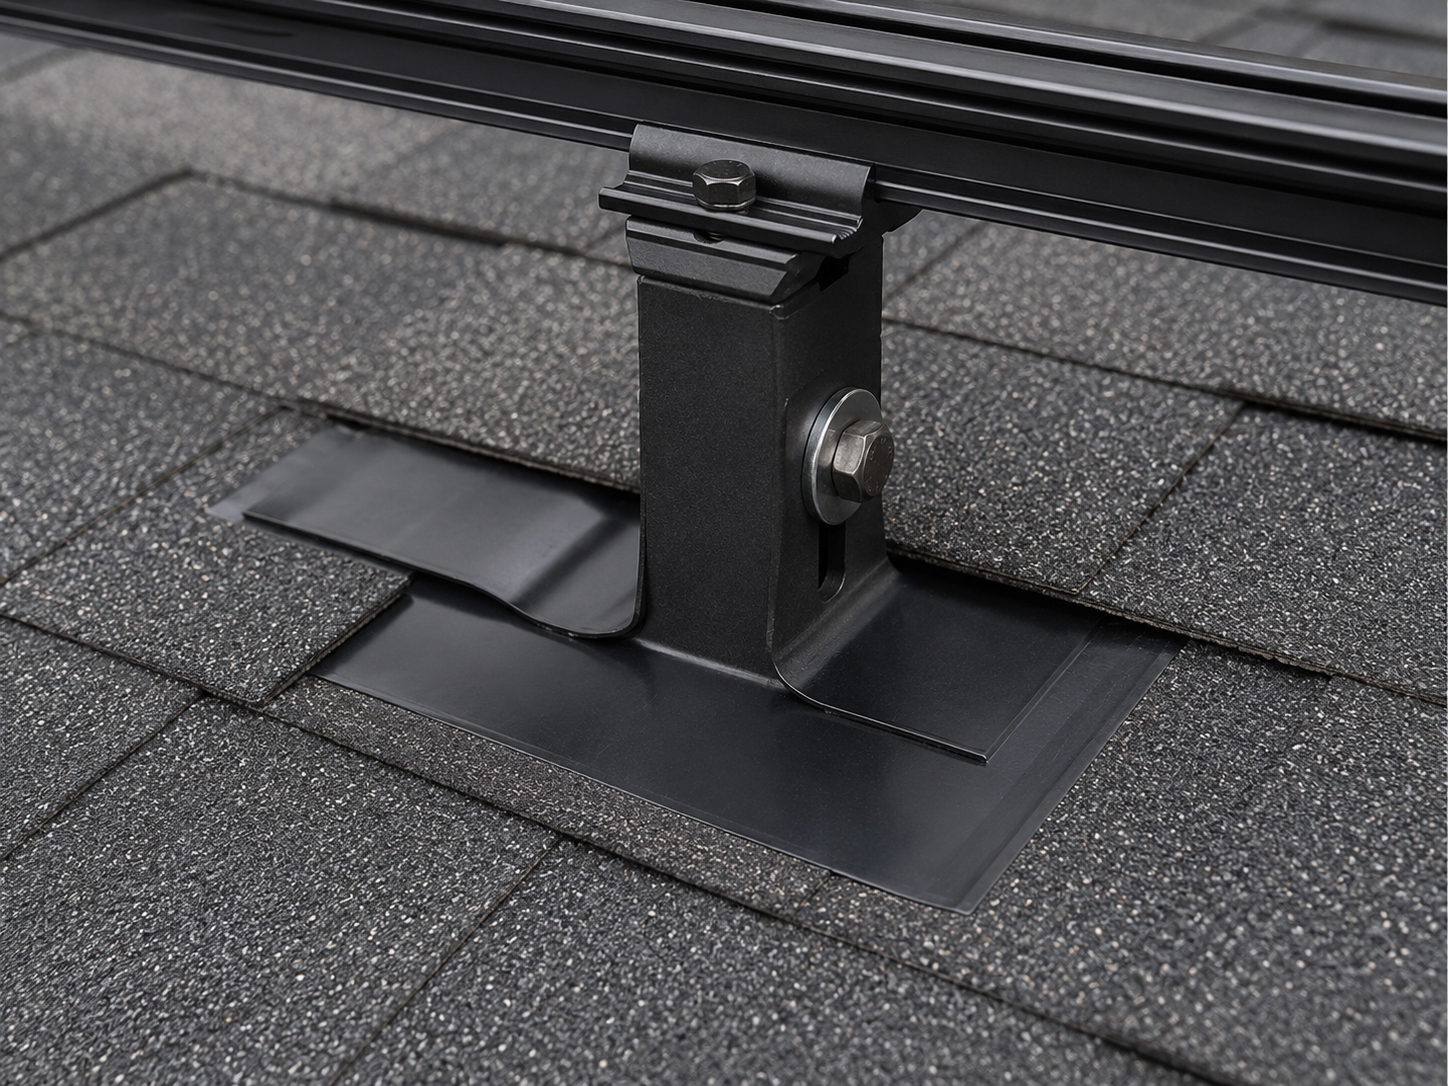
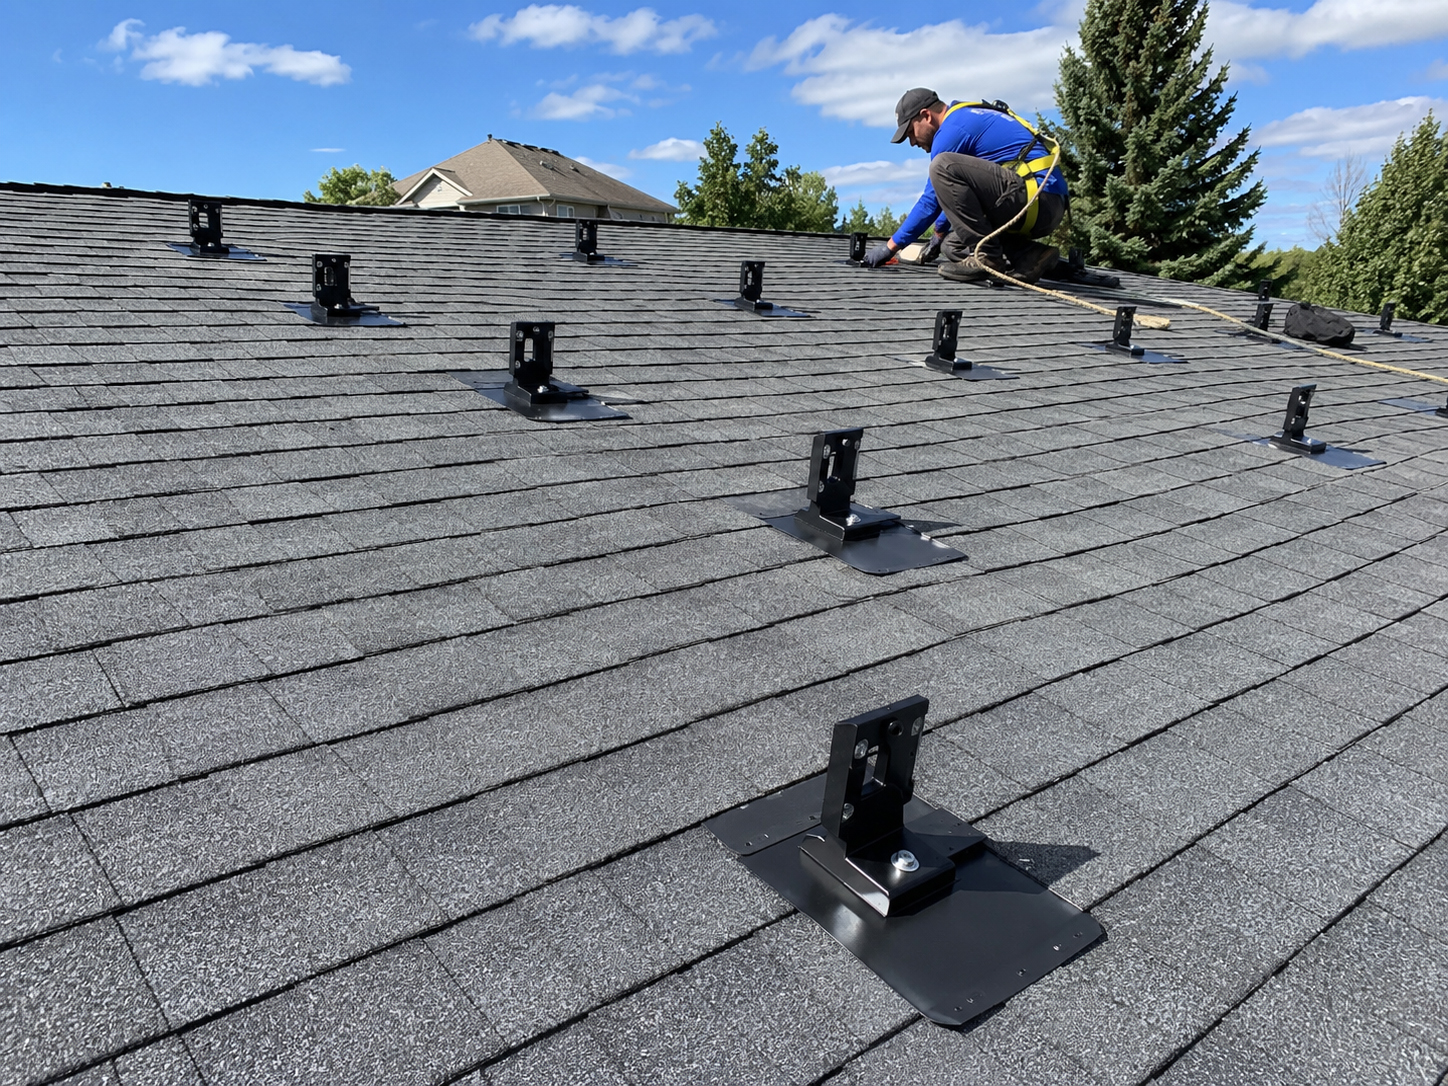
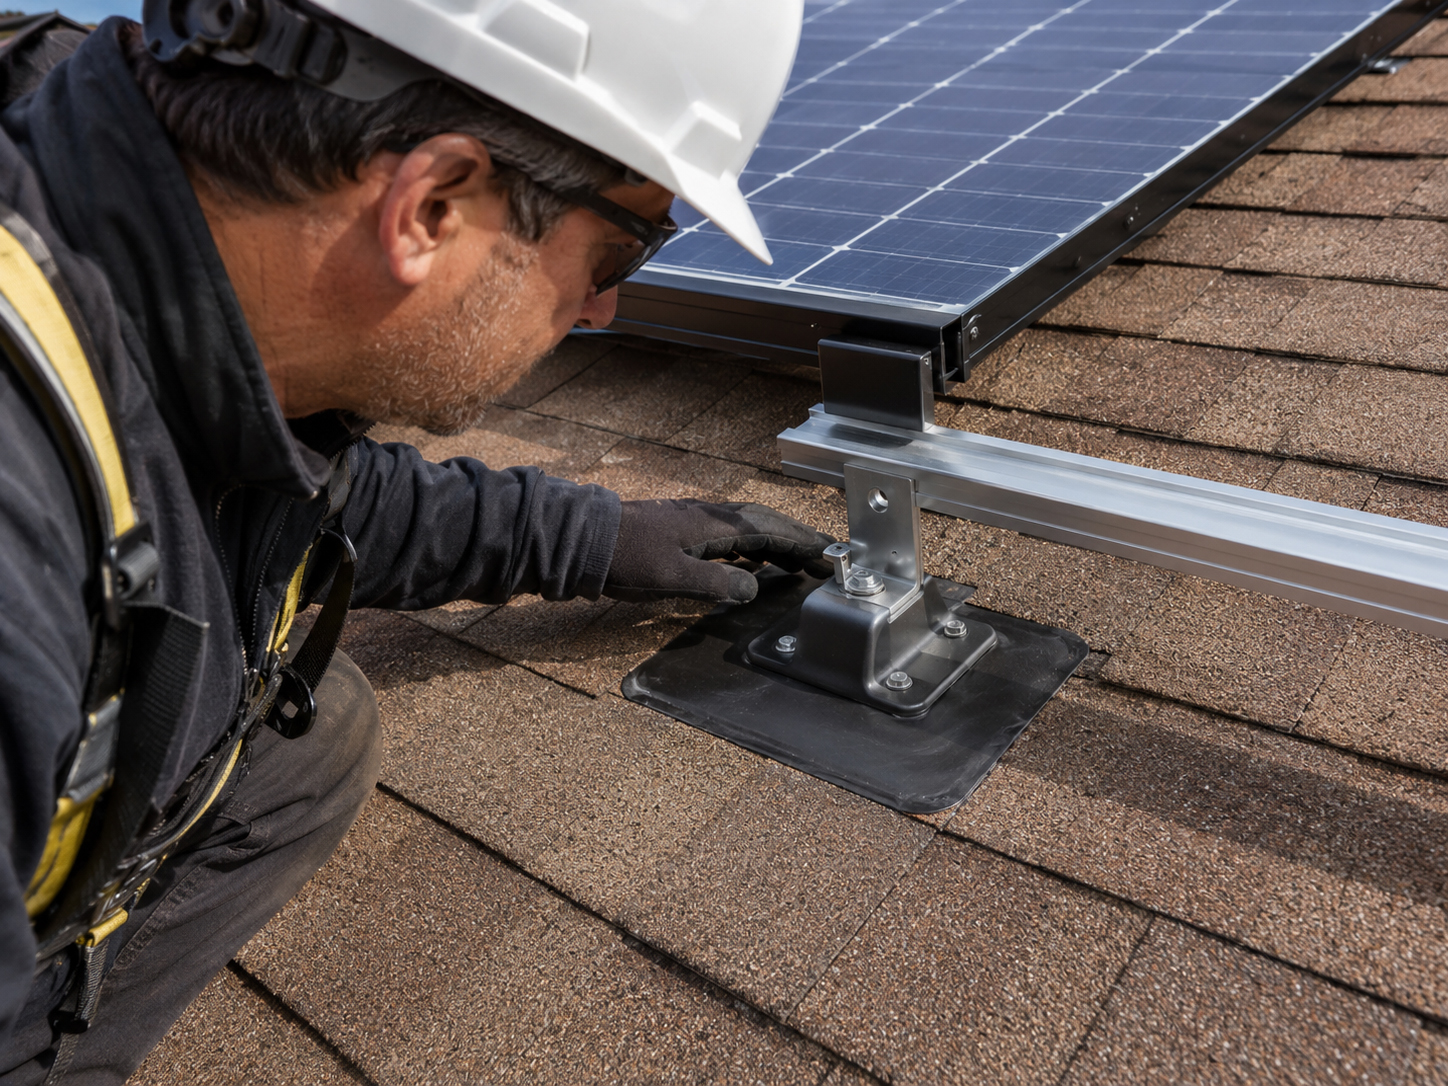
The mounting foot connects roof, rafter, flashing, and rail.
On a composition shingle roof, the mounting foot is a small part with a large job.
Before mounting feet are installed
- Confirm roof age and shingle condition.
- Confirm the rafter or approved structural target.
- Confirm array layout, rail direction, and mount spacing.
- Mark roof penetration locations clearly.
- Confirm flashing and sealant method.
- Confirm what should be inspected before concealment.
After mounting feet are installed
- Verify the attachment landed in the intended structure.
- Verify the foot is seated correctly.
- Verify flashing integrates with the shingle layers.
- Verify sealant is used as part of the approved detail.
- Photograph or document key details where useful.
- Proceed to rails only after the roof-protection detail is ready.
Important: this page is educational. Actual mounting-foot hardware, lag bolt size, flashing, sealant, pilot-hole size, attachment spacing, rail spans, and inspection requirements must follow the approved plan set, manufacturer instructions, engineering requirements, roofing requirements, and local code.
Waterproofing
Shingle overlap is part of the waterproofing system.
A composition shingle roof sheds water by layering and overlap.
The flashed solar mount should work with that roof logic. Water should be guided over and around the mount without creating a trap, dam, or hidden leak point. Sealant can support the detail, but the flashing and roof-layer integration are the primary waterproofing logic.
The flashing should work with the shingle layers, not tear them apart or sit as decoration.
The attachment point must be sealed and flashed according to the approved detail.
The waterproofing detail should be checked before rails and panels hide the work.

Rafter connection
The shingles are visible. The rafters carry the load.
Composition shingle mounting still depends on structural attachment below the roof surface.

Roof Integrity & Rafters
Review rafter direction, spacing, condition, and load path before attachment.
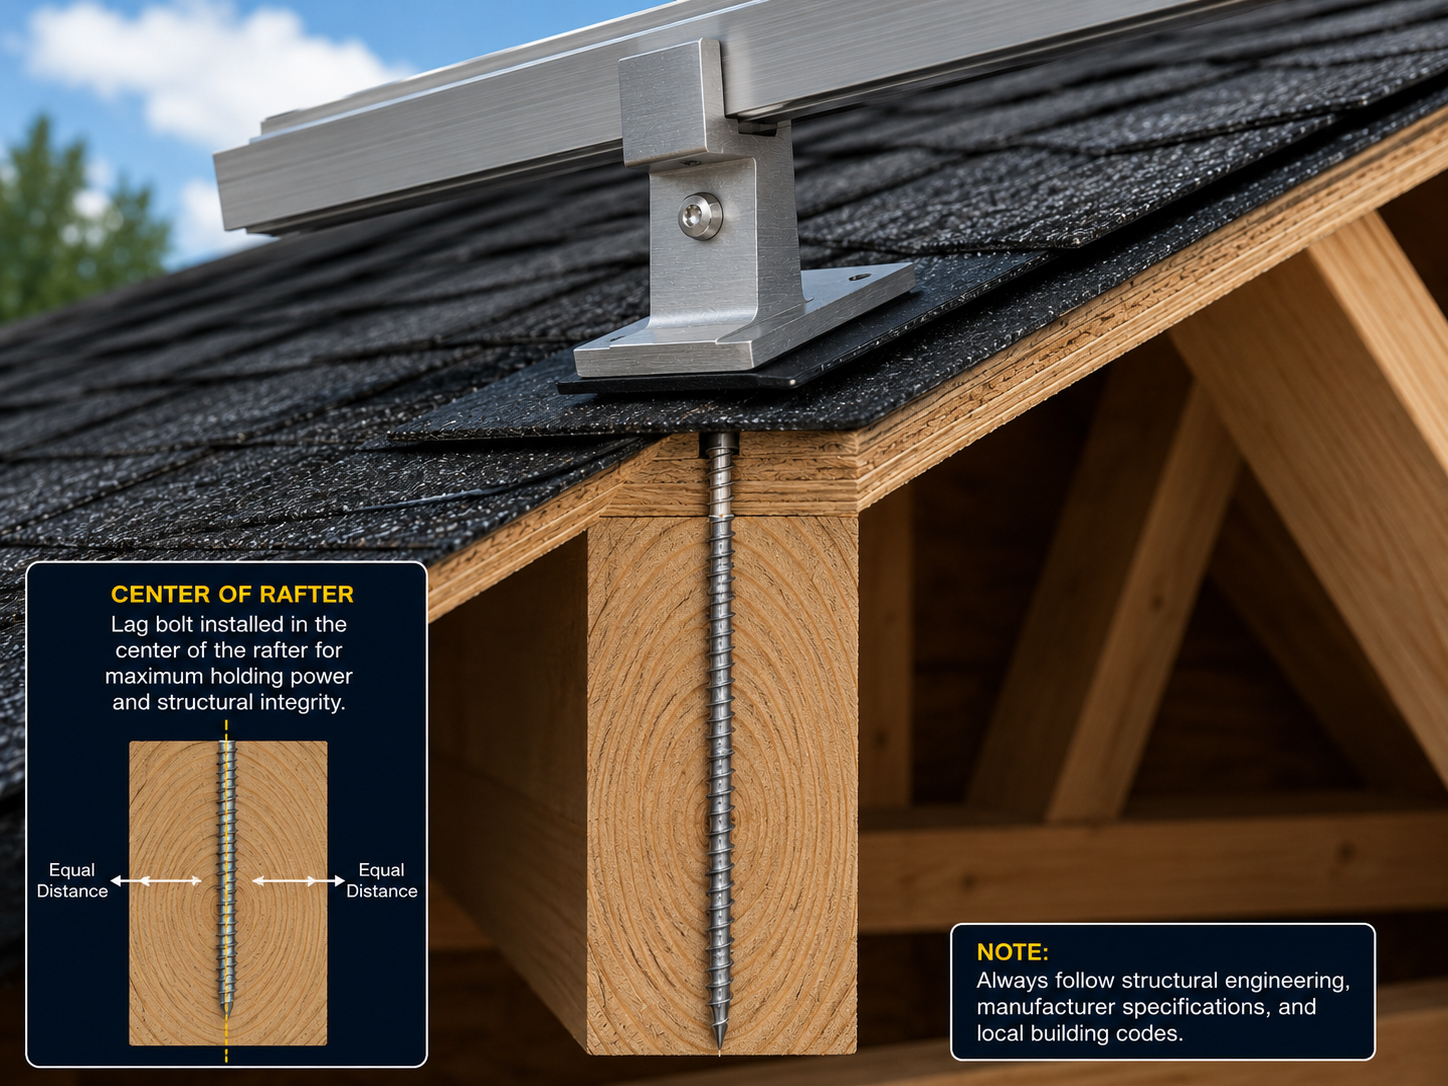
Lag Bolts Into Rafters
Fasteners must land in real structure according to the approved installation detail.
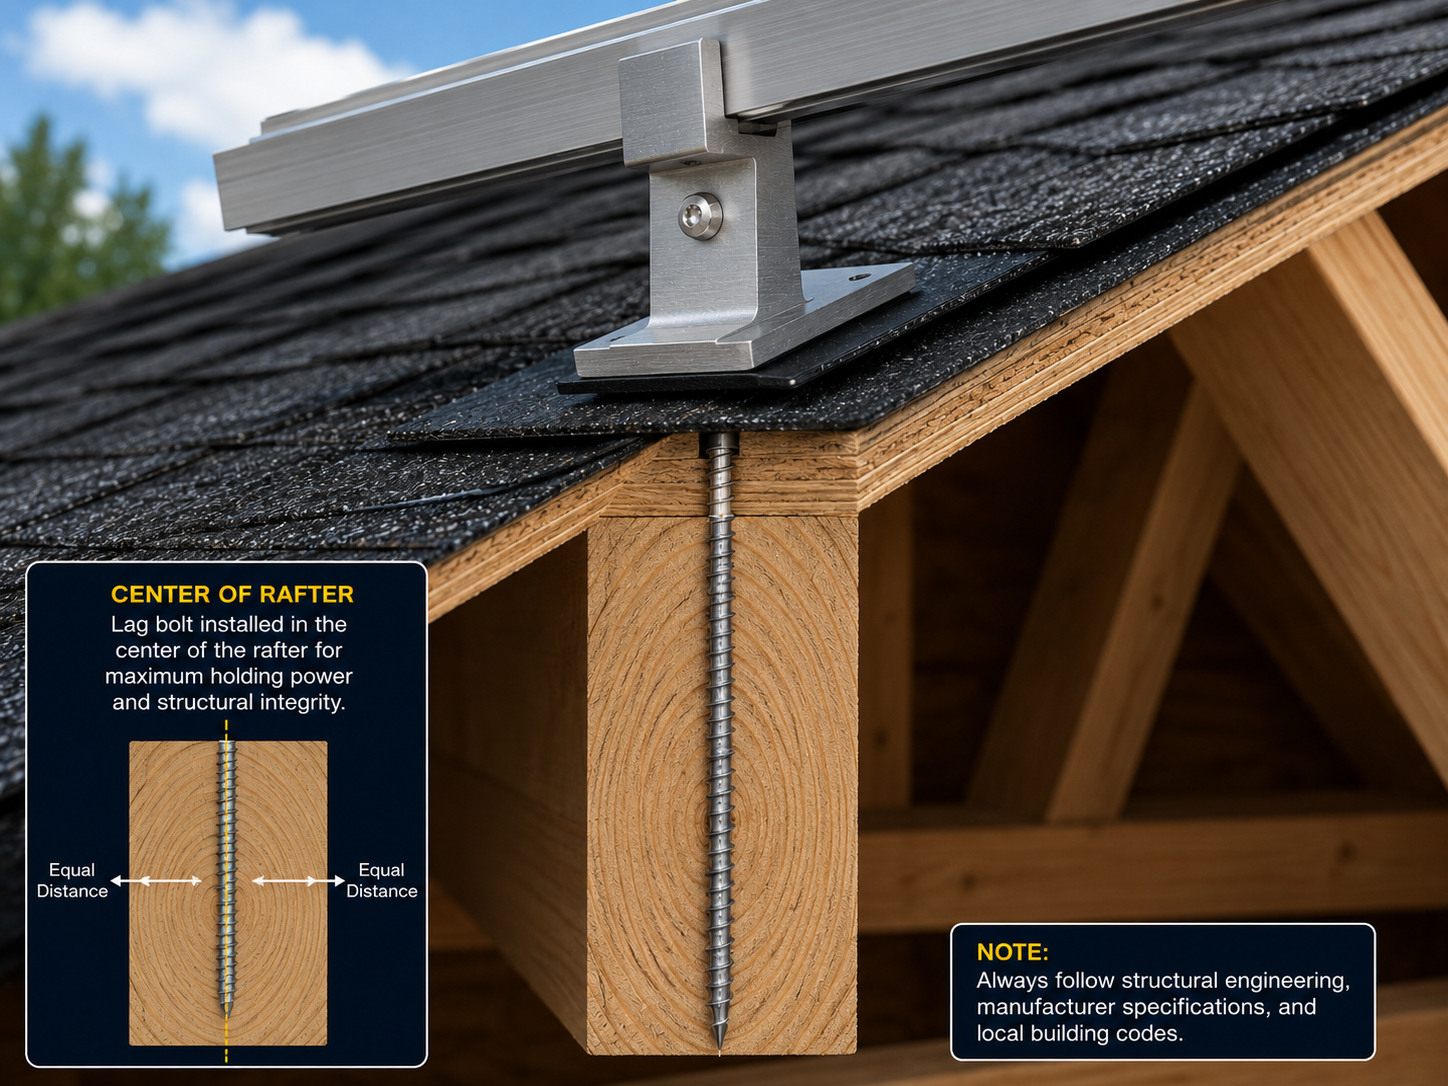
Feeder Drill Holes
Preparation helps the attachment land where the plan requires.
Plain-language summary: the roof surface sheds water. The rafter carries the mounting load. The flashing connects the two worlds safely.
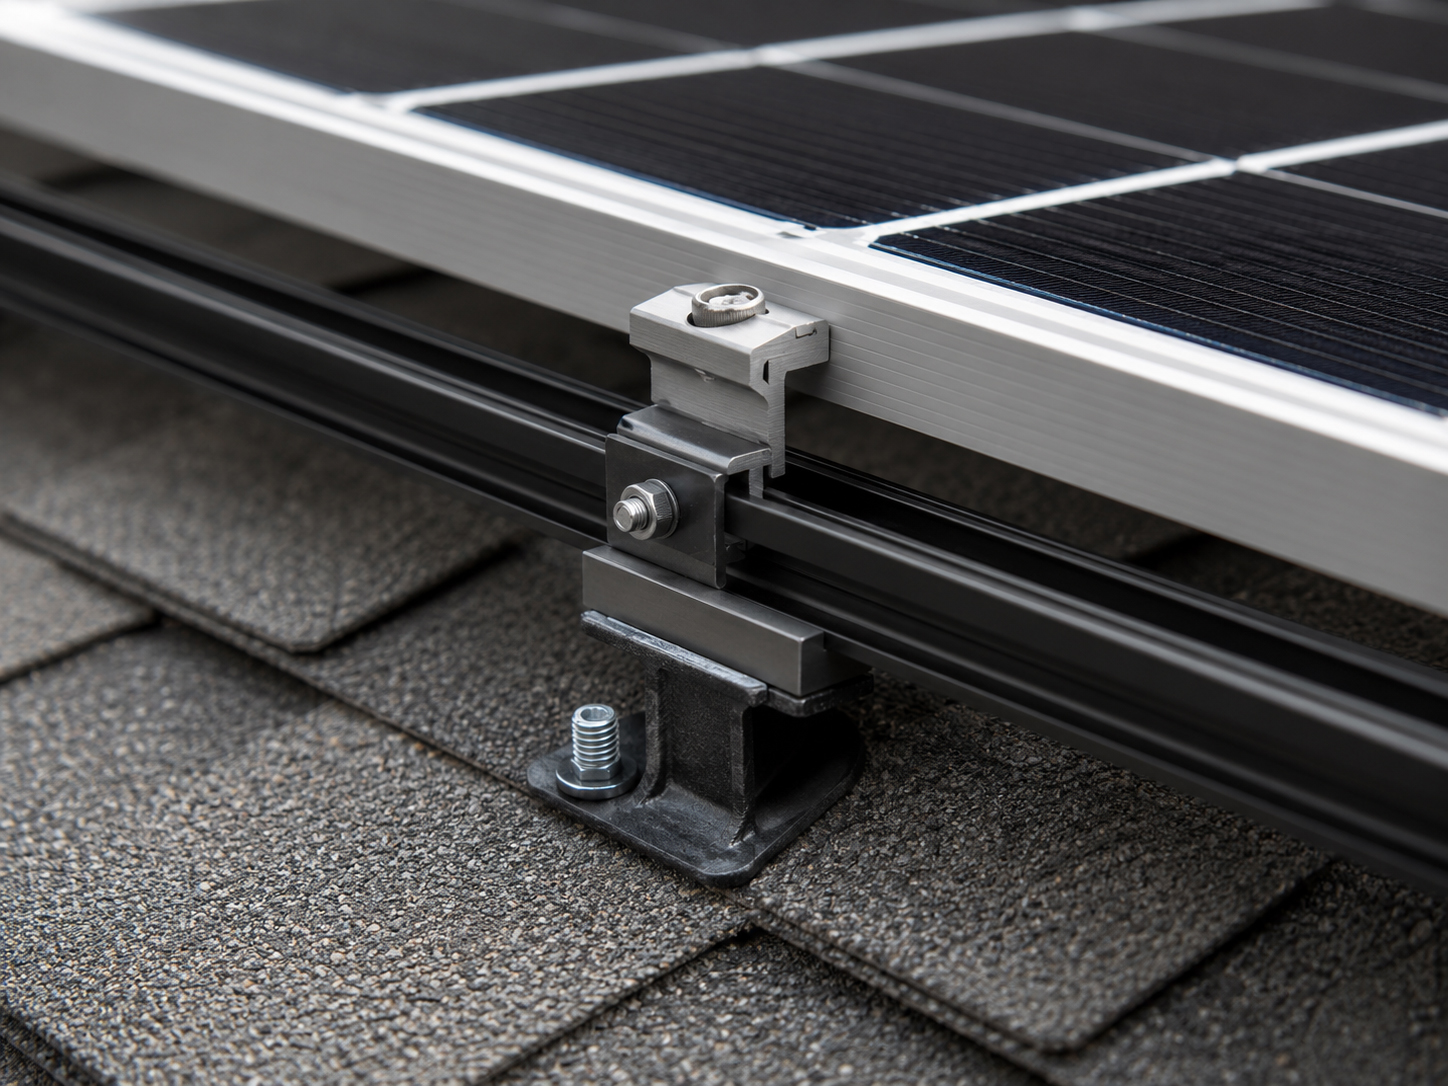
Rails and clamps
The rail system should follow the attachment plan.
Rails should not be used to hide a rushed mounting layout.
Once the mounting feet are installed and checked, rails and clamps create the visible array. The rail layout must follow the approved mounting-foot spacing, module requirements, roof geometry, rafter attachment pattern, fire setbacks, and service access needs.
Practical rule: verify attachment and flashing before the rail system makes the roof details harder to inspect.
Common composition shingle concerns
Small roof problems can become solar problems.
Composition shingle mounting is straightforward only when the roof is ready and the details are handled correctly.
Old shingles
Brittle or worn shingles can make flashing work harder and future roof service more expensive.
Missed rafters
A missed rafter can create an unnecessary roof opening and compromise the intended load path.
Poor flashing
Flashing that does not work with shingle overlap can create water intrusion risk.
Excess sealant
Sealant should not be used to compensate for bad placement, damaged shingles, or poor flashing.
Hidden details
Rails and panels can hide roof-protection details if the work is not inspected first.
Future reroofing
If reroofing is likely soon, panel removal and reinstallation should be considered before solar begins.
Roofer and solar contractor
Composition shingle projects benefit from trade coordination.
The solar contractor sees the array. The roofer sees the water path.
When the roof is older, patched, steep, brittle, or complex, a roofer’s review can help the solar team make better decisions. The goal is not to slow the project down. The goal is to avoid burying a roof problem under a long-life solar array.
SolarMount.com field note: roofers and solar contractors should coordinate before installation, not after a homeowner reports a leak.
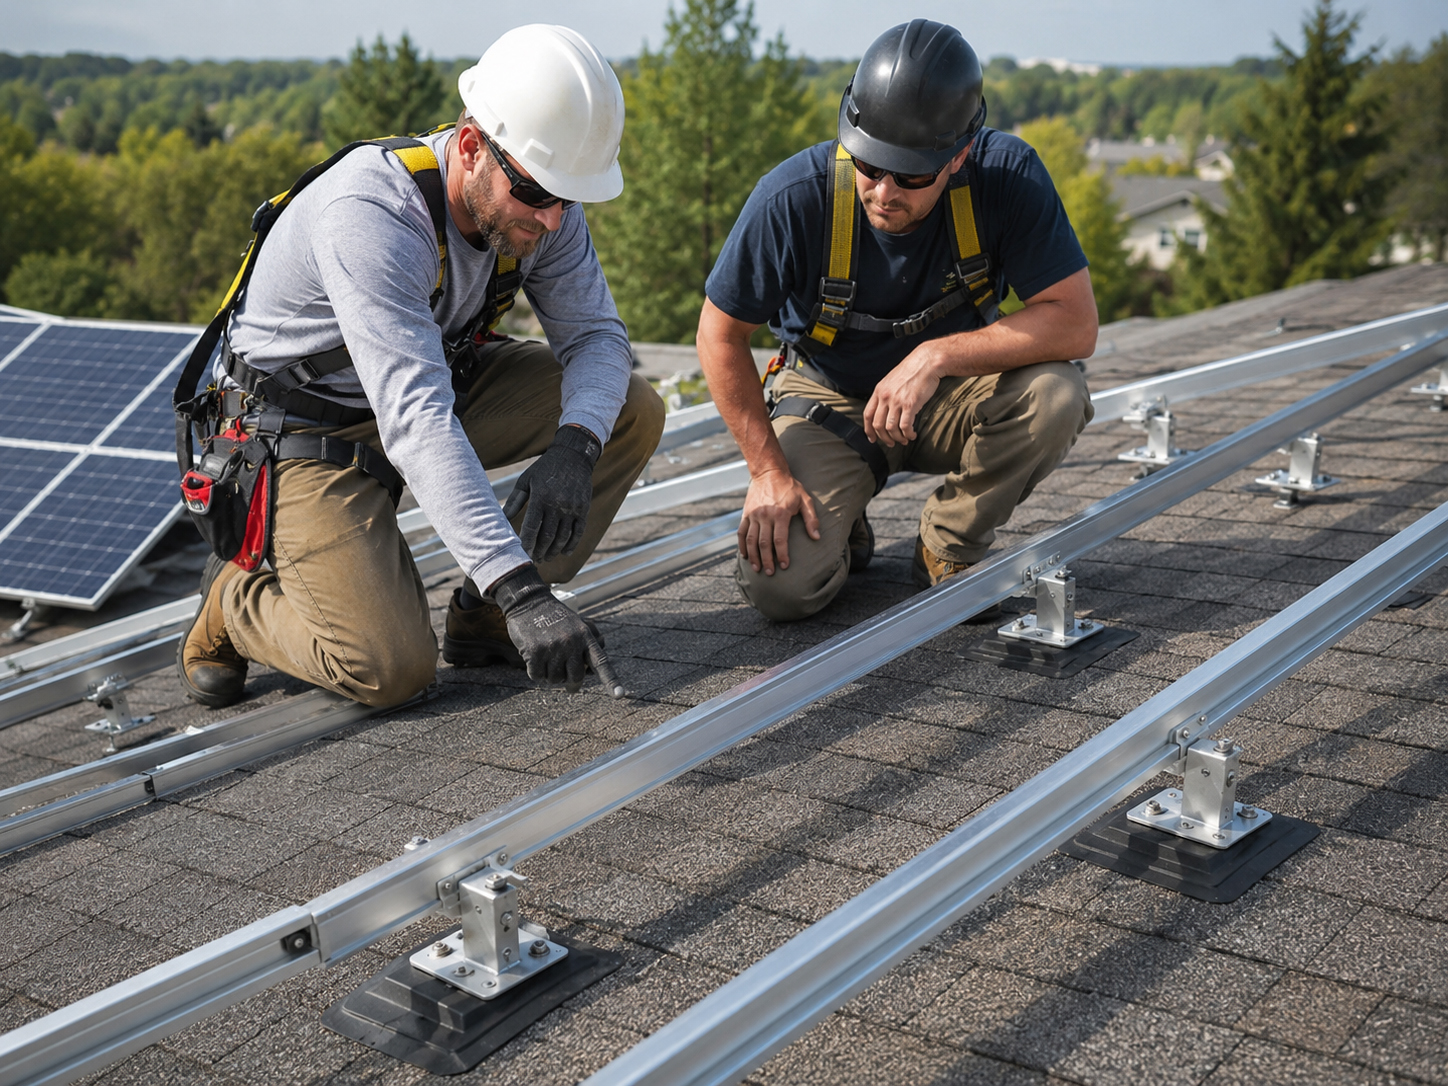

Inspection readiness
The installation should be explainable before final inspection.
A clean composition shingle installation should not be a mystery under the modules.
The plan set, field layout, mounting feet, flashing, sealant, rafter attachment, rails, clamps, grounding, wire management, and inspection path should all align. Good documentation helps the homeowner, installer, inspector, and future service team.
Good homeowner question: “Can you show me how the flashed mounts are installed before the panels cover them?”
Related field guide pages
Continue the shingle mounting review.
Composition shingle conclusion
Common roof. Serious details.
Composition shingle solar mounting works best when the roof is ready, the rafter locations are known, the mounts are flashed correctly, and the waterproofing is inspected before concealment.