Solar mounting checklist
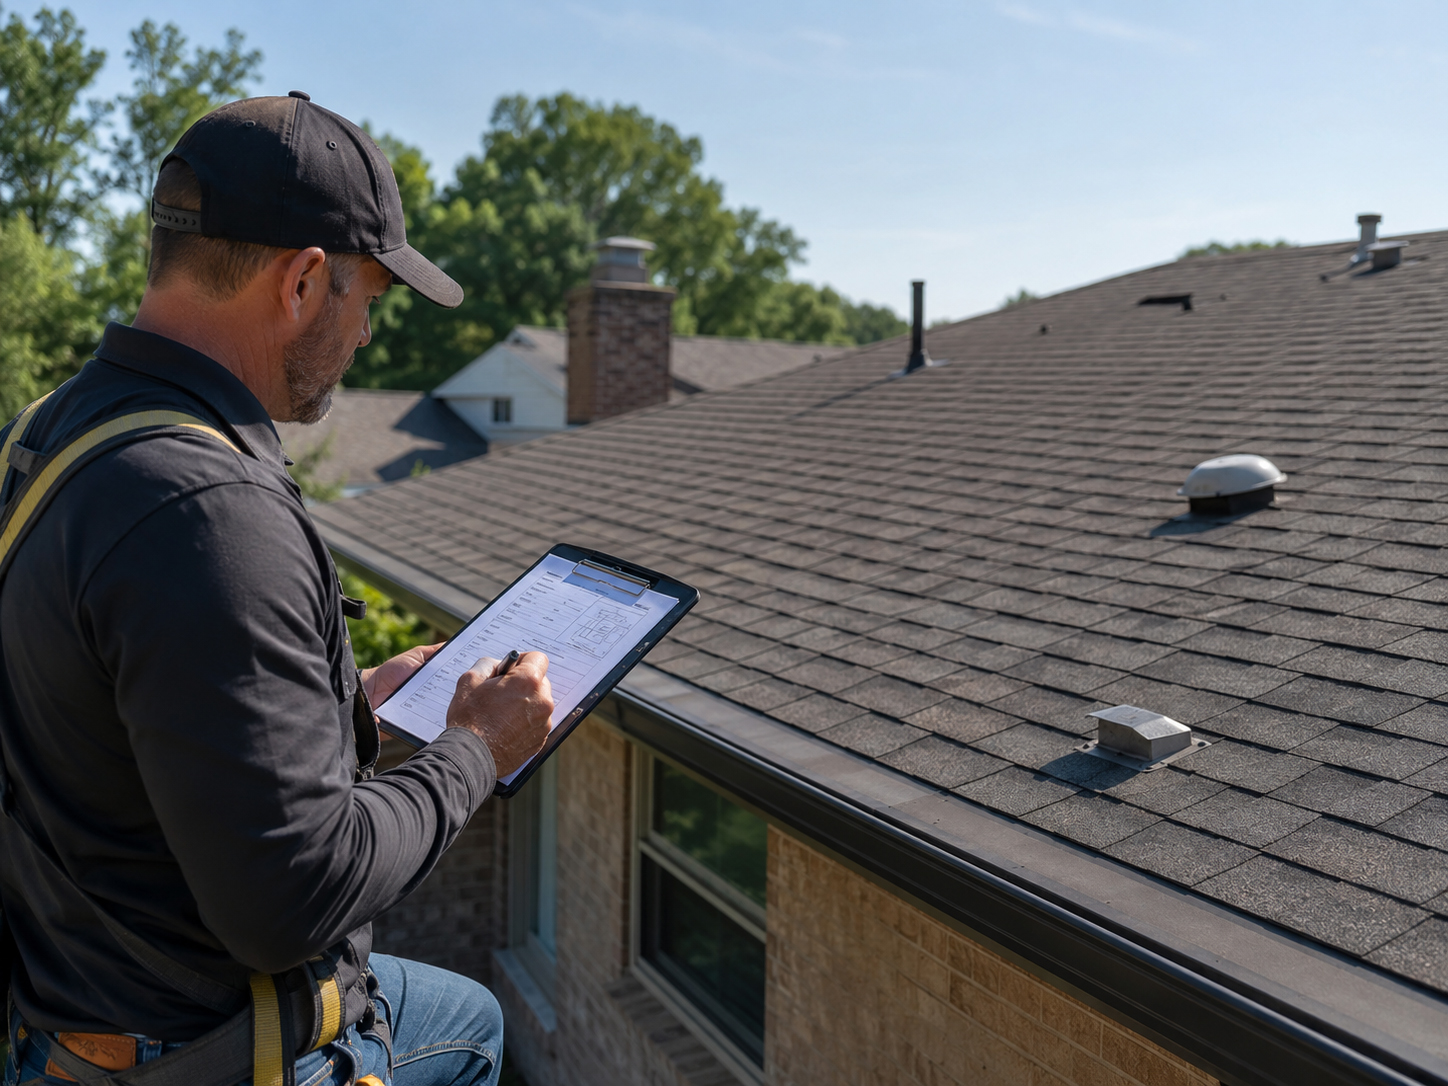
Review the roof before you mount the solar.
The mounting checklist is where a solar project becomes real construction: roof condition, roof type, rafters, penetrations, flashing, waterproofing, obstructions, access, conduit routes, and inspection planning.
Field rule
The best solar mounting work starts before the first hole.
A clean installation is not just a good crew on installation day. It is the result of a careful site review before the mounting plan is finalized.
The checklist should identify what kind of roof is being worked on, how old it is, whether the roof is in good condition, where the rafters are, where penetrations may occur, how water will be managed, where equipment will be placed, and what the inspector will need to see.
SolarMount.com principle: panels make power, but mounting makes the system last. The checklist protects the roof, the homeowner, the installer, and the permit path.

Checklist overview
What should be reviewed before mounting begins?
The goal is not paperwork for paperwork’s sake. The goal is to catch roof, structure, waterproofing, layout, and access issues before they become expensive surprises.
Roof type
Identify whether the roof is composition shingle, asphalt shingle, tile, concrete tile, Spanish tile, metal, standing seam, wood shake, flat roof membrane, ground mount, or a unique roof condition.
Roof condition
Review roof age, visible wear, broken material, soft areas, prior repairs, drainage issues, and whether roofing work should happen before solar.
Structure
Confirm rafter or framing location, rafter spacing, attachment logic, roof load, and whether structural review may be required.
Penetrations
Mark where mounting feet, conduit, attachments, or other roof penetrations may occur. Each one needs a waterproofing plan.
Obstructions
Identify vents, skylights, chimneys, antennas, roof edges, hips, valleys, trees, shading sources, and service-clearance problems.
Inspection path
Plan what must be visible for inspection before panels conceal mounting, flashing, wiring, and attachment work.

First question
Is this roof ready for solar?
A solar array can last for decades. The roof underneath it needs to be part of that conversation.
Before mounting begins, the roof should be reviewed for age, visible wear, material condition, previous repairs, slope, drainage, walkability, and service access. Solar should not be used to hide a roof problem.
The homeowner, roofer, permit history, or visual review may help establish roof age.
Look for cracked, curled, broken, loose, worn, patched, or suspect roofing material.
If the roof is near the end of its life, address that before panels are installed.
Photo checklist
Photos that make the mounting review better.
Good photos save time. They help the designer, installer, roofer, inspector, and homeowner understand the project before work begins.
Site and roof photos
- Overall views of the structure and roof planes.
- Multiple roof photos from different angles.
- Close-up photos of roofing material.
- Roof edges, eaves, gutters, and access points.
- Vents, skylights, chimneys, antennas, hips, valleys, and obstructions.
- Possible shading problems from trees, buildings, or roof features.
Electrical and structural photos
- Main electrical panel from a distance showing location.
- Close-up of the main panel and labeling.
- Inside of the panel showing breakers where appropriate and safe.
- Main breaker and service rating information.
- Truss or rafter tails where visible.
- Attic or framing photos where available and safe to capture.
Safety note: roof and electrical photos should only be taken where safe. Do not climb, open electrical equipment, or enter attic spaces unless you are qualified and conditions are safe.
Rafter logic
Mounting needs a real load path.
A solar attachment is not just connected to roofing material. The load must transfer into the structure that can carry it.
The checklist should help identify the rafter or framing layout, attachment spacing, possible access from attic areas, and conditions that require structural review. This is especially important for older homes, unusual framing, long spans, heavy arrays, wind-exposed sites, or roof structures with visible weakness.
Important: SolarMount.com explains review concepts. Actual structural decisions must follow the approved plan set, local code, manufacturer instructions, and licensed professional review when required.

Mounting details
The small details that deserve early attention.
These details are easy to underestimate. They are also the details that often determine whether a solar installation remains clean, dry, serviceable, and inspectable.
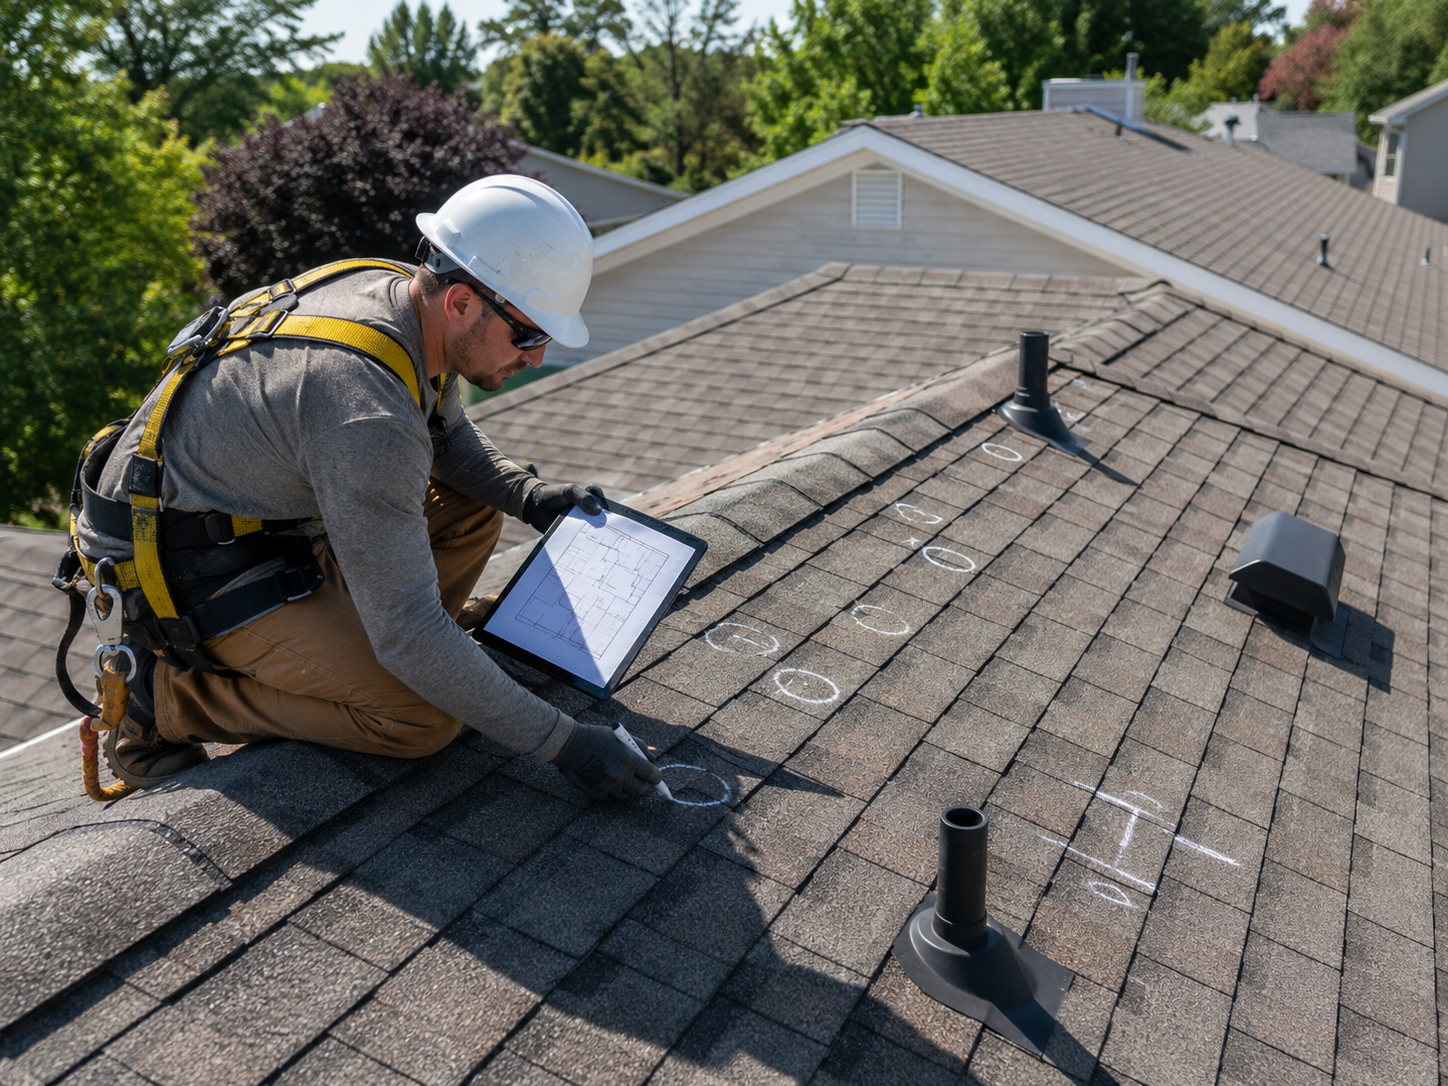
Penetration Locations
Planned attachment points and roof penetrations should be marked before drilling.
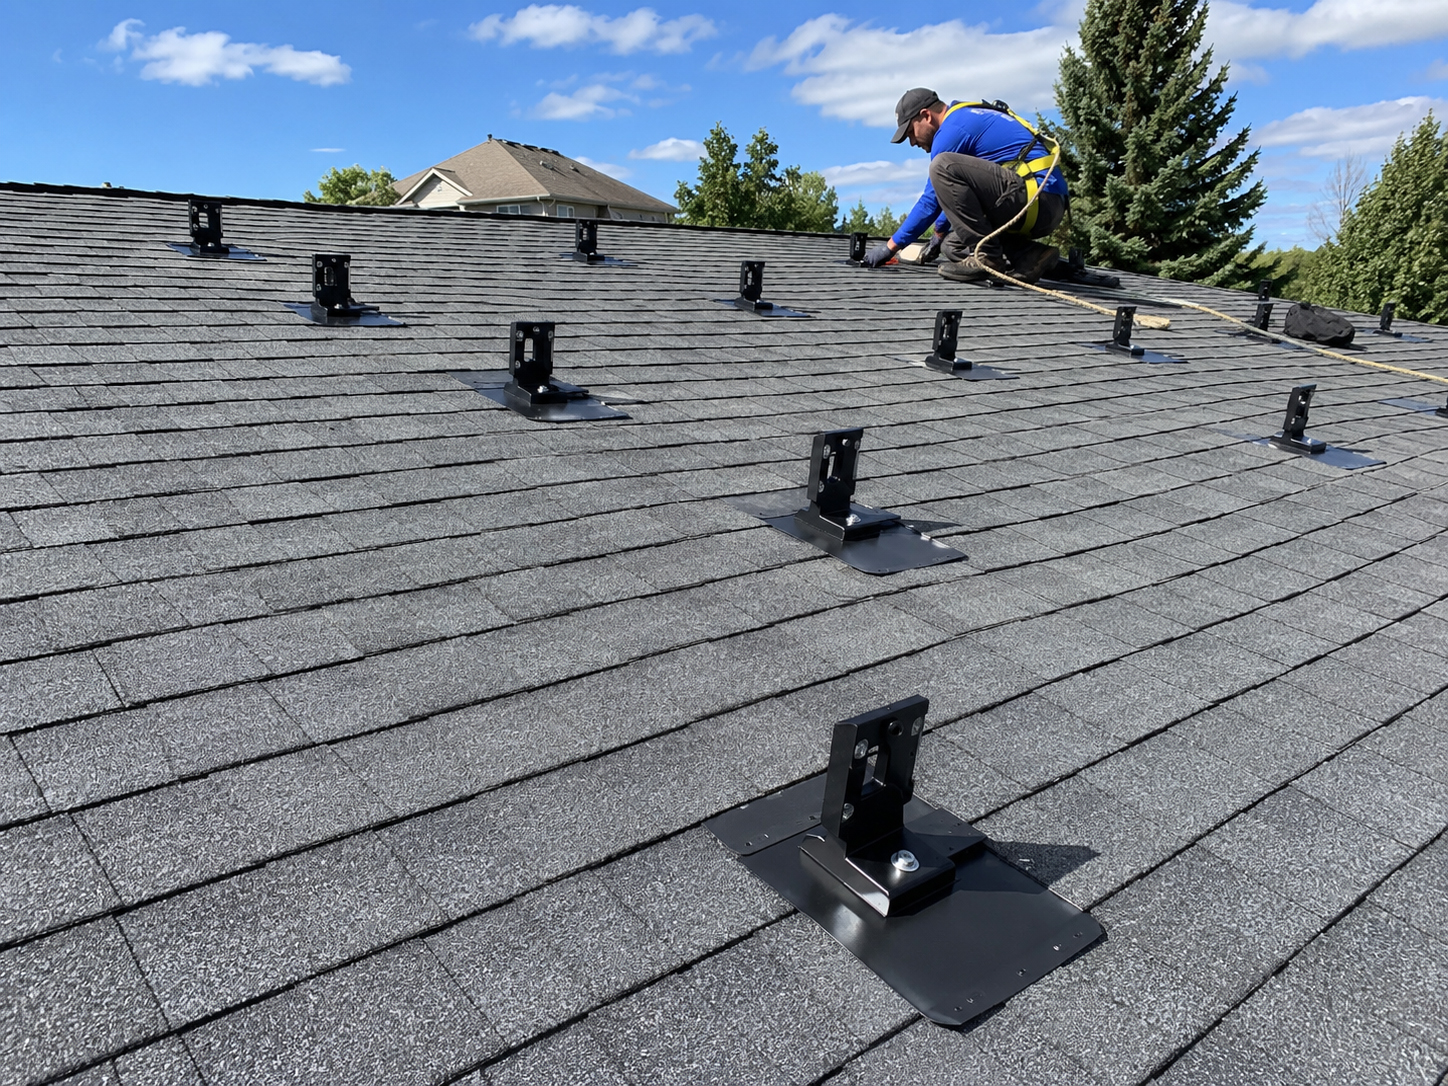
Mounting Feet
The mounting foot is the transition between roof, structure, waterproofing, and rail.
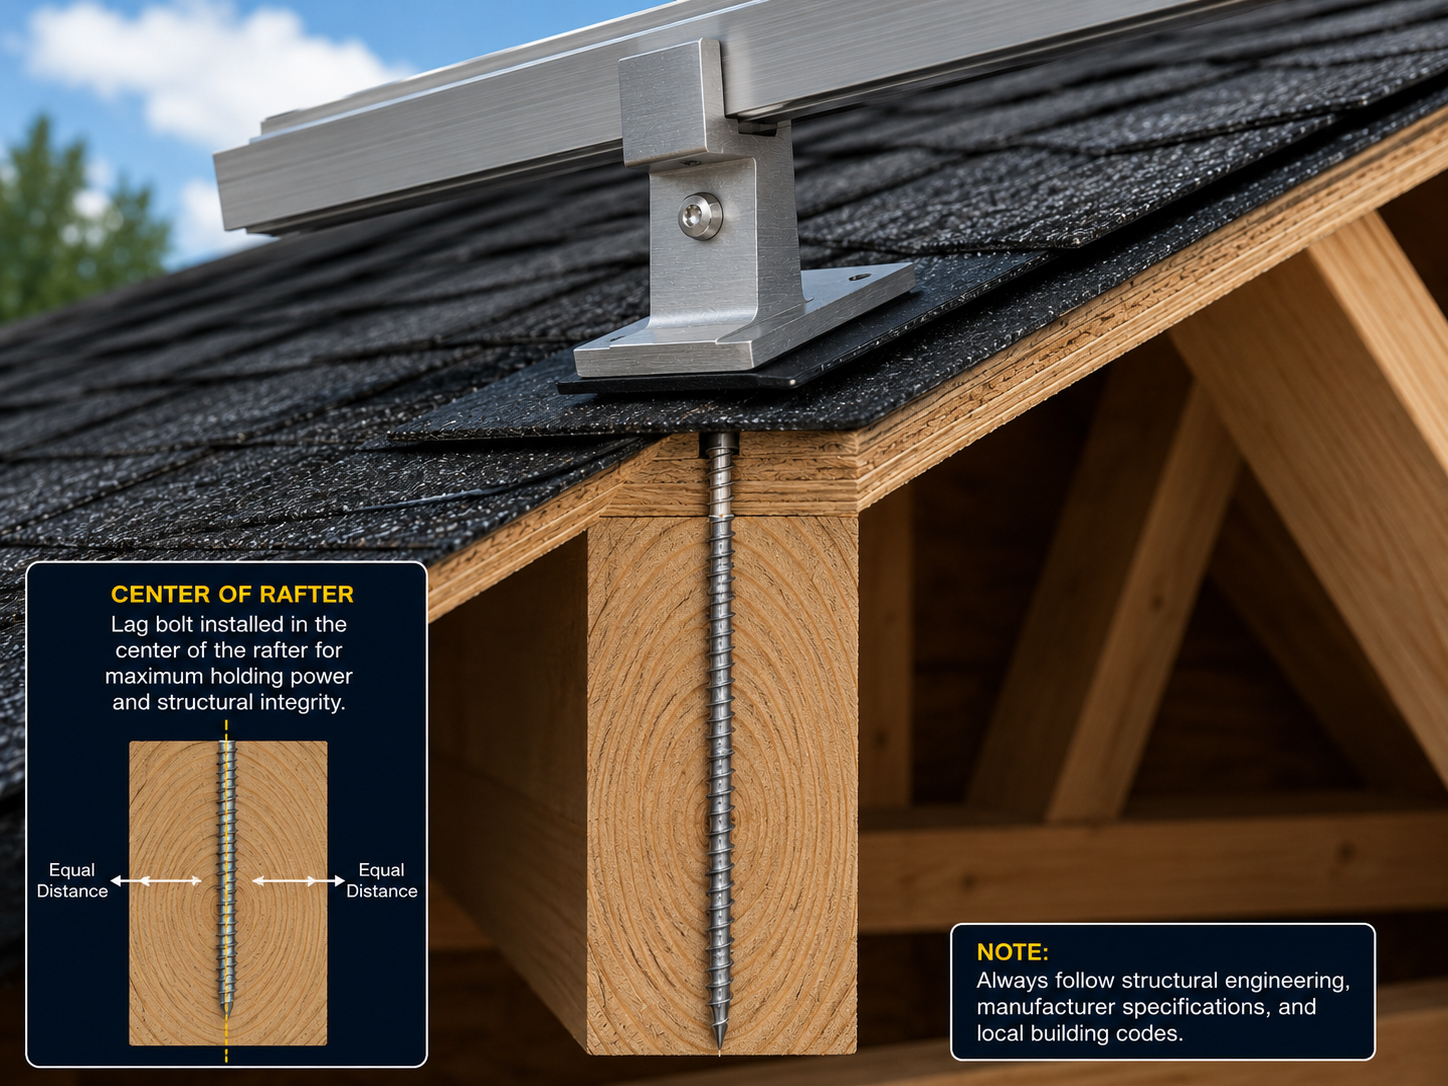
Lag Bolts Into Rafters
Attachment into framing should be centered, planned, and consistent with the approved details.

Flashing & Sealant
Waterproofing is not decoration. It is part of the roof system.
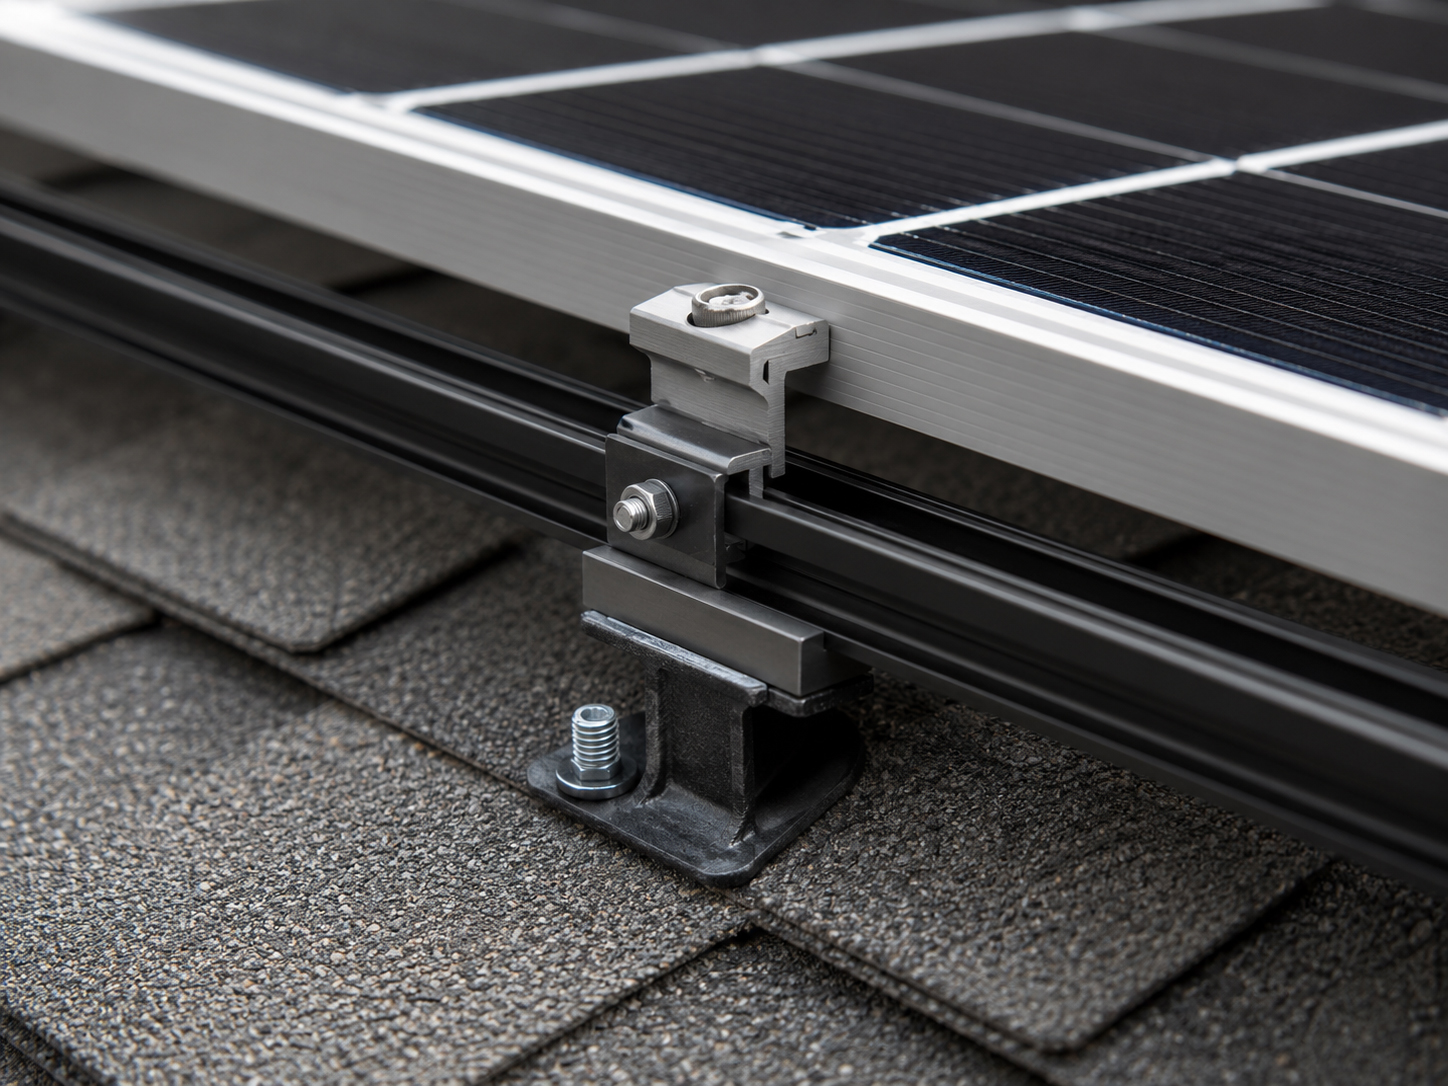
Rails & Clamps
Rails and clamps should follow the structural and layout logic of the attachment plan.

Permit & Inspection
Good mounting work should be explainable and ready for inspection.

Water management
Every mounting checklist needs a waterproofing checklist.
Roof penetrations are manageable when they are planned, flashed, sealed, and inspected correctly.
The checklist should verify the roof surface, water-shedding path, flashing compatibility, sealant use, shingle or tile integration, underlayment concerns, and whether any waterproofing work will be hidden after panels are installed.
Understand how water naturally sheds across the roof surface.
Mounting hardware must integrate into the roof’s waterproofing logic.
Inspect waterproofing before rails and panels make it harder to see.
Roof-type checkpoint
The checklist changes by roof type.
The same solar array can require a very different mounting plan depending on what it touches.
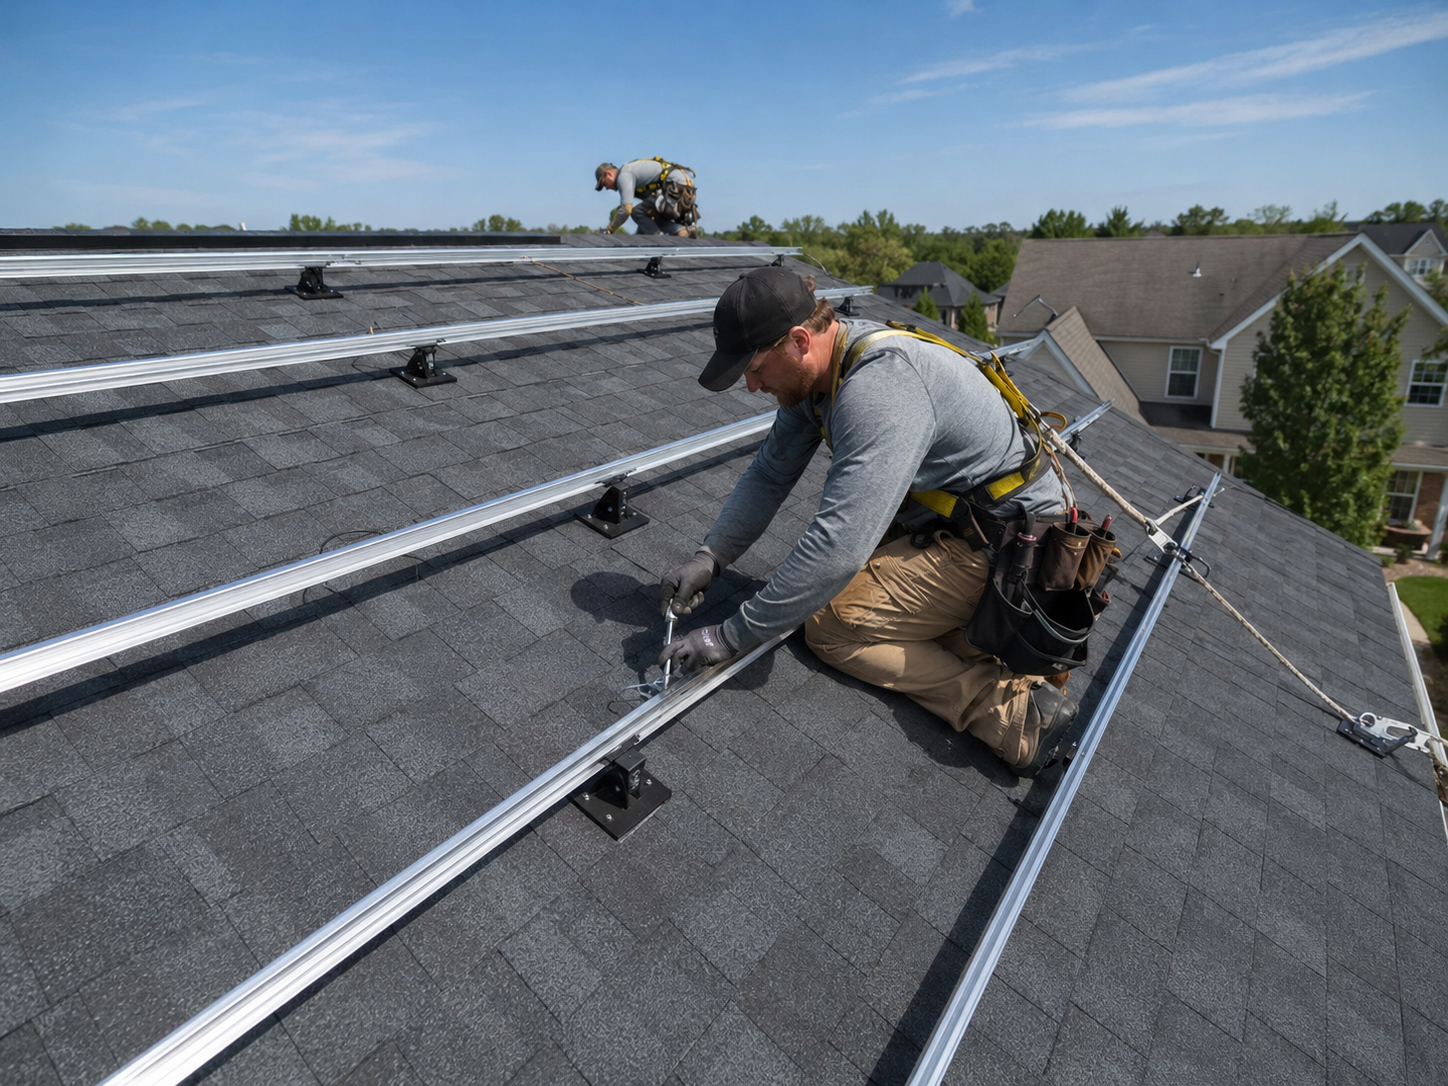
Composition Shingle
Review flashed mounts, rafter attachment, sealant, shingle layers, and roof age.

Tile Roof Review
Review tile type, underlayment, access, broken tile risk, roof age, and serviceability.
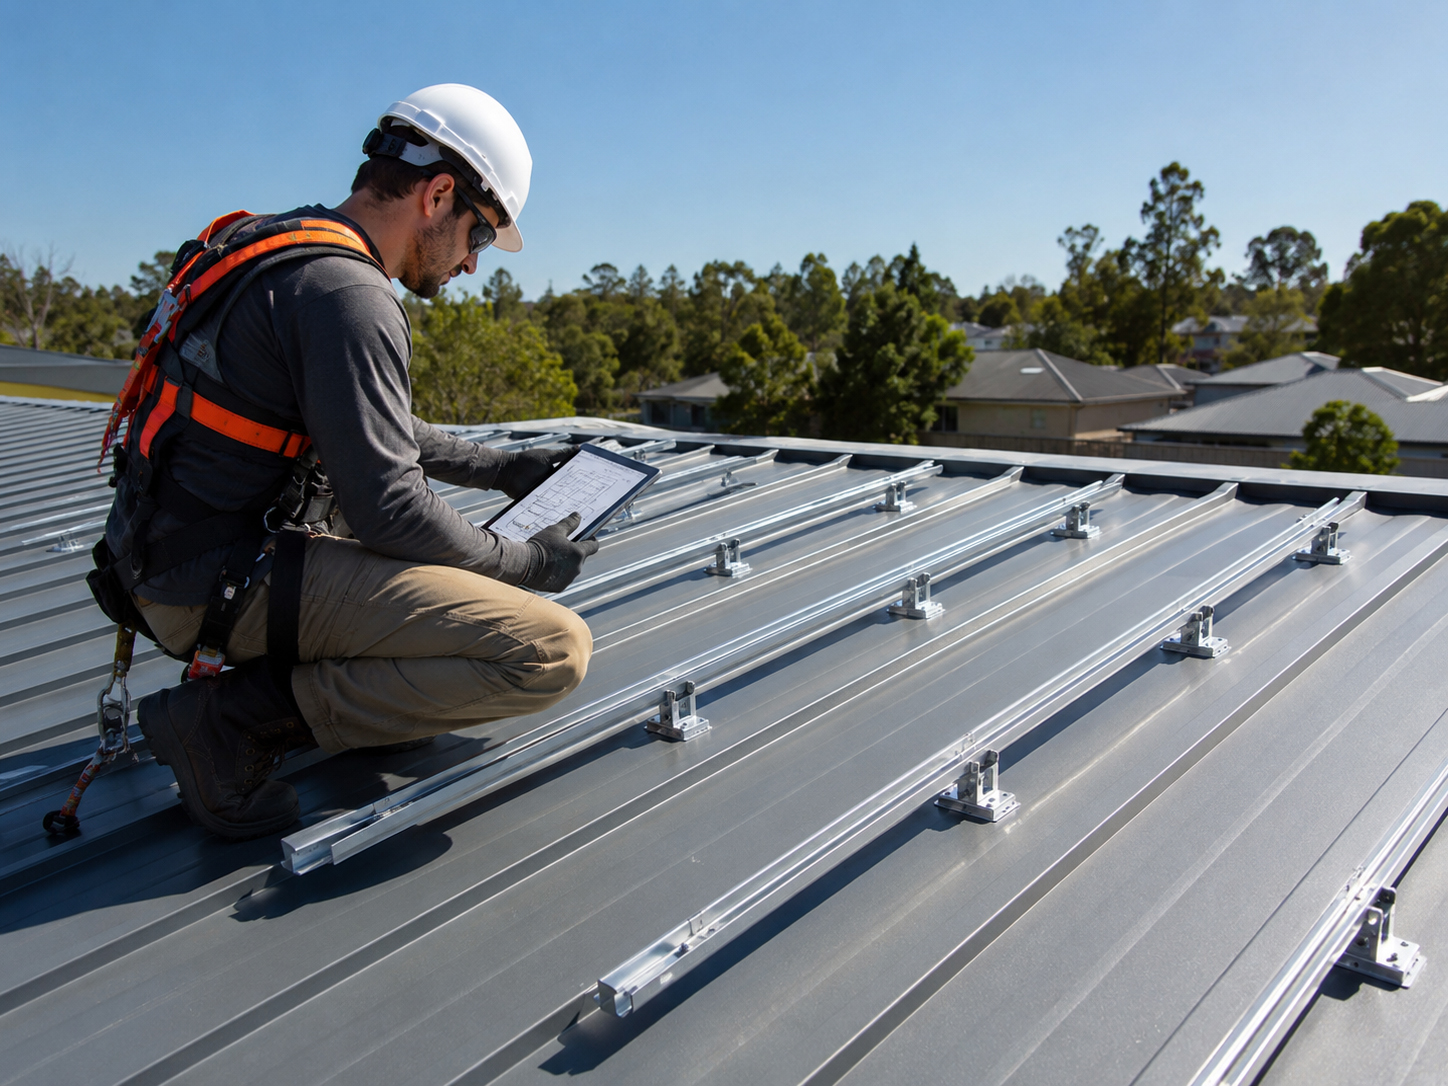
Metal Roofs
Review roof profile, seam type, attachment method, manufacturer instructions, and water path.
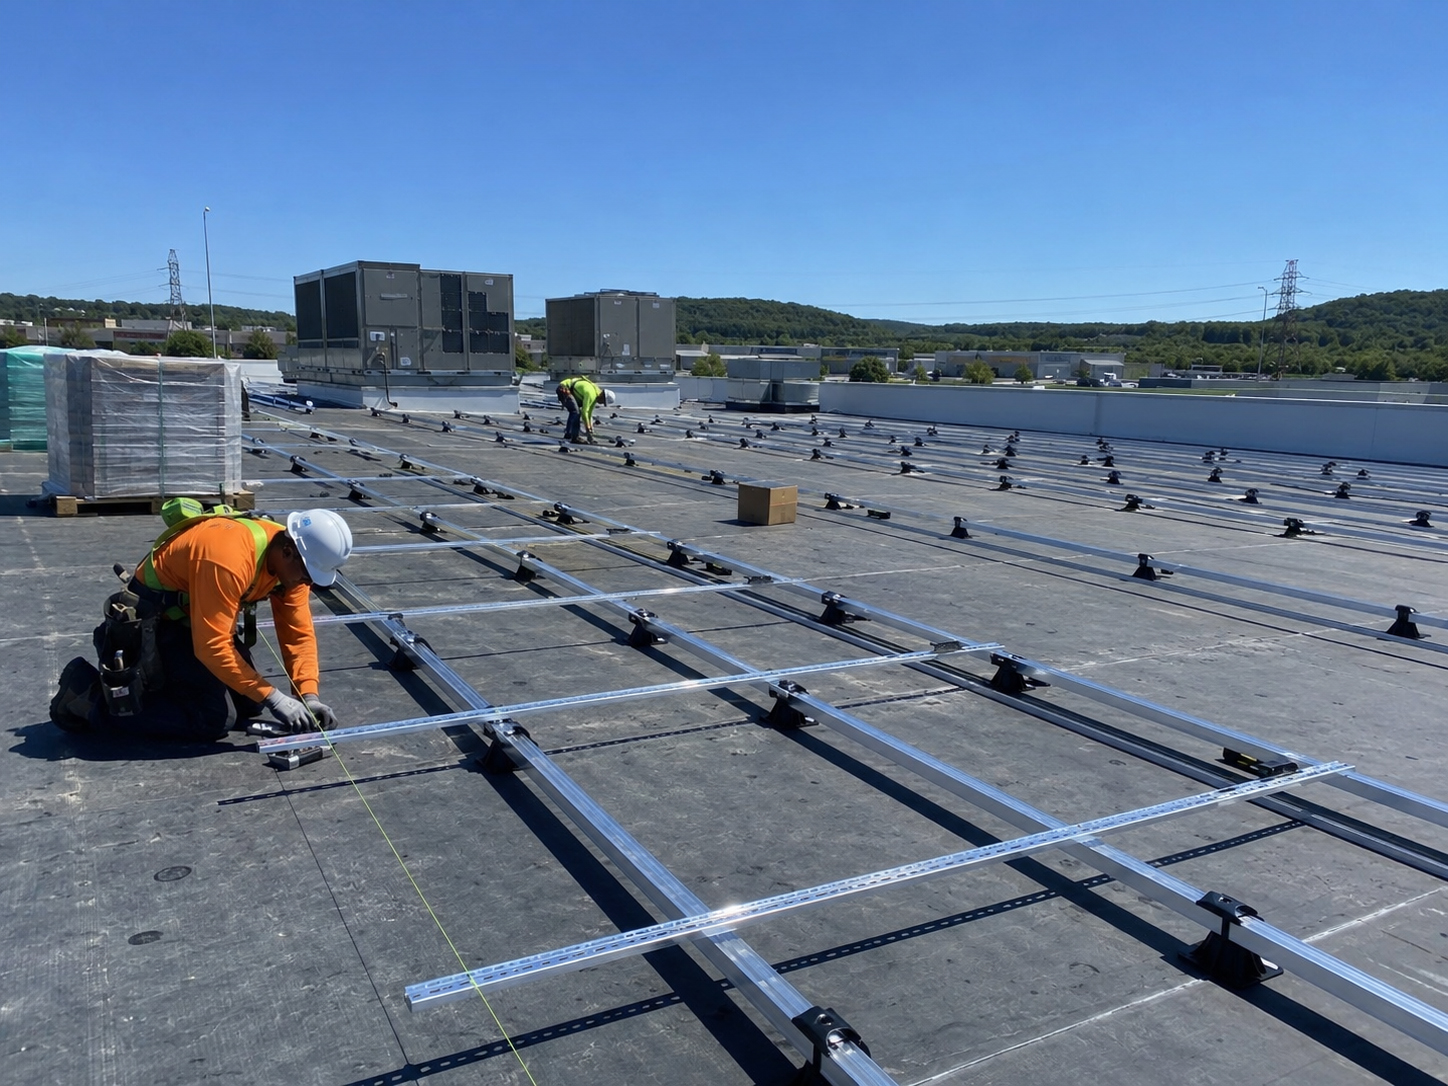
Flat Roofs
Review membrane condition, drainage, ballast, walk paths, roof loading, and access.

Ground Mounts
Review site layout, trenching, posts, foundations, inverter location, and service access.

Unique Roofs
Review hips, valleys, dormers, skylights, limited access, mixed materials, and layout limits.
Homeowner questions
A checklist also protects the conversation.
Homeowners deserve plain answers before solar is mounted to their roof.
The checklist helps turn vague concerns into specific questions: How old is the roof? Where will the mounts go? How will the roof be flashed? What happens if the roof needs service later? What will the inspector see? What is the roof type-specific plan?
Practical rule: the mounting plan should be understandable before the installation begins, not explained after there is a problem.

Checklist conclusion
Do the roof review first.
A strong mounting checklist does not slow the project down. It prevents avoidable roof, structure, waterproofing, inspection, and service problems.