
Structure before solar
Roof integrity and rafters carry the solar story.
Solar mounting is not just attached to roofing material. The loads must travel into real roof framing: rafters, trusses, decking, blocking, beams, or another approved structural path.
The hidden structure
The roof surface is not the structure.
Shingles, tile, metal panels, and roof membranes shed water. They are not the final answer for mounting strength.
A solar array creates weight, wind uplift, thermal movement, service loads, and long-term forces. The mounting plan must connect those forces to framing that can carry them. That means the project must understand rafter spacing, rafter size, roof condition, decking condition, attic access, attachment layout, and whether engineering review is needed.
SolarMount.com rule: do not let the array layout outrun the structure. Panels should be placed only after the roof framing and attachment path are understood.

Rafter review
What the mounting plan needs to know.
A roof-integrity review turns vague confidence into specific installation information.
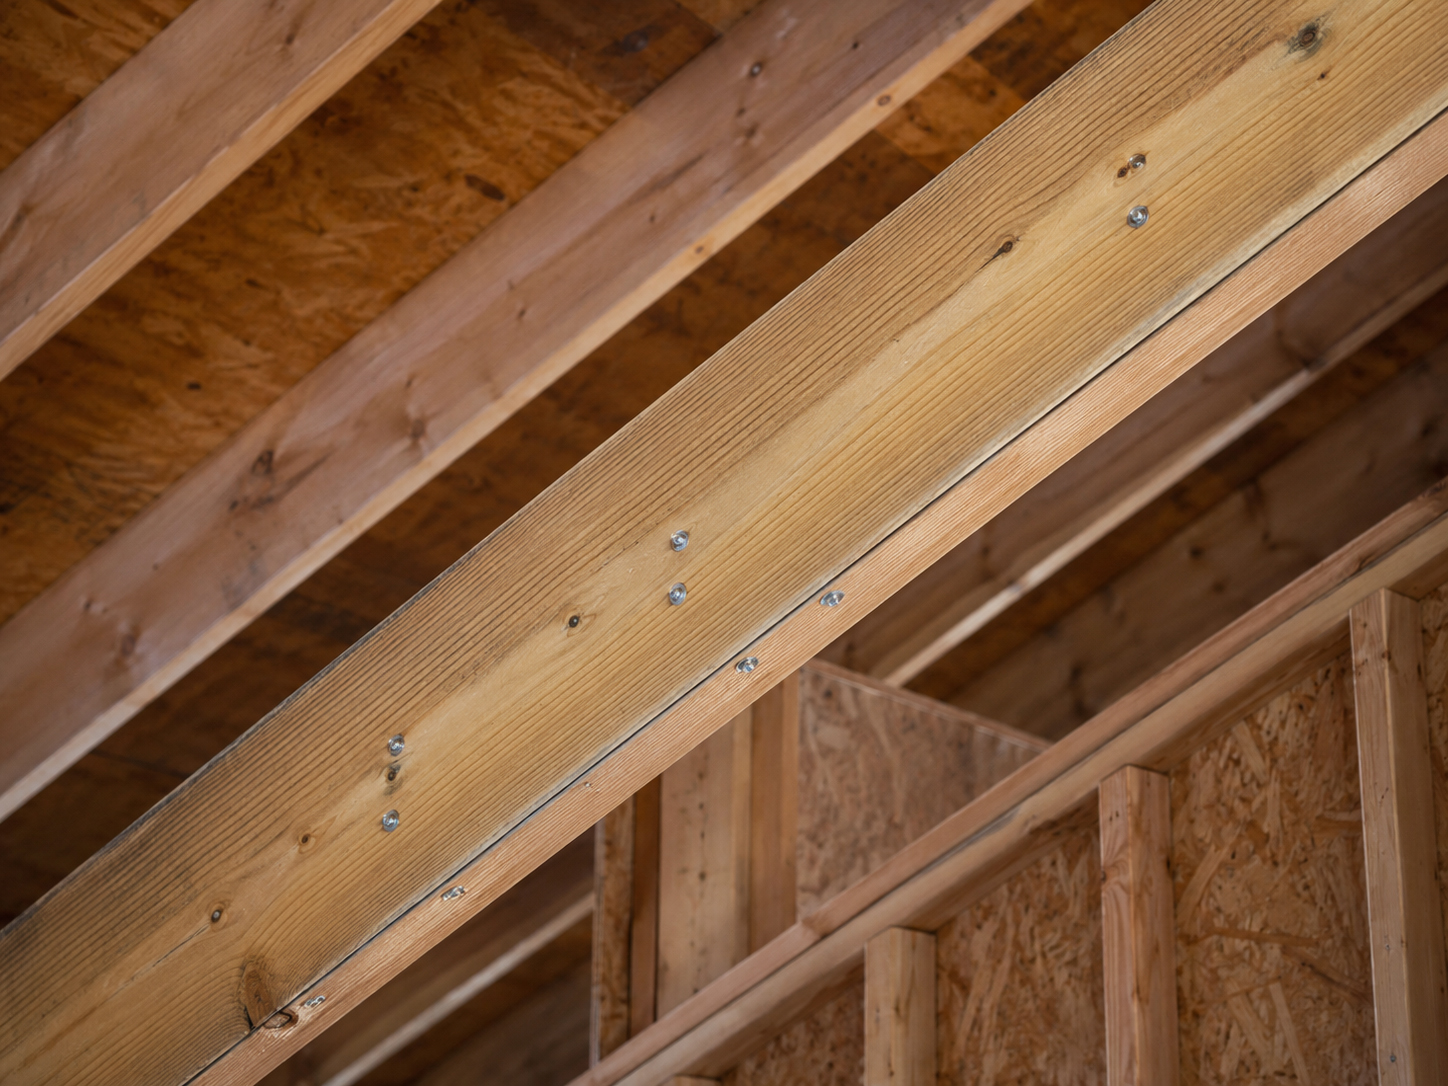
Rafter direction
The crew needs to know which way the rafters run so mounting feet and rails can be planned correctly.
Rafter spacing
Common spacing may be predictable, but actual site verification matters before final attachment layout.
Rafter size
Size, species, span, condition, and framing type affect whether the roof can accept the proposed attachment plan.
Decking condition
Soft, damaged, delaminated, patched, or suspect decking should be reviewed before mounting work begins.
Access from below
Attic or rafter-tail access can help confirm framing, but only where access is safe and practical.
Load path
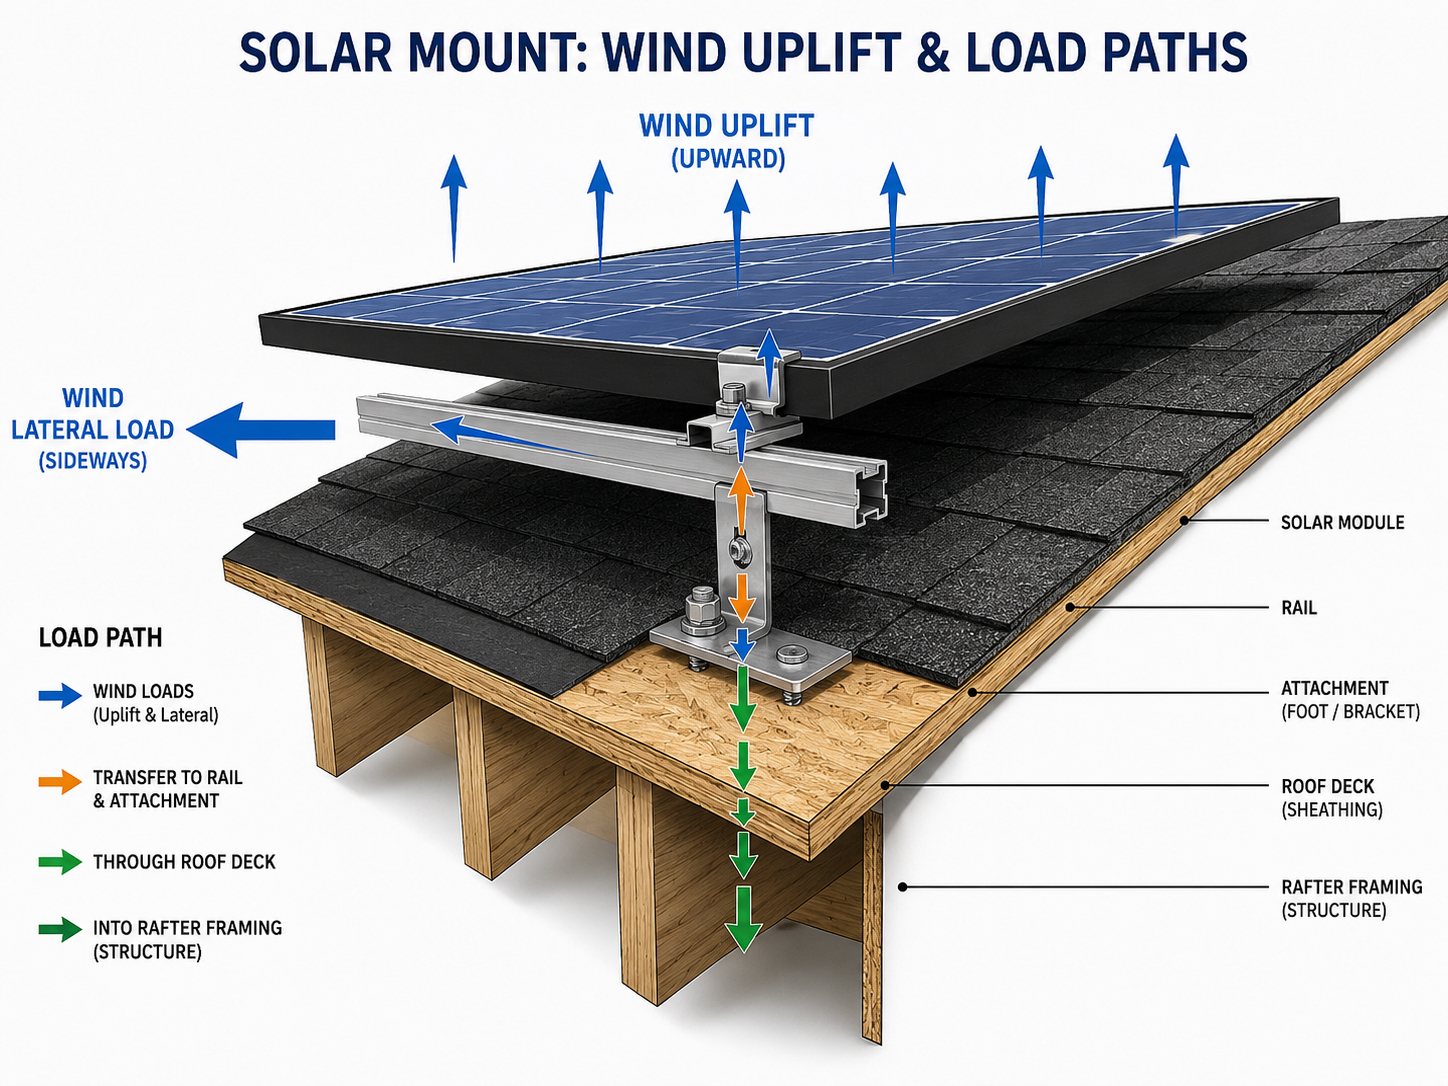
Weight and uplift forces need an approved route from the array into the building structure.
Attachment logic
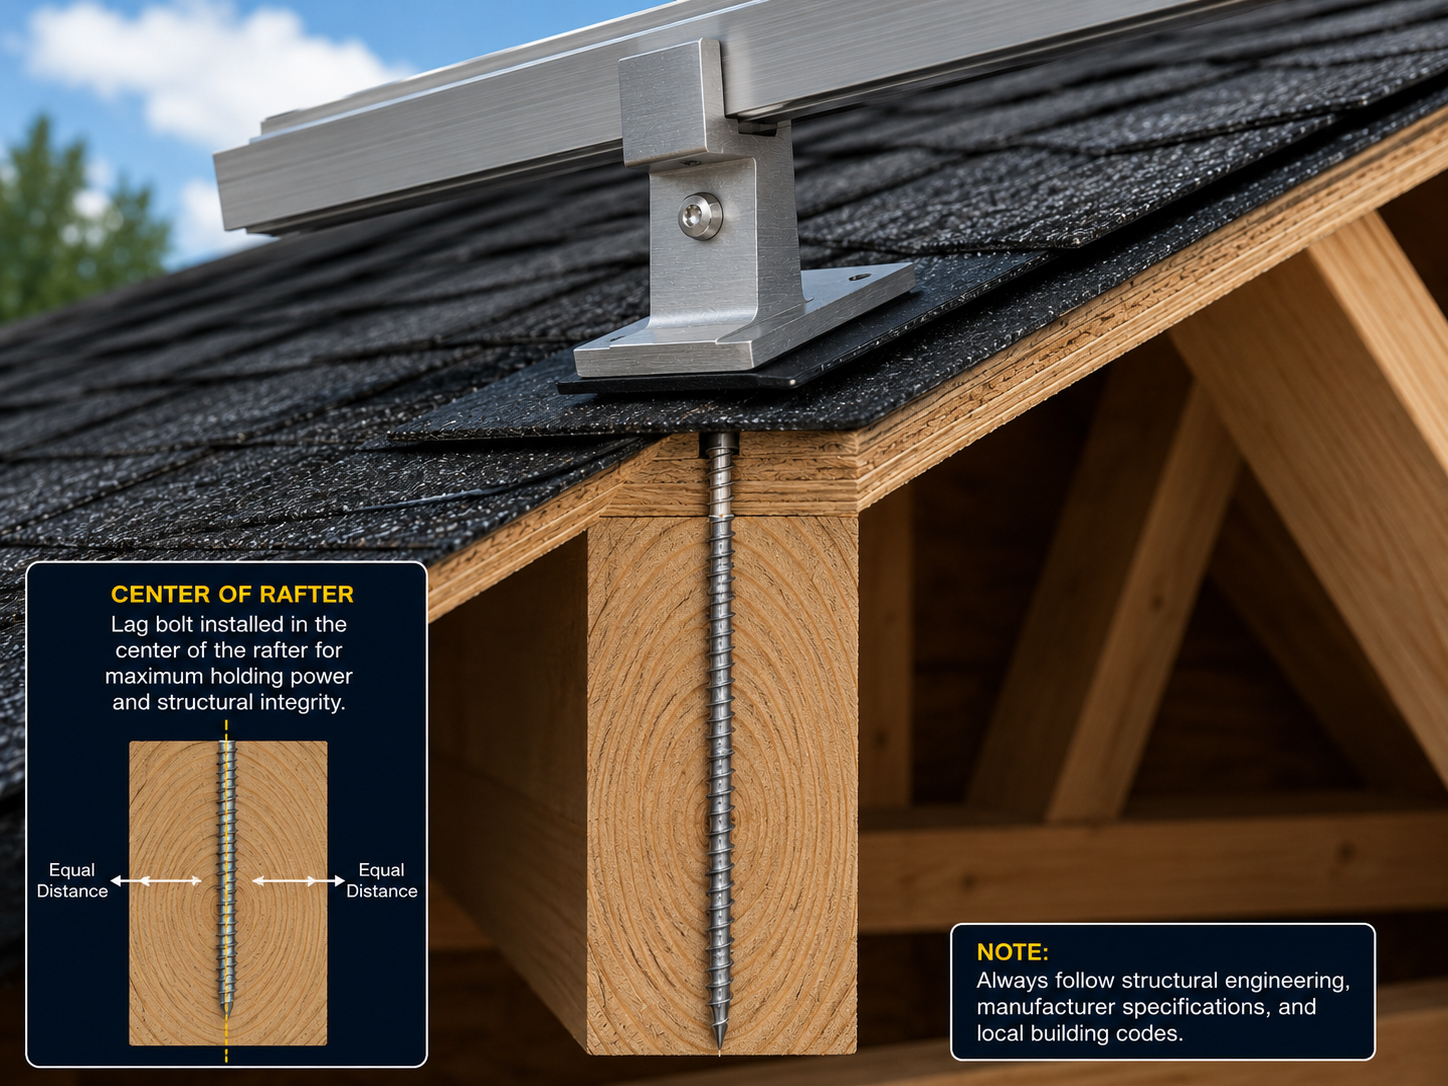
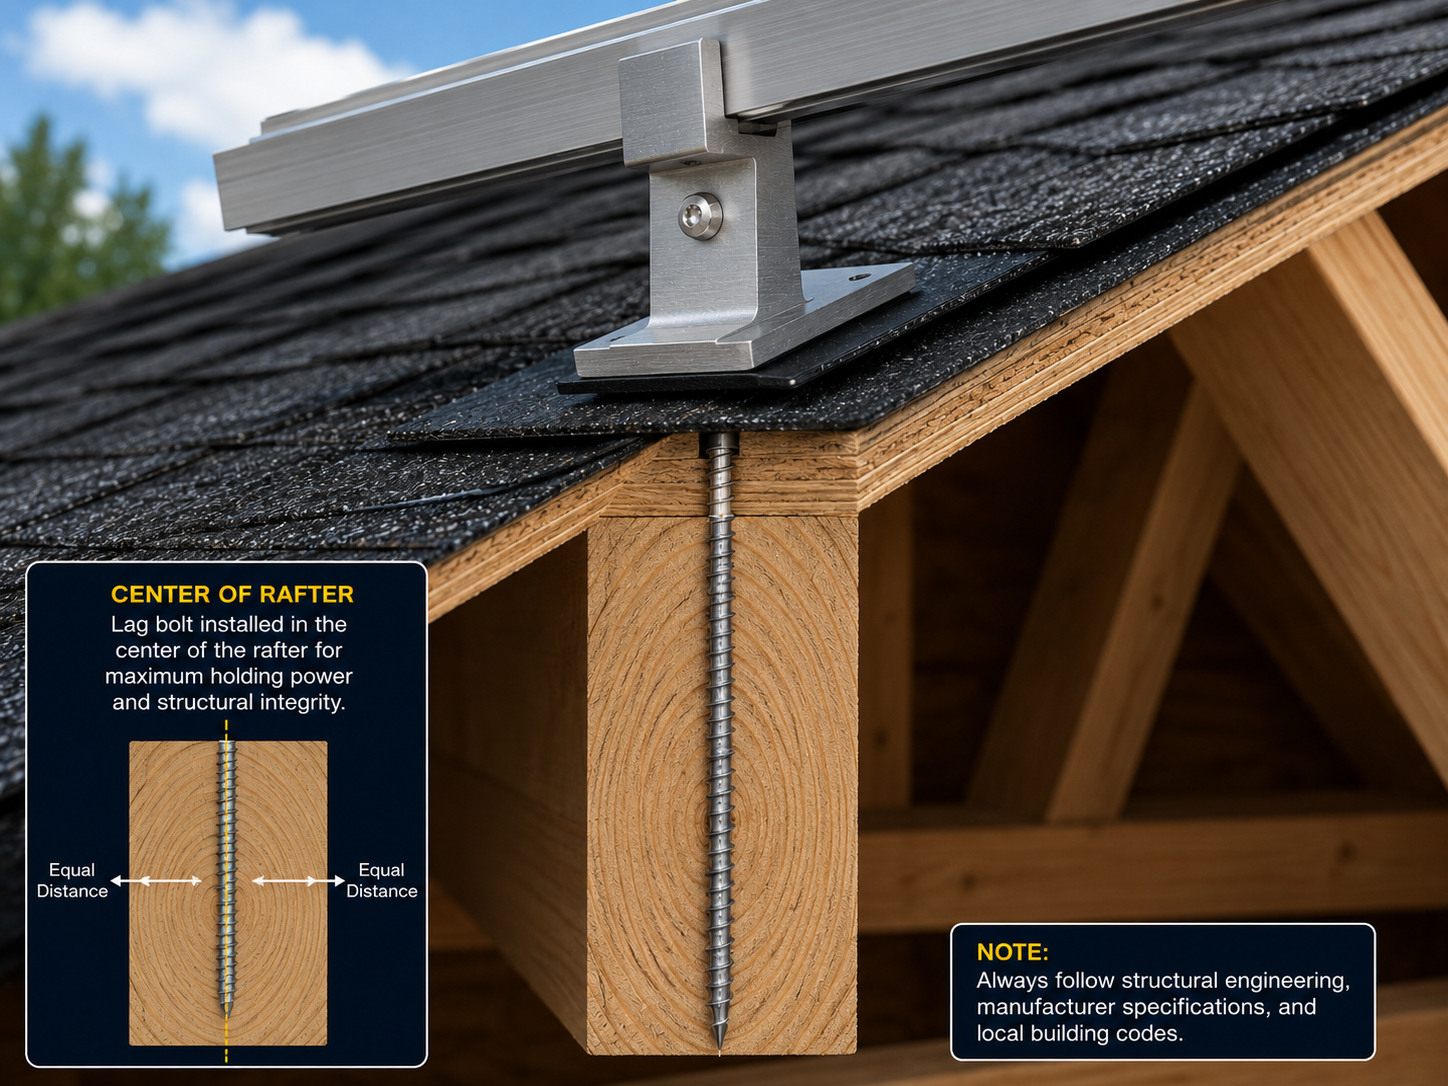
Center the attachment into structure.
A good conceptual mounting detail is simple: the attachment must land where the structure actually is.
On many sloped-roof installations, the mounting detail depends on fastening into rafters or approved framing. The attachment should not be guessed from the roof surface. The plan should identify the framing, center the attachment where required, use the approved hardware, and protect the roof with the correct flashing and waterproofing sequence.
Important: this page is educational. Actual rafter attachment details must follow the approved permit set, manufacturer instructions, engineering requirements, and local code.
Field signs
Roof integrity warning signs.
The structural review should pay attention to clues from the roof surface, attic, ceiling, and exterior.
Visible roof concerns
- Sagging roof planes or uneven lines.
- Soft or springy walking areas.
- Water stains, ponding, or drainage problems.
- Extensive patching or old leak repairs.
- Damaged decking, cracked material, or loose roofing.
- Complex hips, valleys, dormers, skylights, or interrupted framing areas.
Framing questions
- Where are the rafters or trusses?
- What is the spacing and direction?
- Is the rafter size adequate for the proposed attachment pattern?
- Are there sistered or repaired framing members already present?
- Does the roof need engineering review?
- Will the inspection require attachment verification?
Safety note: do not walk unsafe roofs, enter unsafe attic spaces, or disturb electrical or structural components unless qualified and conditions are safe.
When review becomes reinforcement
Some projects need more than ordinary attachment.
Older roofs, unusual framing, long spans, heavy loads, or difficult attachment locations may require structural review.
In some cases, a roof may need added blocking, sistered rafters, engineering notes, revised array layout, different attachment spacing, or a different mounting method. The right answer depends on the building, the roof type, the proposed system, and the approved design.
Identify whether the existing framing is adequate for the proposed solar layout.
Adjust the array layout, attachment plan, or reinforcement strategy before installation.
Make the structural path explainable to the homeowner, installer, inspector, and plan reviewer.
Wind and weight
The array adds forces the roof must resist.
Solar mounting is a balance of gravity, wind, structure, waterproofing, and code compliance.

Layout discipline
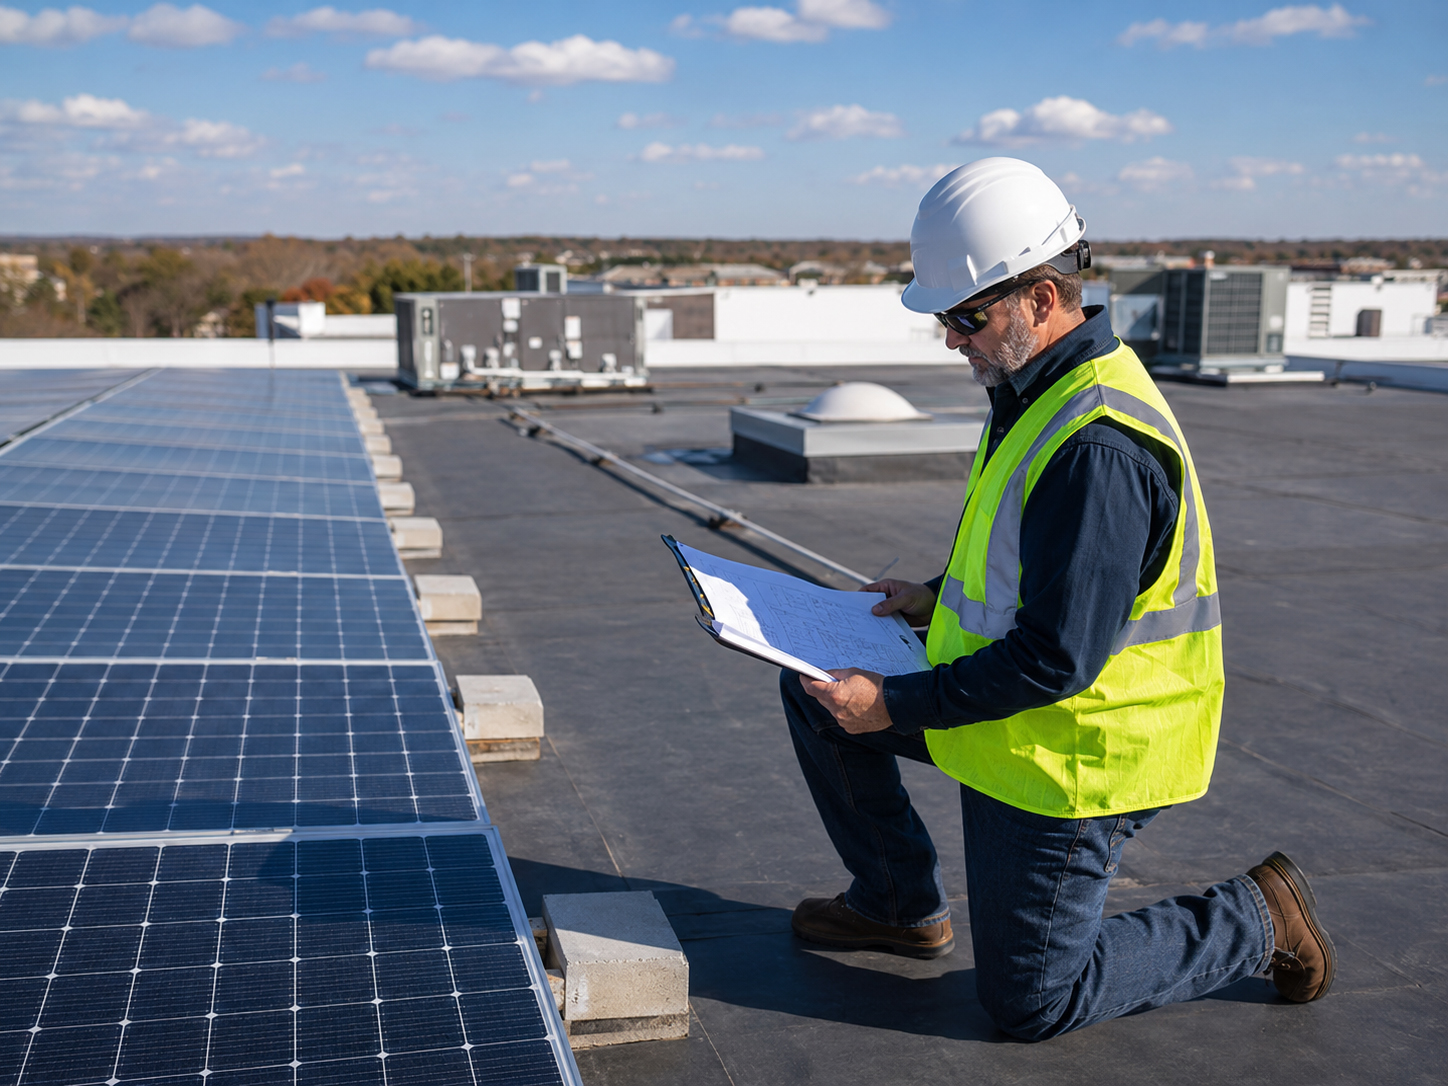
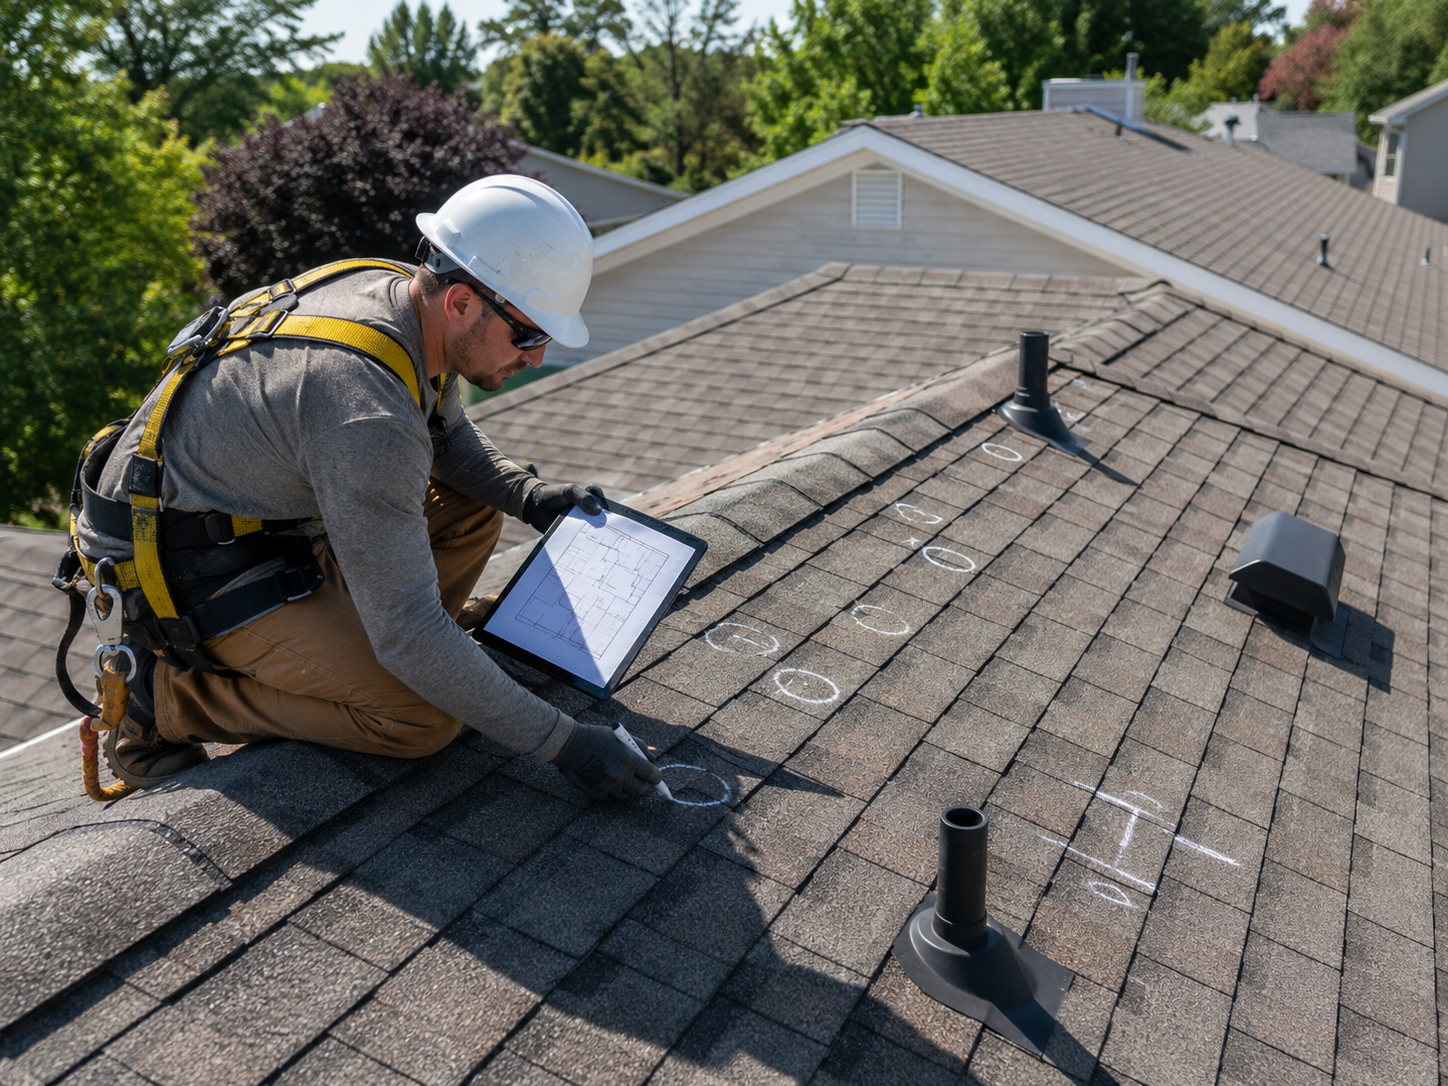
Attachment points should be planned, not discovered by accident.
The best roof-framing review connects directly to the mounting layout.
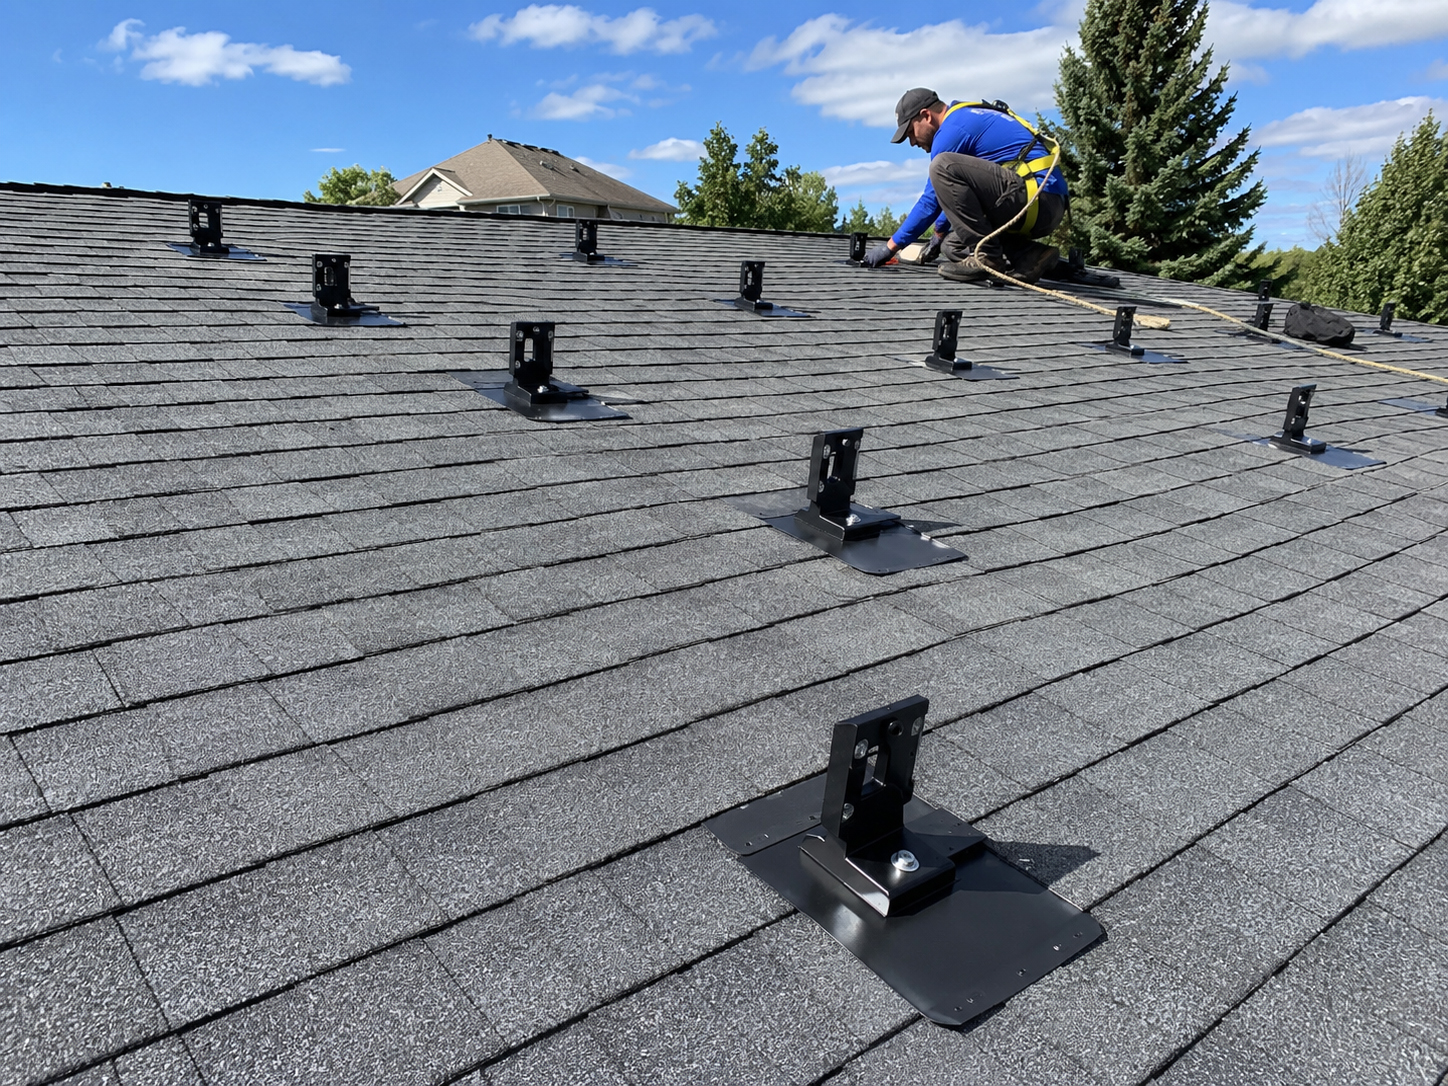
Once rafters and framing are understood, the project team can lay out attachment points, mounting feet, rails, clamps, roof penetrations, and inspection checkpoints. This is where roof integrity, waterproofing, and array layout come together.
Plain-language summary: know where the structure is, know where the water goes, and know where the mounts belong before any drilling begins.
Related field guide pages
Continue the structural review.
Roof integrity conclusion
Mounting is only as strong as the structure behind it.
SolarMount.com starts with the roof because the array depends on the roof. Review the rafters, load paths, attachment points, and structural questions before the installation begins.