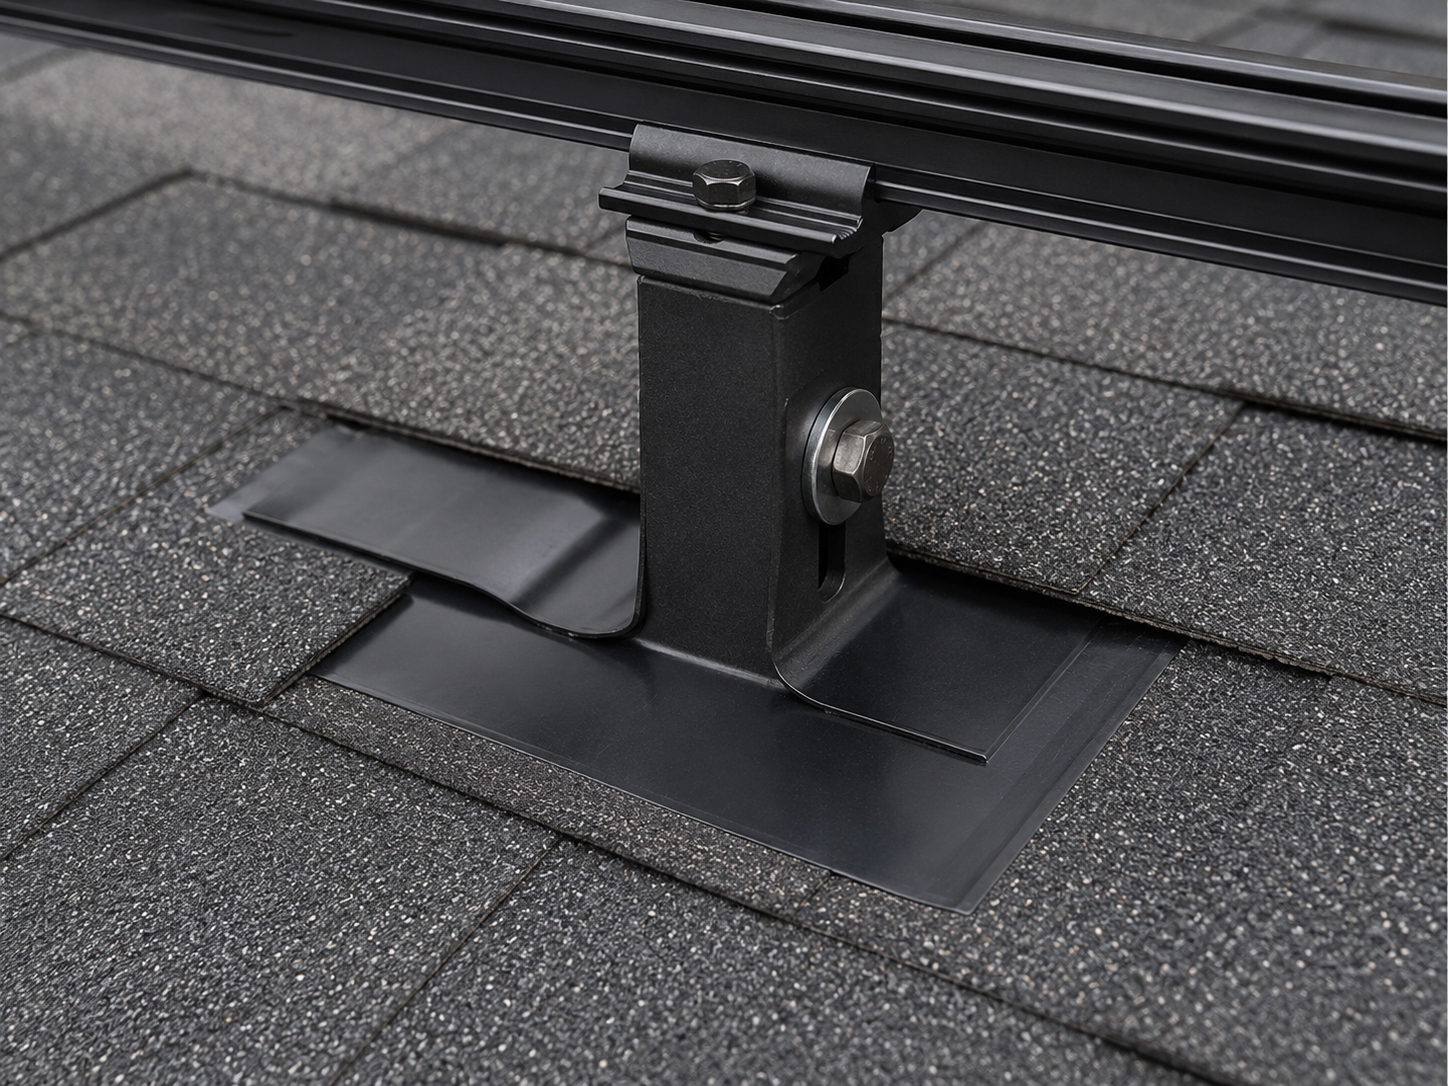
Flashed shingle mounting
Asphalt shingle solar mounting is a roof-detail job.
Asphalt shingle roofs can be excellent candidates for solar, but the quality of the installation depends on the details: roof condition, rafter location, flashed mounting feet, sealant discipline, rails, clamps, wire management, and inspection before concealment.
Shingle roof logic
The shingle roof sheds water through overlap.
A flashed solar mount must respect that water path.
Asphalt shingles protect the building by overlapping in courses that shed water downhill. A solar mounting detail must work with that layered system. The mount should connect to the structure, while the flashing and sealant protect the roof surface around the attachment.
SolarMount.com rule: the mount is not complete until the roof is protected. The attachment, flashing, sealant, and shingle overlap all need to make sense together.
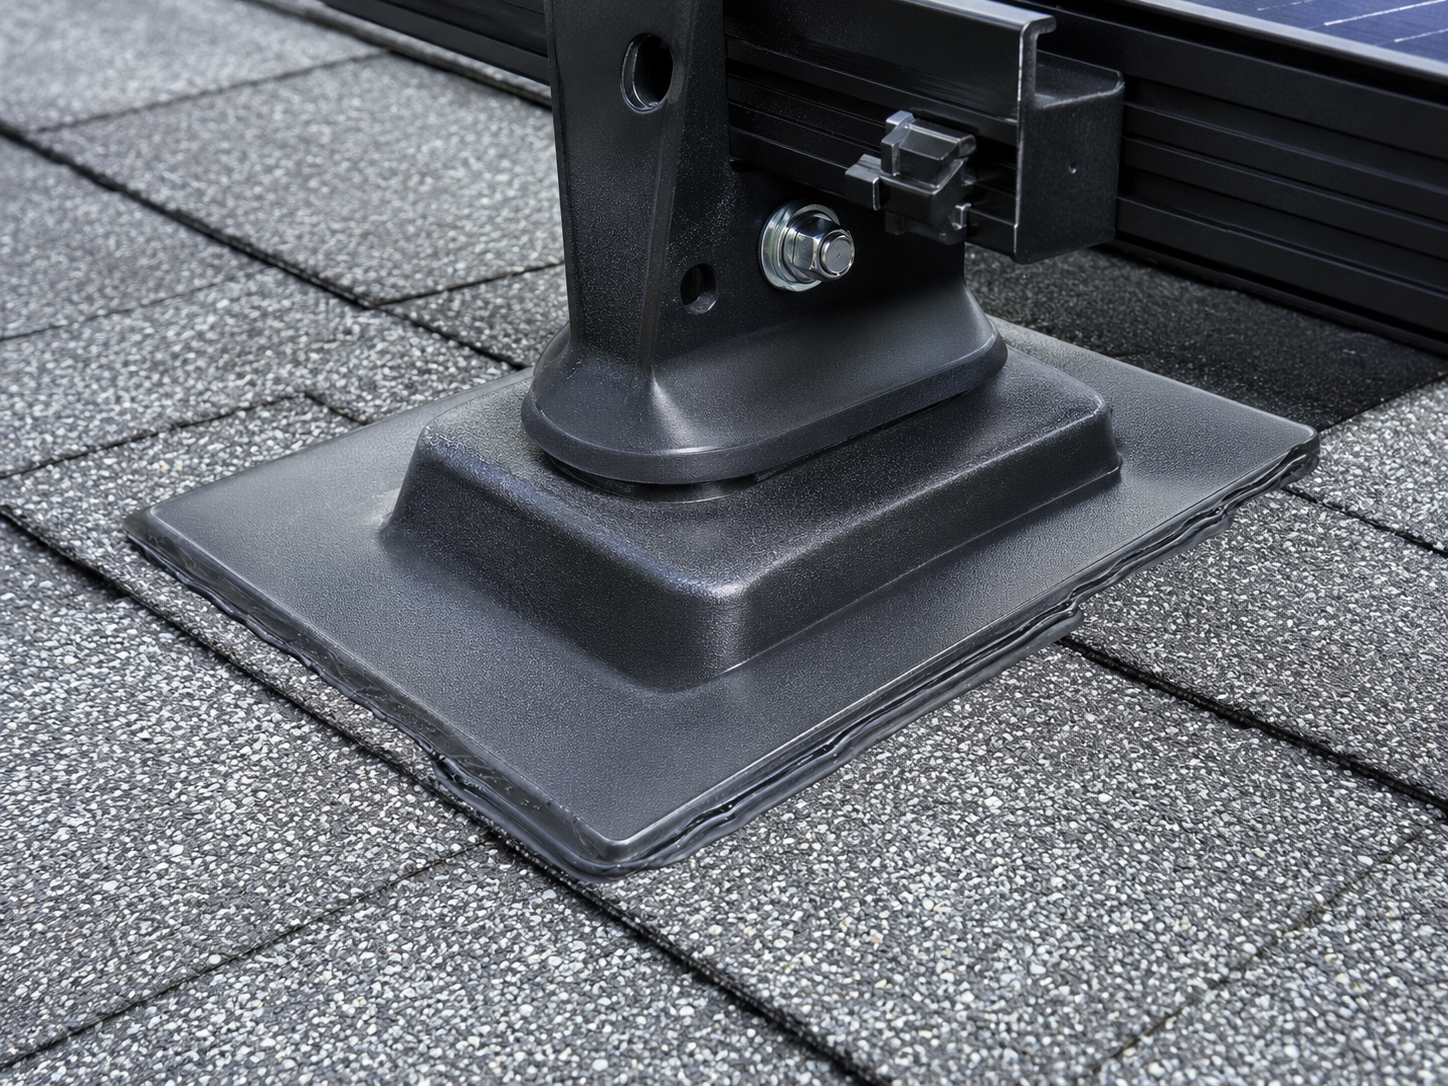
Asphalt shingle checklist
What should be checked before mounting begins?
Asphalt shingle mounting works best when the roof is ready, the structure is known, and the flashing detail is inspected before panels cover the work.
Roof age
Confirm the roof age and remaining service life. Solar should not hide shingles that are near the end of their useful life.
Shingle condition
Look for curling, cracking, granule loss, brittle shingles, old repairs, loose material, and signs of prior water intrusion.
Rafter target
The mounting foot should be aligned with rafters or approved structural framing, not merely placed where the roof surface looks convenient.
Flashing integration
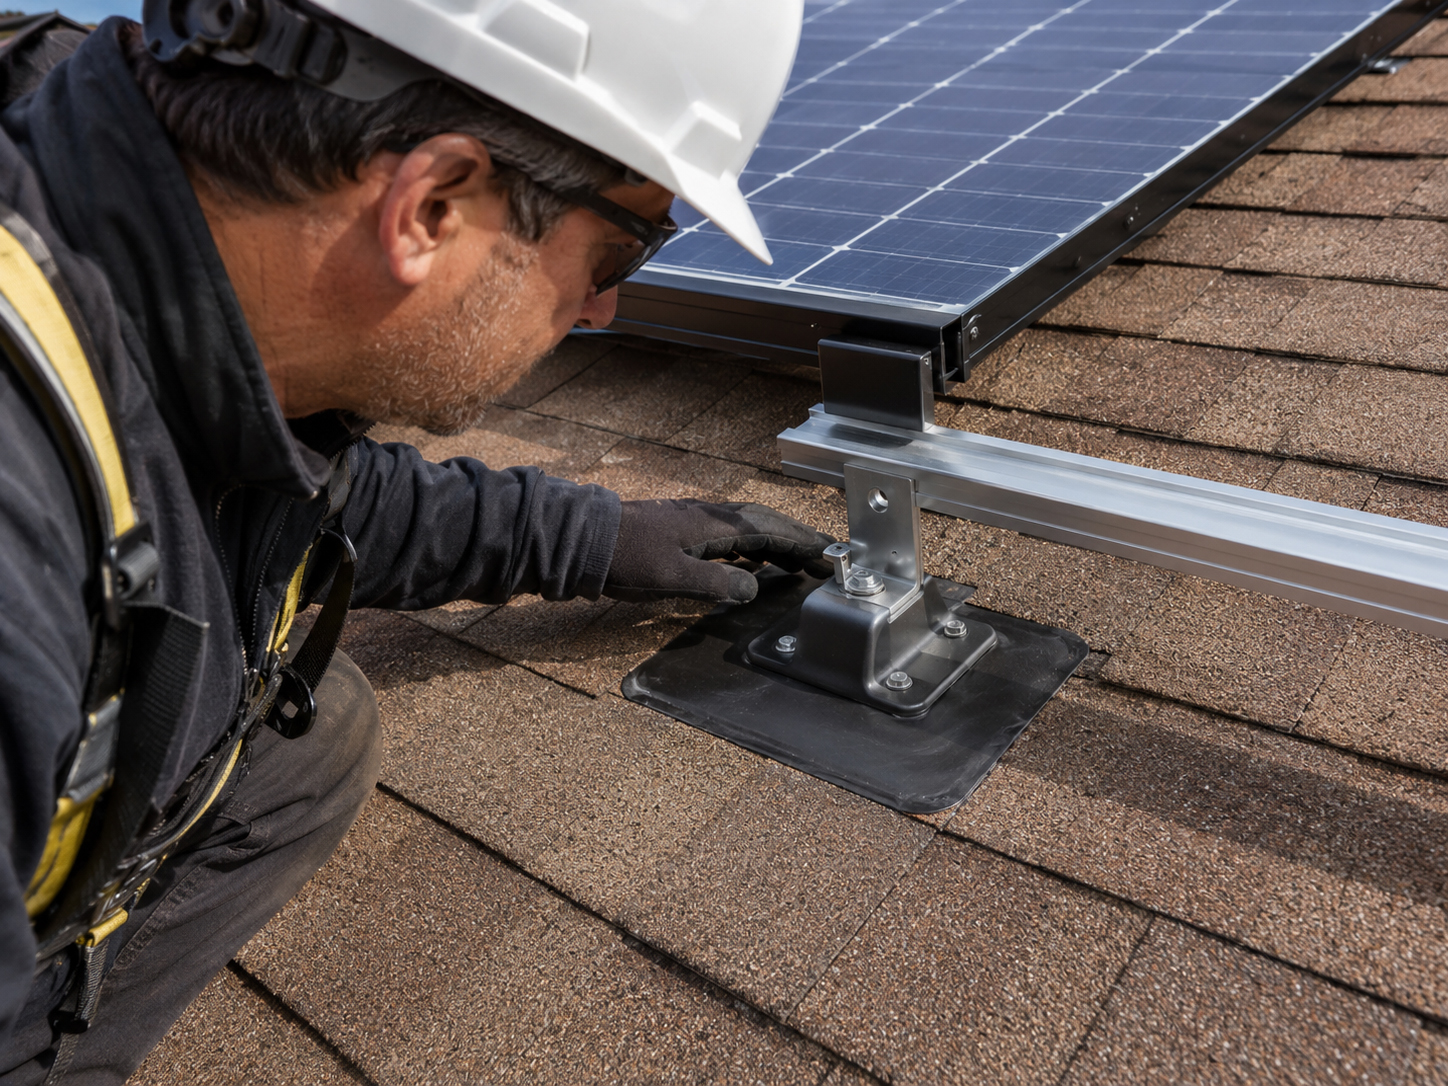
The flashing should slide into the shingle water path so water flows over and away from the roof penetration.
Sealant detail
Sealant supports the approved waterproofing method. It should not be used as a substitute for proper flashing.
Inspection timing
The attachment and waterproofing work should be visible for review before rails and modules conceal the detail.
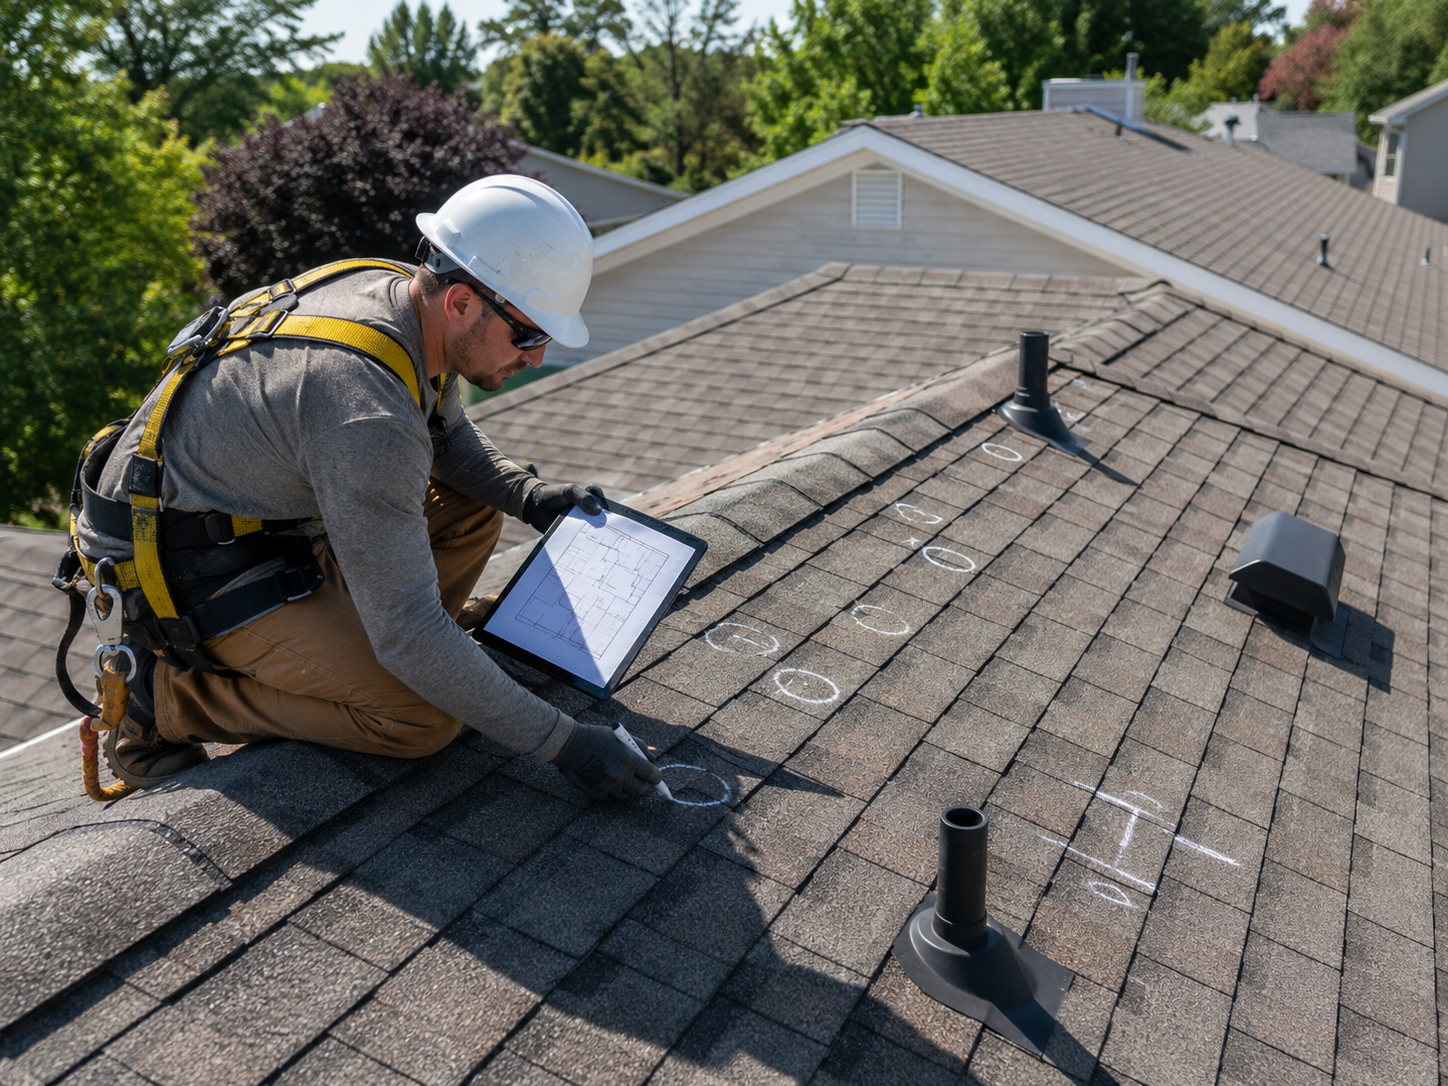
Before drilling
Mark the roof penetration before committing to it.
A roof penetration is a structural and waterproofing decision.
The roof mark should correspond to the rafter or approved structural target, the mounting-foot layout, the rail direction, and the flashing method. A clean asphalt shingle installation starts with knowing where the mount belongs before any drilling begins.
Practical rule: do not use the fastener as a search tool. Confirm the rafter and the waterproofing plan first.
Mounting detail
The flashed mount is where the roof and solar system meet.
The visible bracket is only one part of the detail.
Before the flashed mount is installed
- Confirm roof age and asphalt shingle condition.
- Confirm rafter direction, spacing, and attachment target.
- Confirm mounting-foot spacing and rail layout.
- Confirm roof penetration locations.
- Confirm flashing placement and shingle integration.
- Confirm sealant requirements and inspection timing.
After the flashed mount is installed
- Verify the attachment landed in the intended structure.
- Verify the flashing is correctly integrated with shingle courses.
- Verify sealant is applied as part of the approved detail.
- Verify the mount is seated and ready for rails.
- Photograph or document the detail where useful.
- Inspect before panels conceal the work.
Important: this page is educational. Actual flashing, sealant, lag bolt, pilot hole, mounting-foot, rail, clamp, attachment spacing, and inspection requirements must follow the approved plan set, manufacturer instructions, roofing requirements, engineering requirements, and local code.
Waterproofing first
Flashing should do the water work.
Sealant helps. Flashing leads.
A good asphalt shingle mounting detail uses the flashing to manage water. Sealant is part of the detail, but it should not be the only thing standing between the roof and a future leak. The flashing should work with the shingles so water flows naturally away from the penetration.
Asphalt shingles shed water through overlapping rows. The flashing must work with that.
The attachment point must be flashed and sealed according to the approved detail.
Inspect the waterproofing before rails and panels make it harder to see.
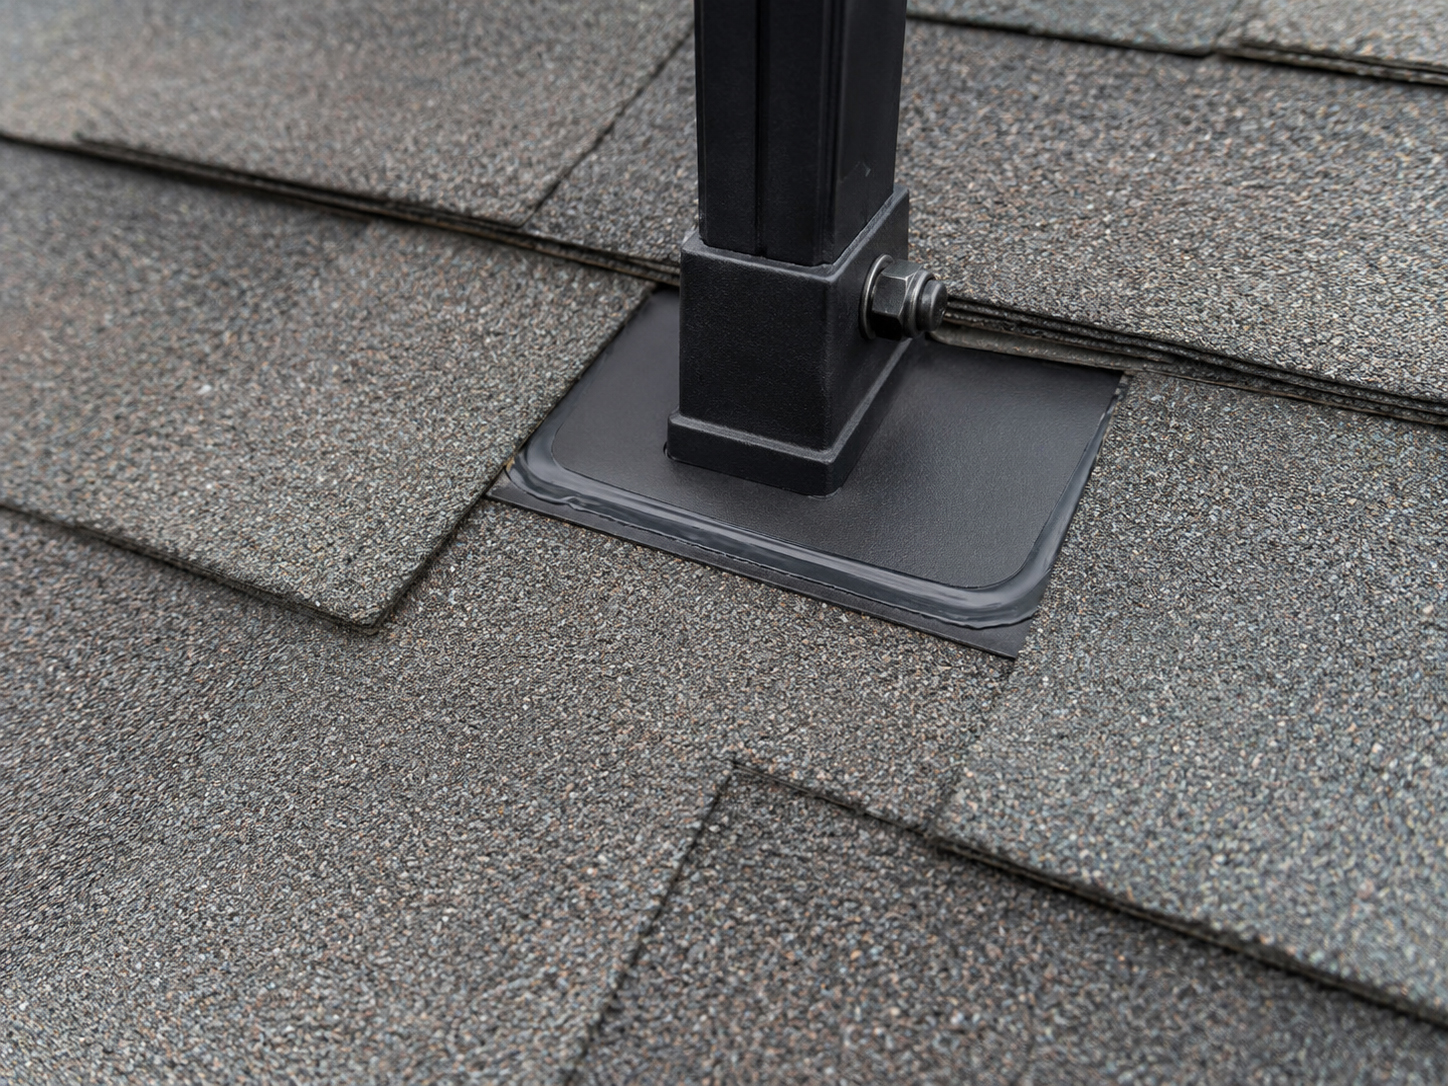
Structural attachment
The shingles shed water. The rafters carry load.
Asphalt shingle mounting must connect to structure below the roof surface.
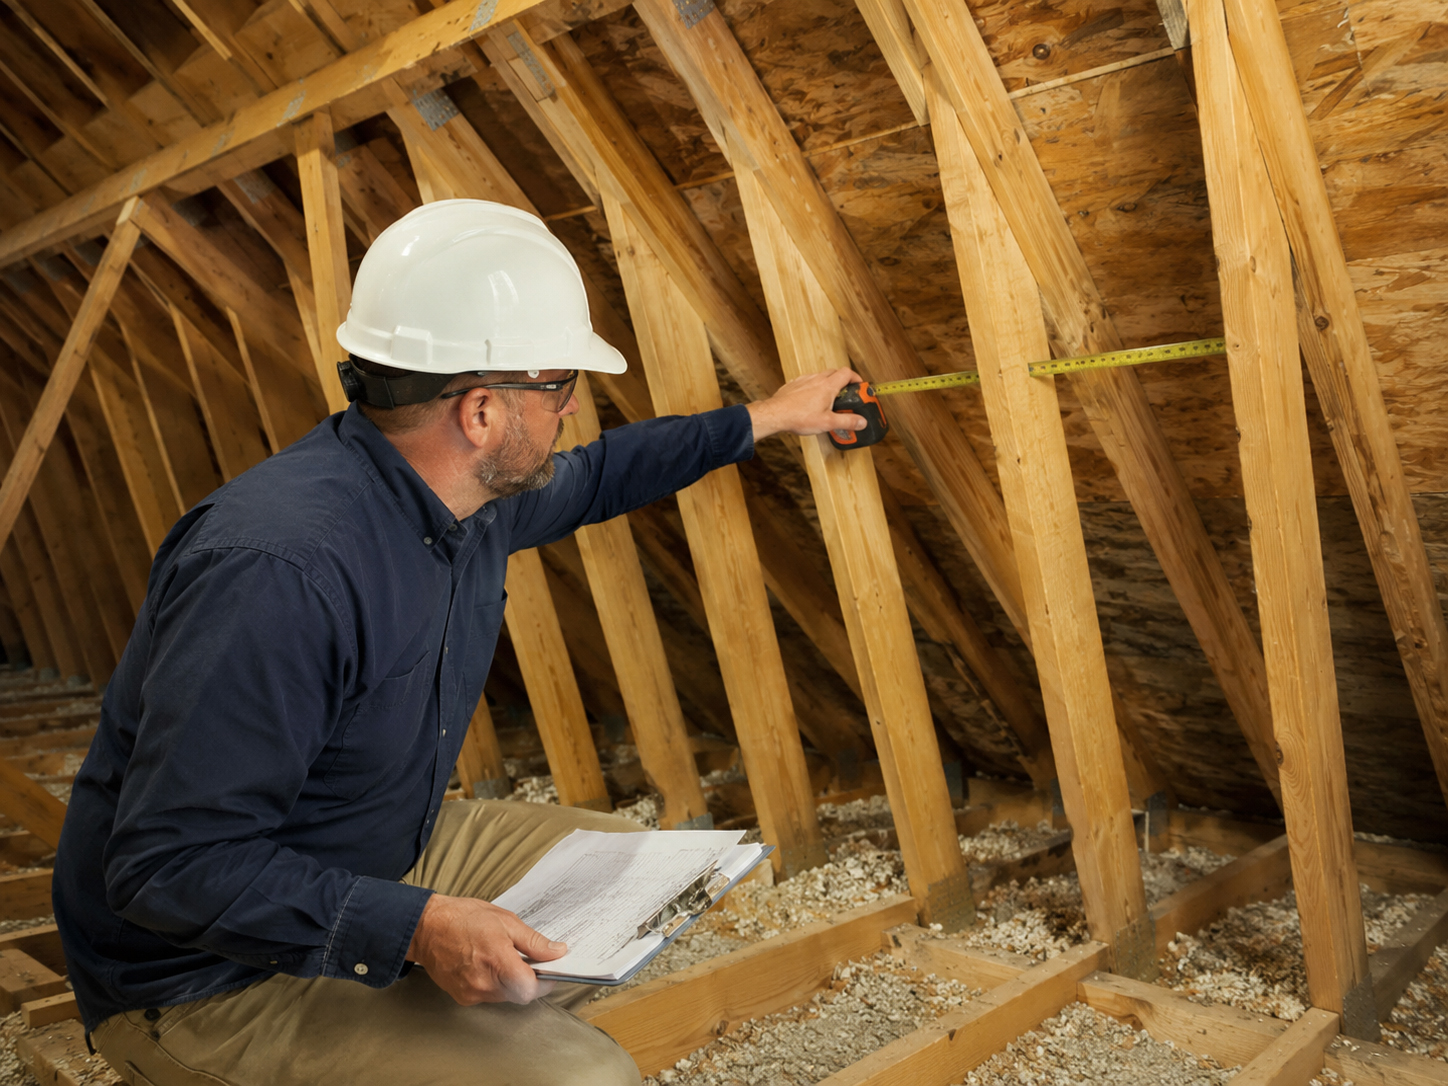
Roof Integrity & Rafters
Confirm rafter spacing, direction, condition, and structural load path.
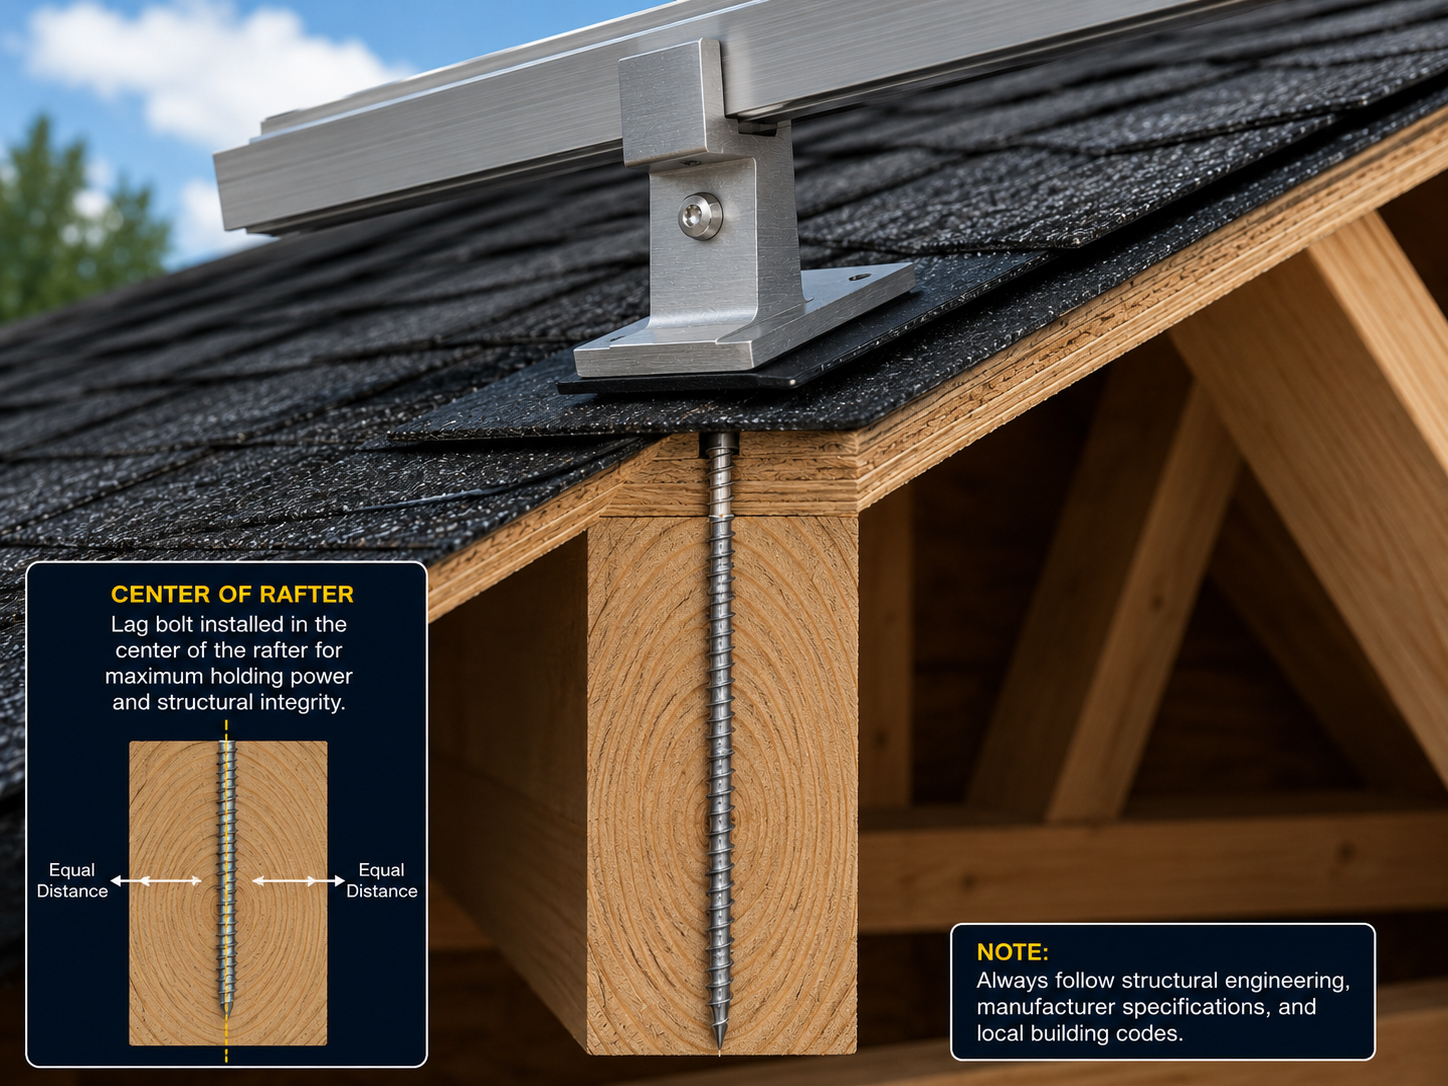
Lag Bolts Into Rafters
Fasteners must land in real framing according to the approved mounting detail.
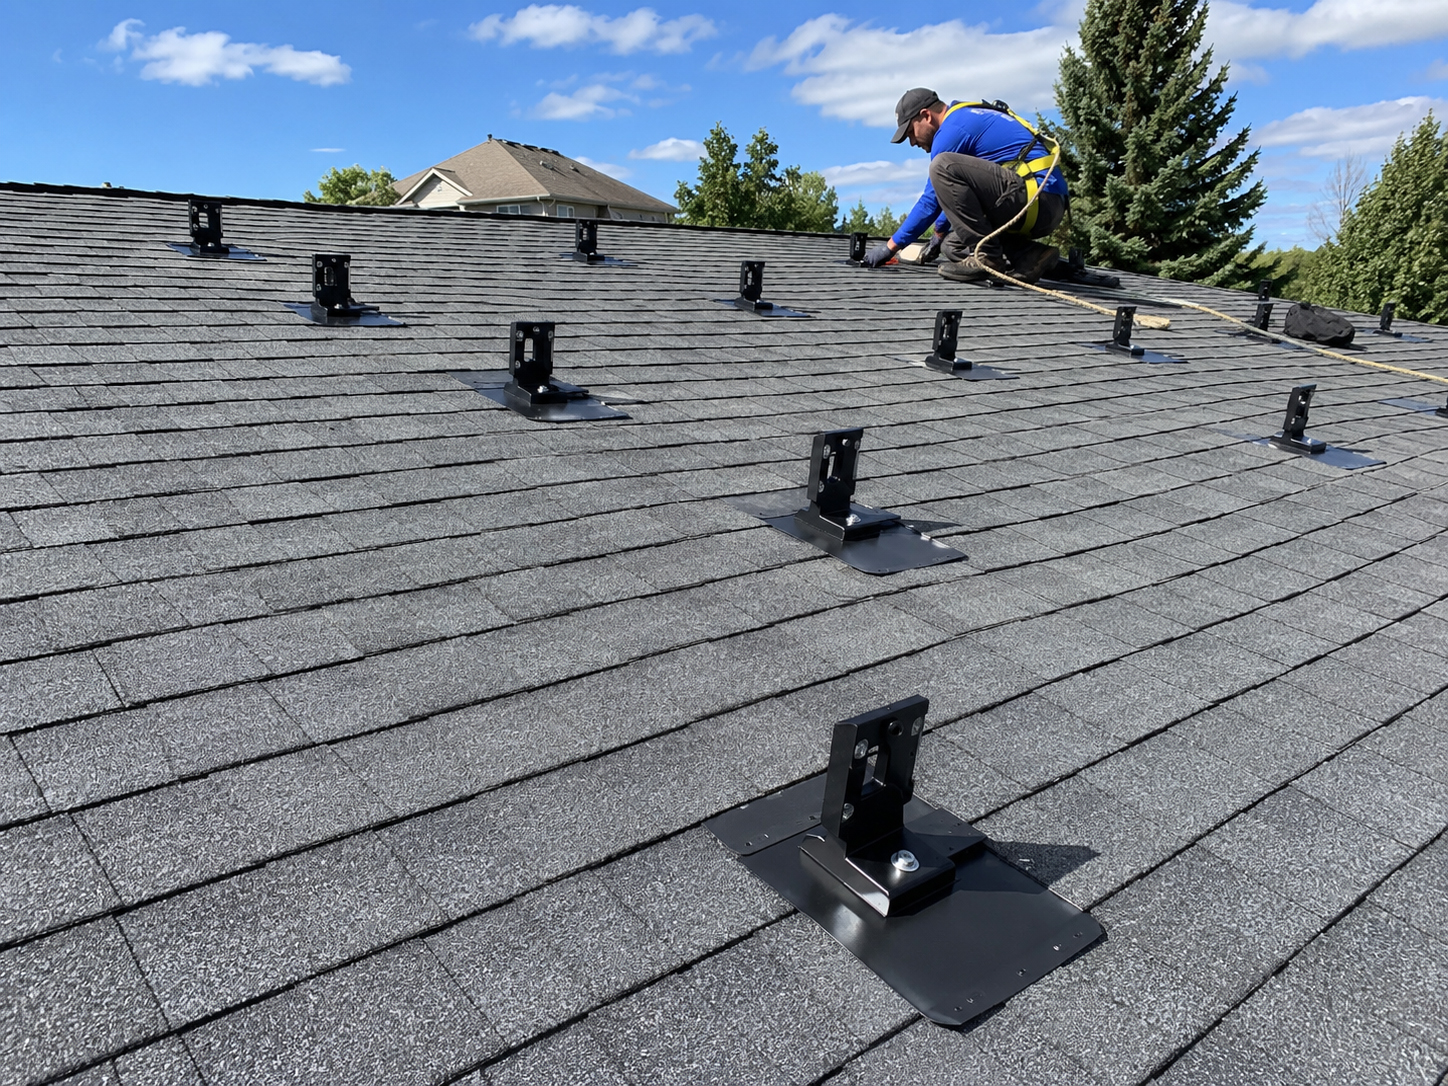
Solar Mounting Feet
The foot connects the roof, rafter, flashing, rail, and array.
Plain-language summary: the shingle roof protects against water. The rafter supports the array. The mount and flashing must connect those two jobs correctly.
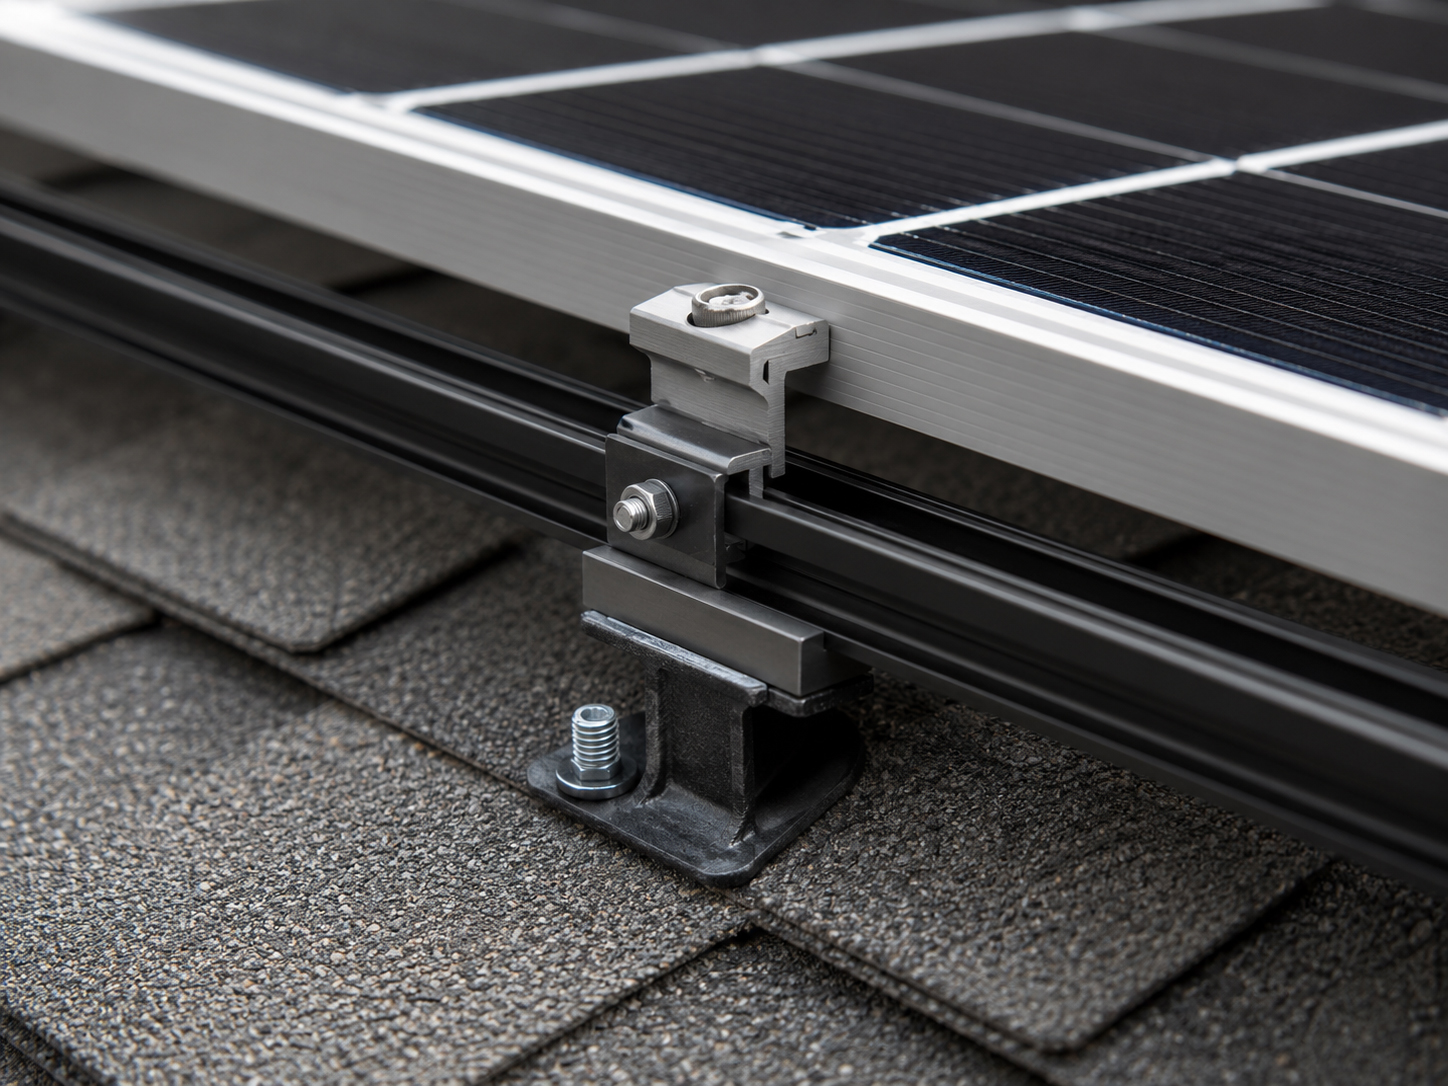
Rails and clamps
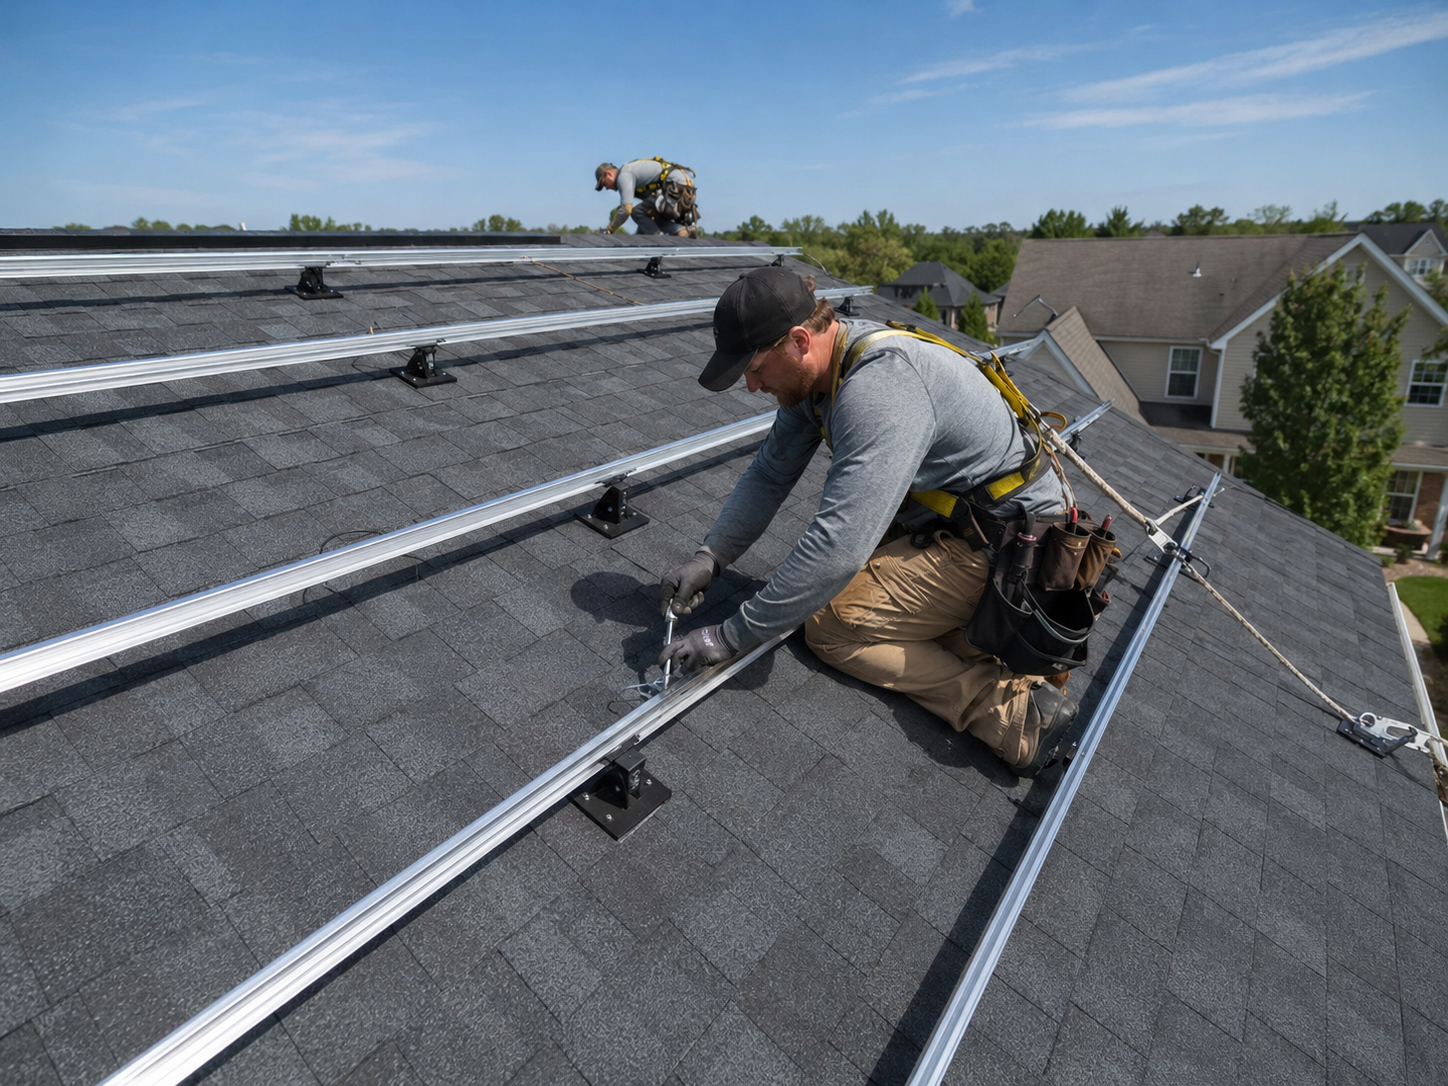
Rails should follow the mounting-foot plan.
A straight rail line does not fix a bad roof attachment.
The rails and clamps create the visible array, but they depend on the mounting feet below. Before the rails are installed, the attachment points, flashing, sealant, and roof protection should already be correct.
Practical rule: do not let the rail installation cover up unverified mounting or waterproofing work.
Common asphalt shingle concerns
Watch the small details before they become big problems.
Most avoidable problems come from skipping the review, rushing the attachment, or trusting sealant alone.
Old shingles
Brittle or worn shingles can tear, crack, fail around mounts, or create future service problems.
Wrong mount location
A mount that misses the rafter or lands in a poor water path can create structural and waterproofing issues.
Flashing mismatch
Flashing that does not integrate with shingle courses can interrupt the roof’s water-shedding logic.
Sealant overuse
More sealant is not a substitute for correct flashing, correct placement, or correct roof prep.
Hidden waterproofing
Rails and modules can hide the very details that should have been inspected first.
Future reroofing
If the roof will need replacement soon, panel removal and reinstallation should be considered now.
Homeowner transparency
Homeowners should be able to understand the flashed mount.
The explanation does not need to be complicated.
A homeowner can ask where the mounts go, how the rafters are found, how the flashing works, what sealant is used, what gets inspected before panels cover it, and how the roof can be serviced later.
Good homeowner question: “Can you show me one flashed mount before the panels are installed so I understand how the roof is protected?”


Inspection readiness
The final installation should match the plan set.
Good field work should be visible, explainable, and consistent with the approved design.
The asphalt shingle mounting method should coordinate with the permit set, rafter attachment layout, roof penetration plan, flashing method, rail system, and inspection requirements.
Plain-language summary: the flashed mount should make sense to the installer, the inspector, the roofer, and the homeowner.
Related field guide pages
Continue the asphalt shingle review.

Asphalt shingle conclusion
The flashed mount must respect the roof.
Locate the rafter. Install the mounting foot correctly. Integrate the flashing. Use sealant with discipline. Inspect before the panels cover the work.