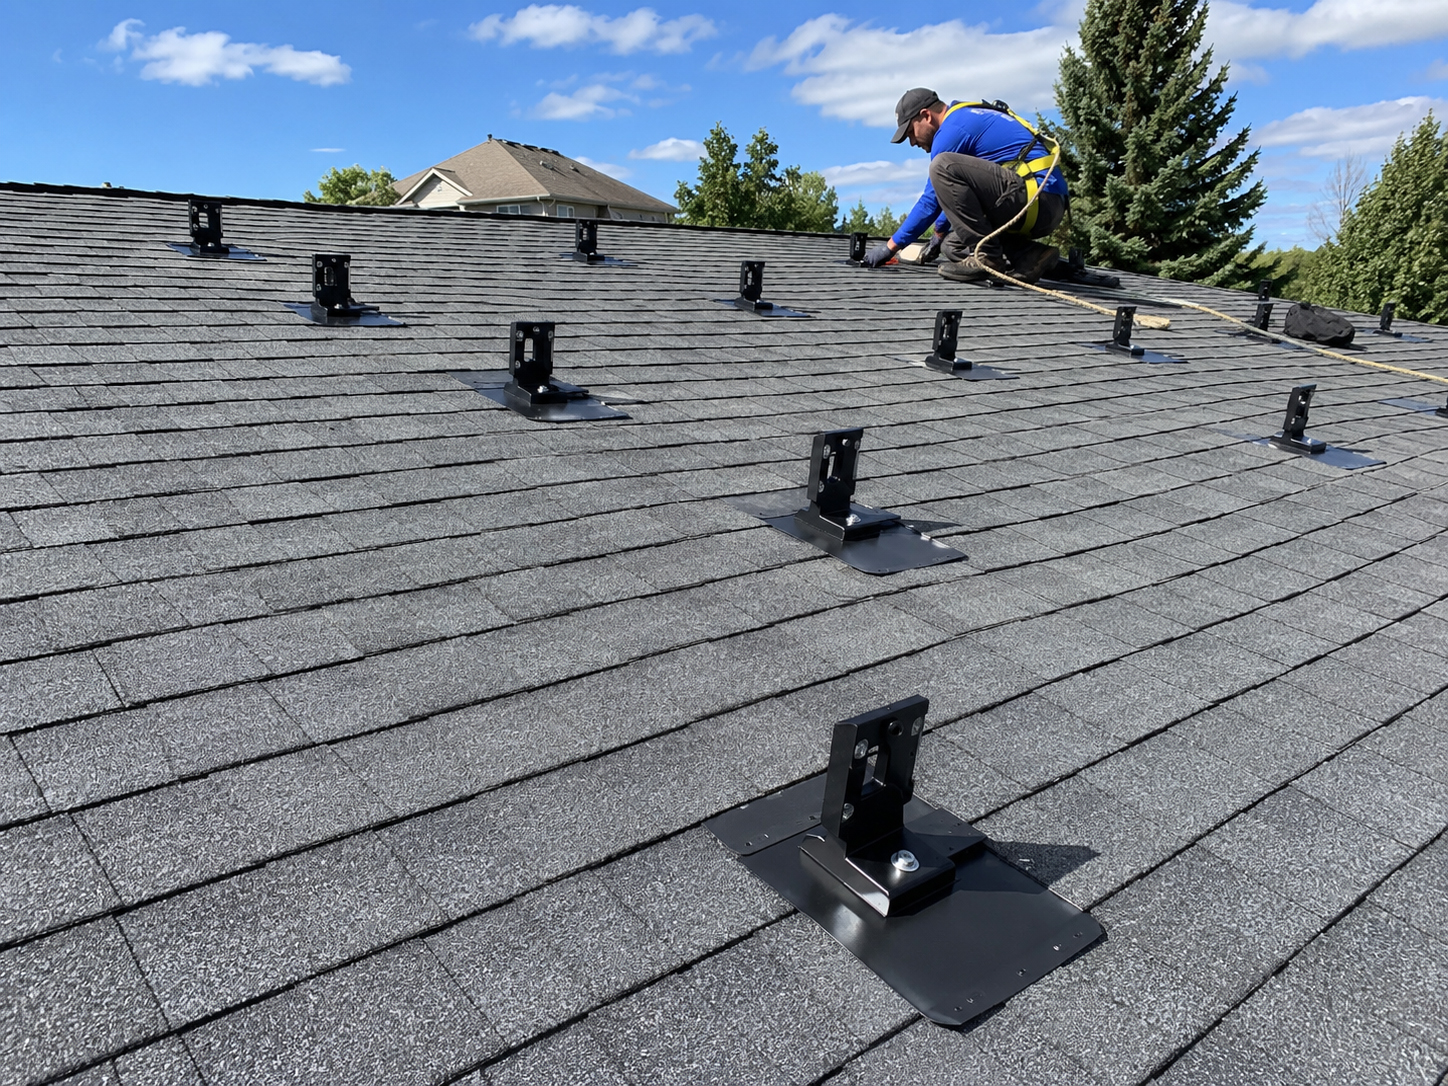
Small part, big responsibility
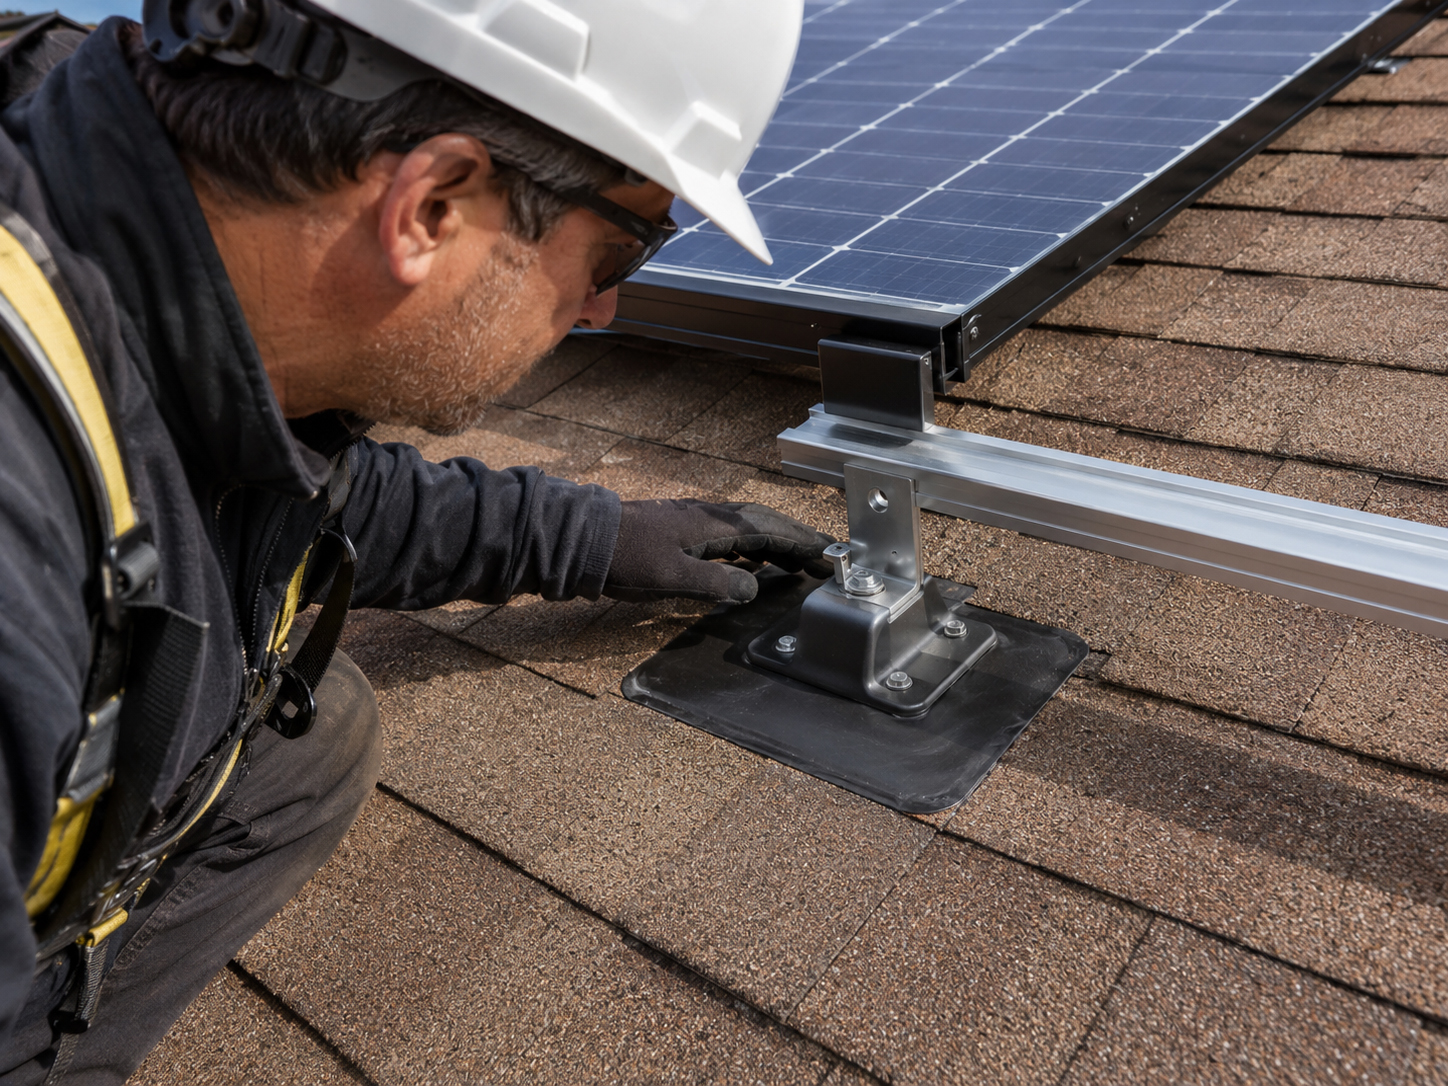
Solar mounting feet connect the array to the building.
A mounting foot may look simple, but it carries the practical responsibility of connecting solar rails to the roof, the rafter, the flashing, the waterproofing system, and the approved installation plan.
What the mounting foot does
The mounting foot is the transition point.
It is where solar becomes construction.
The mounting foot sits at the critical intersection of the array, the rail system, the roof surface, the waterproofing method, and the structural attachment below. If that point is poorly planned, the rest of the installation inherits the mistake.
SolarMount.com rule: the mounting foot should not be treated as a generic bracket. It is a roof attachment, a structural connection, and a waterproofing detail at the same time.
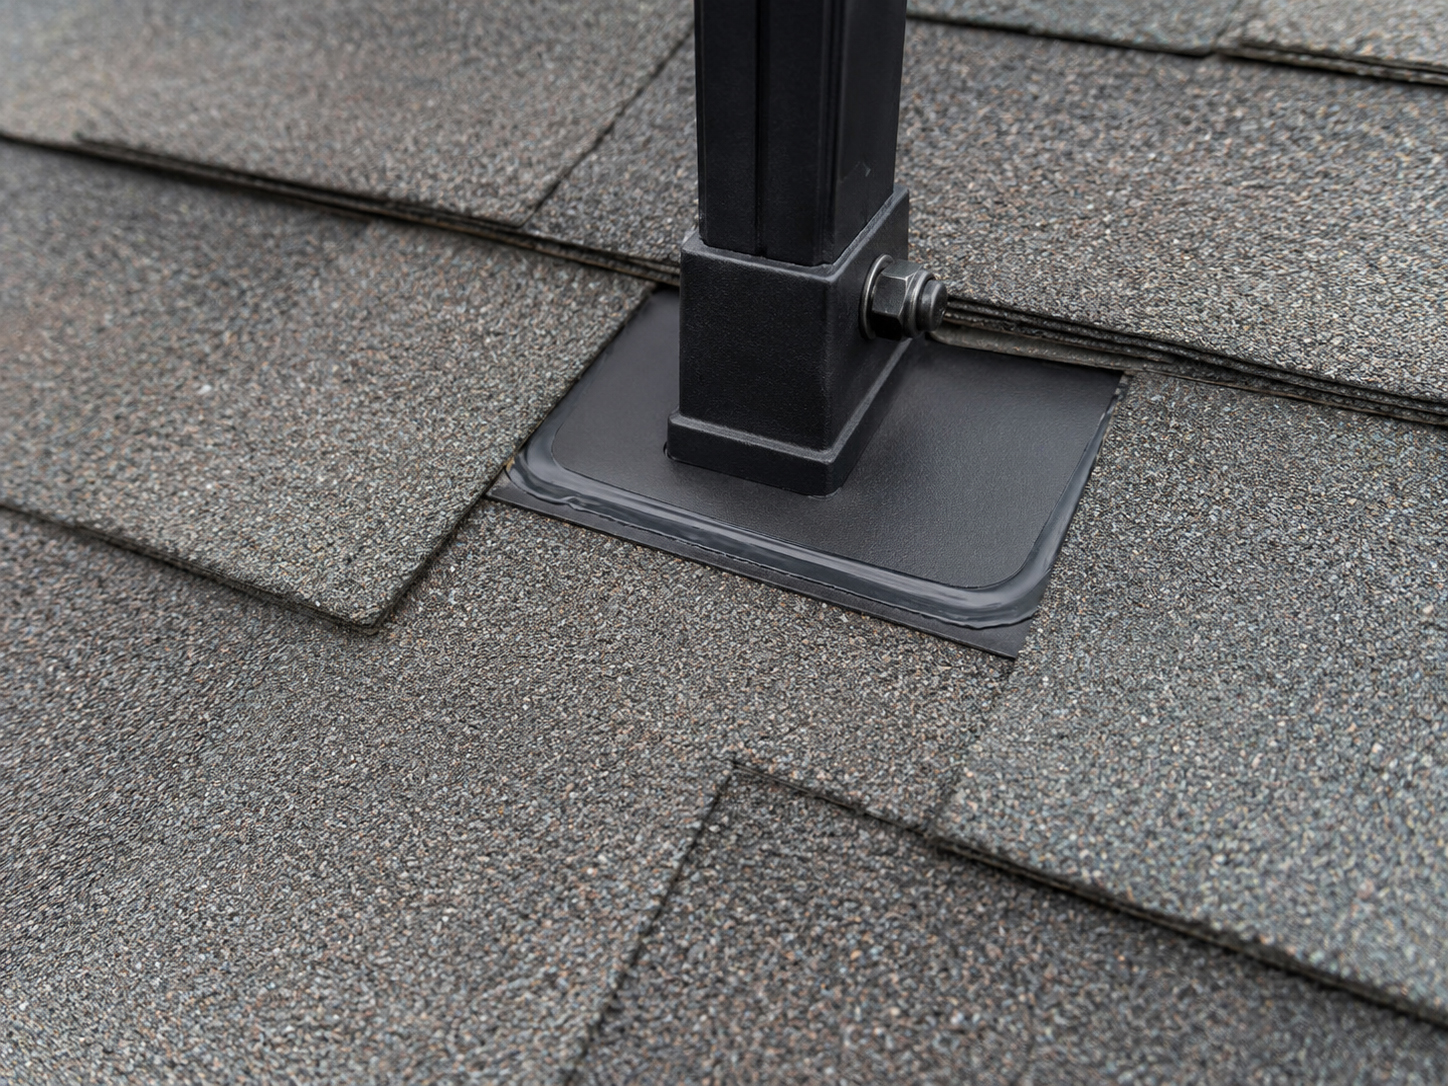
Mounting-foot checklist
What should be reviewed before mounting feet are installed?
A mounting foot should be located, attached, flashed, sealed, and inspected as part of one coordinated plan.
Roof type
Composition shingle, asphalt shingle, tile, metal, wood shake, and flat roof systems all change the mounting-foot conversation.
Structural target
The mounting foot should align with the required rafter, truss, blocking, or other approved structural attachment point.
Water path
The foot and flashing must respect how water naturally moves across the roof. Do not create a trap, dam, or hidden leak point.
Rail layout
Mounting-foot spacing must work with rail spans, module layout, roof geometry, setbacks, and manufacturer requirements.
Flashing detail
The flashing method should integrate with the roof assembly, not merely cover a mistake.
Inspection timing
Important attachment and waterproofing details should be visible before rails and panels conceal them.
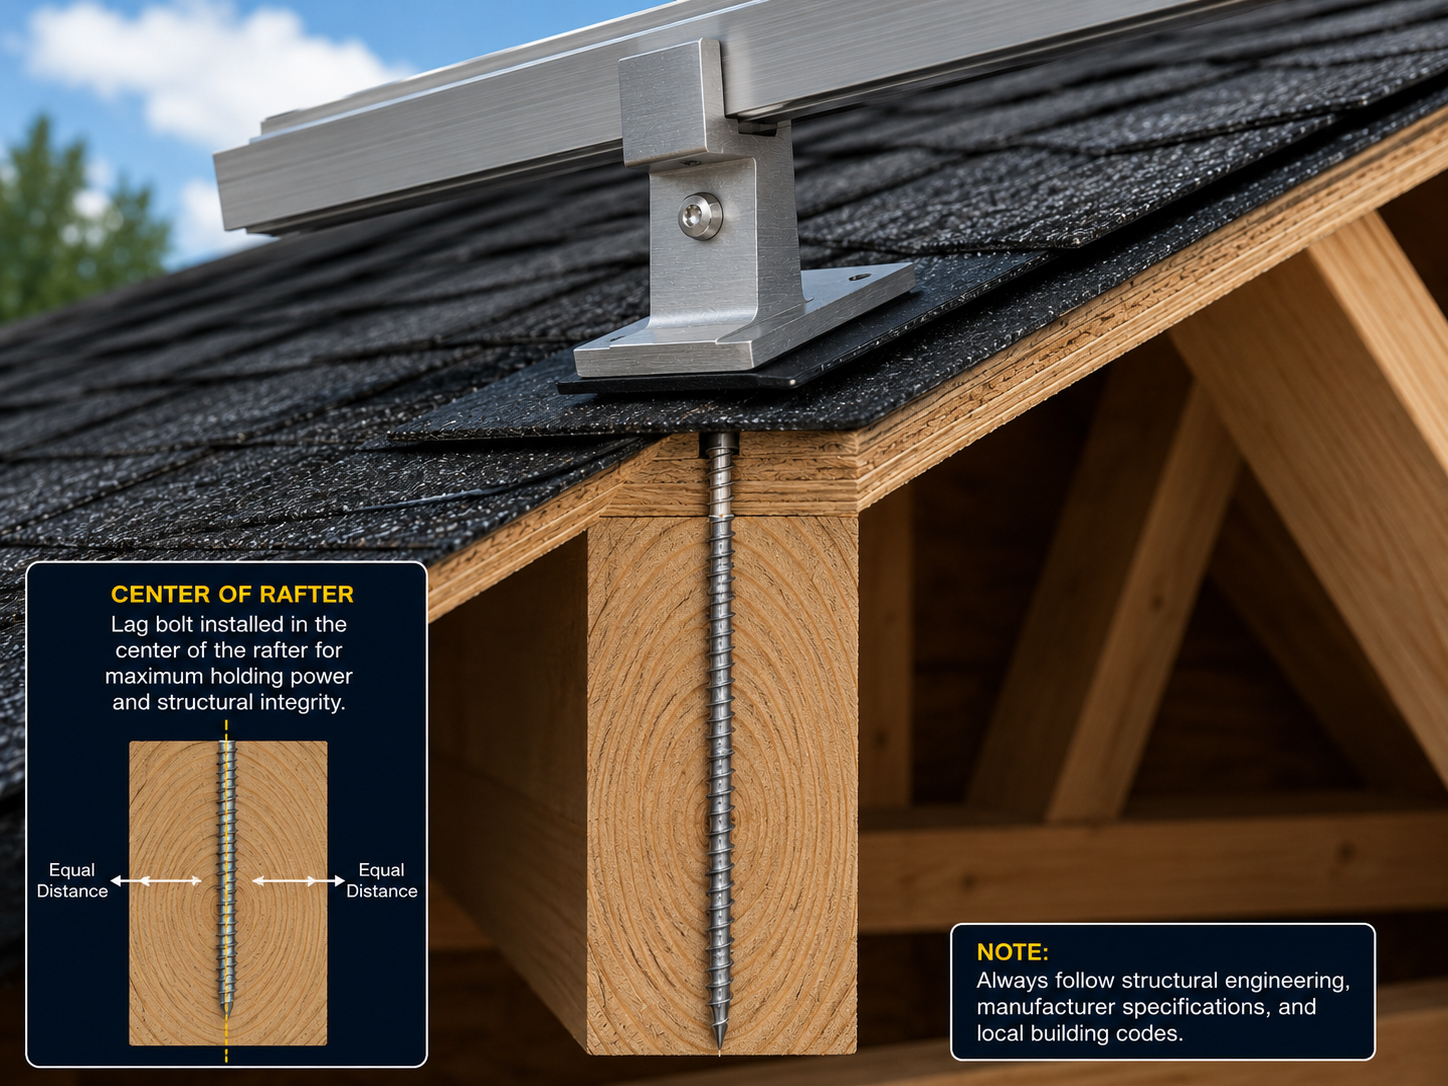
Attachment into structure
The foot only works if it lands on the right structure.
A mounting foot attached to the wrong place creates a structural and waterproofing problem.
On many sloped-roof installations, mounting feet depend on fasteners landing correctly into rafters or approved framing. The roof surface can hide the structure below, so layout, marking, pilot drilling, attachment verification, and inspection discipline all matter.
Important: this page is educational. Actual mounting-foot hardware, fastener size, attachment spacing, pilot drilling, flashing, sealant, and structural requirements must follow the approved plan set, manufacturer instructions, engineering requirements, and local code.
Waterproofing detail
The mounting foot must become part of the roof.
The roof is a water-shedding system. A mounting foot must be integrated into that system.
Before the foot is installed
- Confirm roof type, age, and condition.
- Confirm the structural target below the roof surface.
- Confirm the foot location against the rail and panel layout.
- Confirm the flashing method for the roof material.
- Confirm sealant requirements and manufacturer instructions.
- Confirm whether the detail must be inspected before concealment.
After the foot is installed
- Verify that the foot is seated properly.
- Verify the attachment landed where intended.
- Verify flashing is correctly integrated into the roof surface.
- Verify sealant is applied only as part of the approved waterproofing detail.
- Photograph or document the work where useful.
- Confirm the foot is ready to receive rail without concealing a problem.
Practical rule: do not let the rail installation rush the mounting-foot inspection. The foot is easier to verify before the array covers it.
Flashing comes first
A mounting foot without waterproofing discipline is not complete.
The foot may hold the rail, but the flashing protects the building.
A properly planned mounting foot respects the roof layers above and below it. On shingle roofs, that means understanding overlap, water path, and flashing placement. On other roof types, the method must be reviewed for the specific roof assembly.
The foot location must work for structure, rail layout, roof geometry, and water movement.
The attachment must follow the approved plan, framing target, hardware, and installation instructions.
Flashing and waterproofing must be confirmed before the foot disappears under the finished array.

How mounting feet connect to the rest of the system
One foot affects the whole array.
A mounting foot is not isolated. It is part of the rail layout, electrical layout, roof layout, and inspection plan.
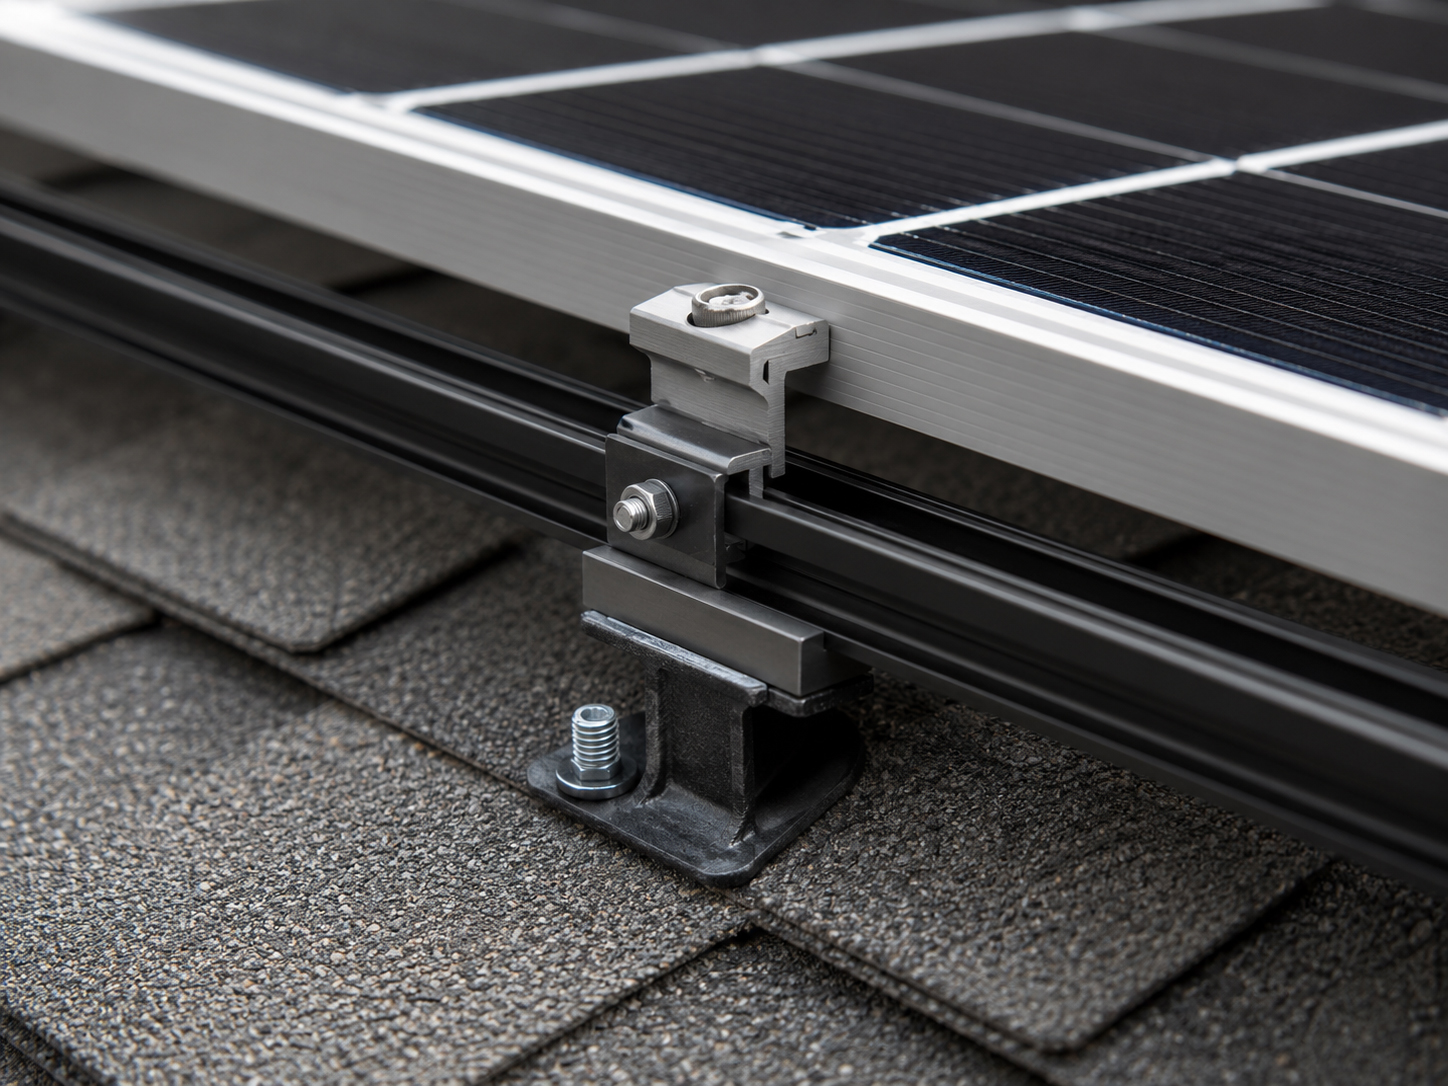
Rails & Clamps
Rails and clamps depend on the mounting-foot layout below them.
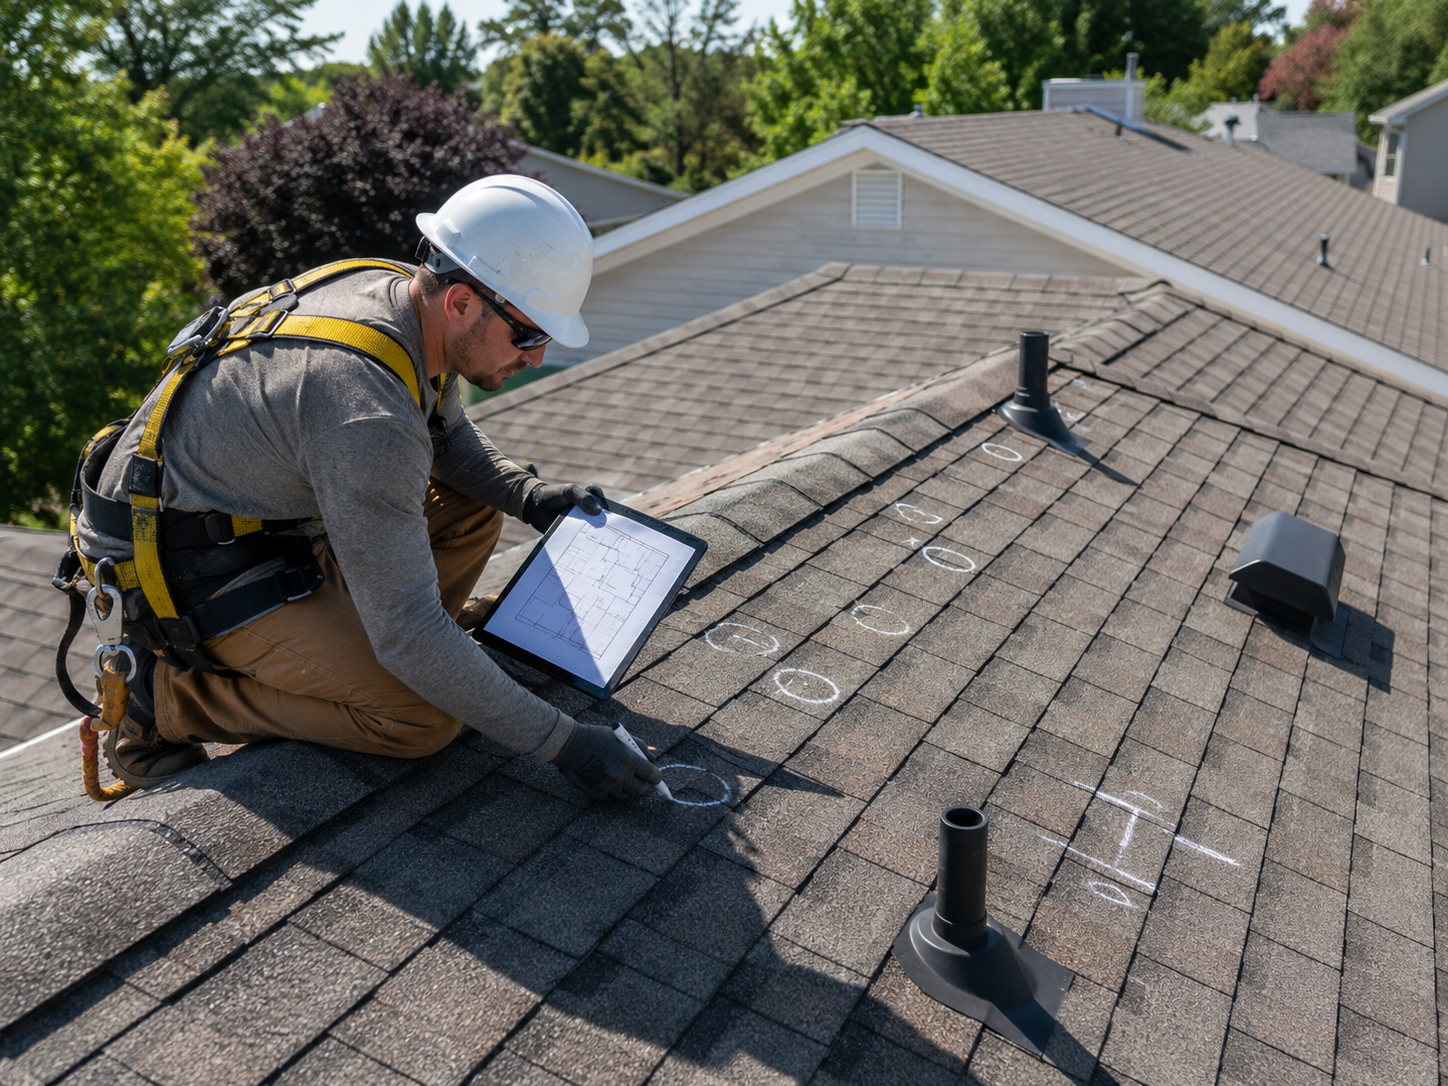
Penetration Locations
Each foot begins as a roof-location decision before it becomes hardware.
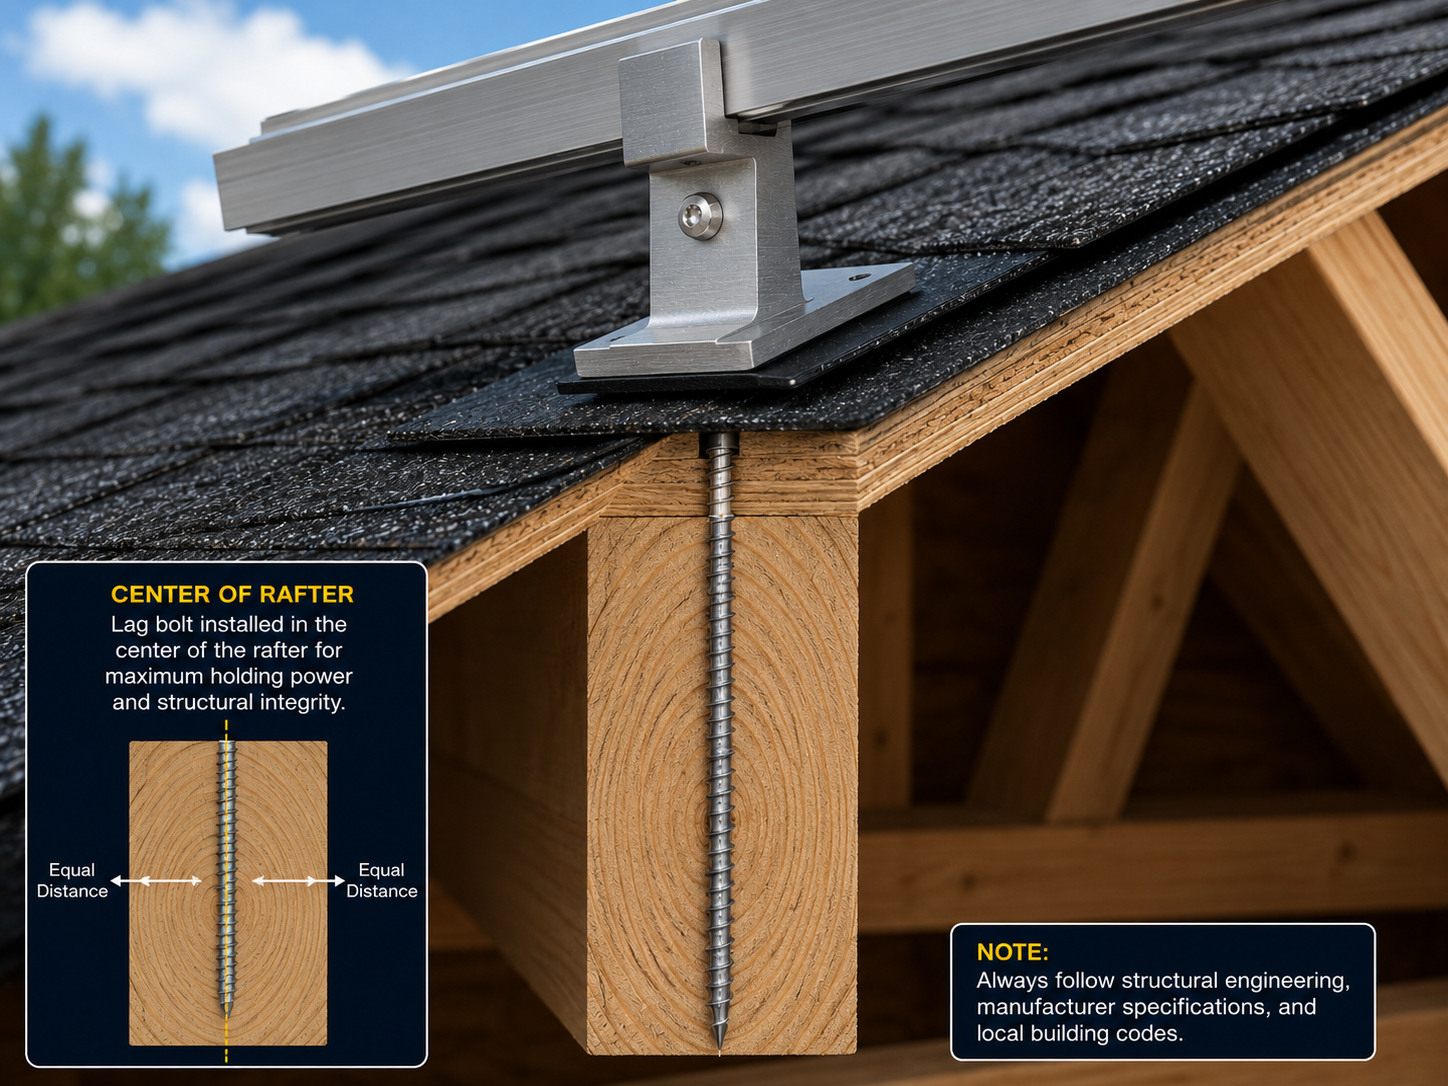
Feeder Drill Holes
Preparation can help the attachment land where the plan requires.
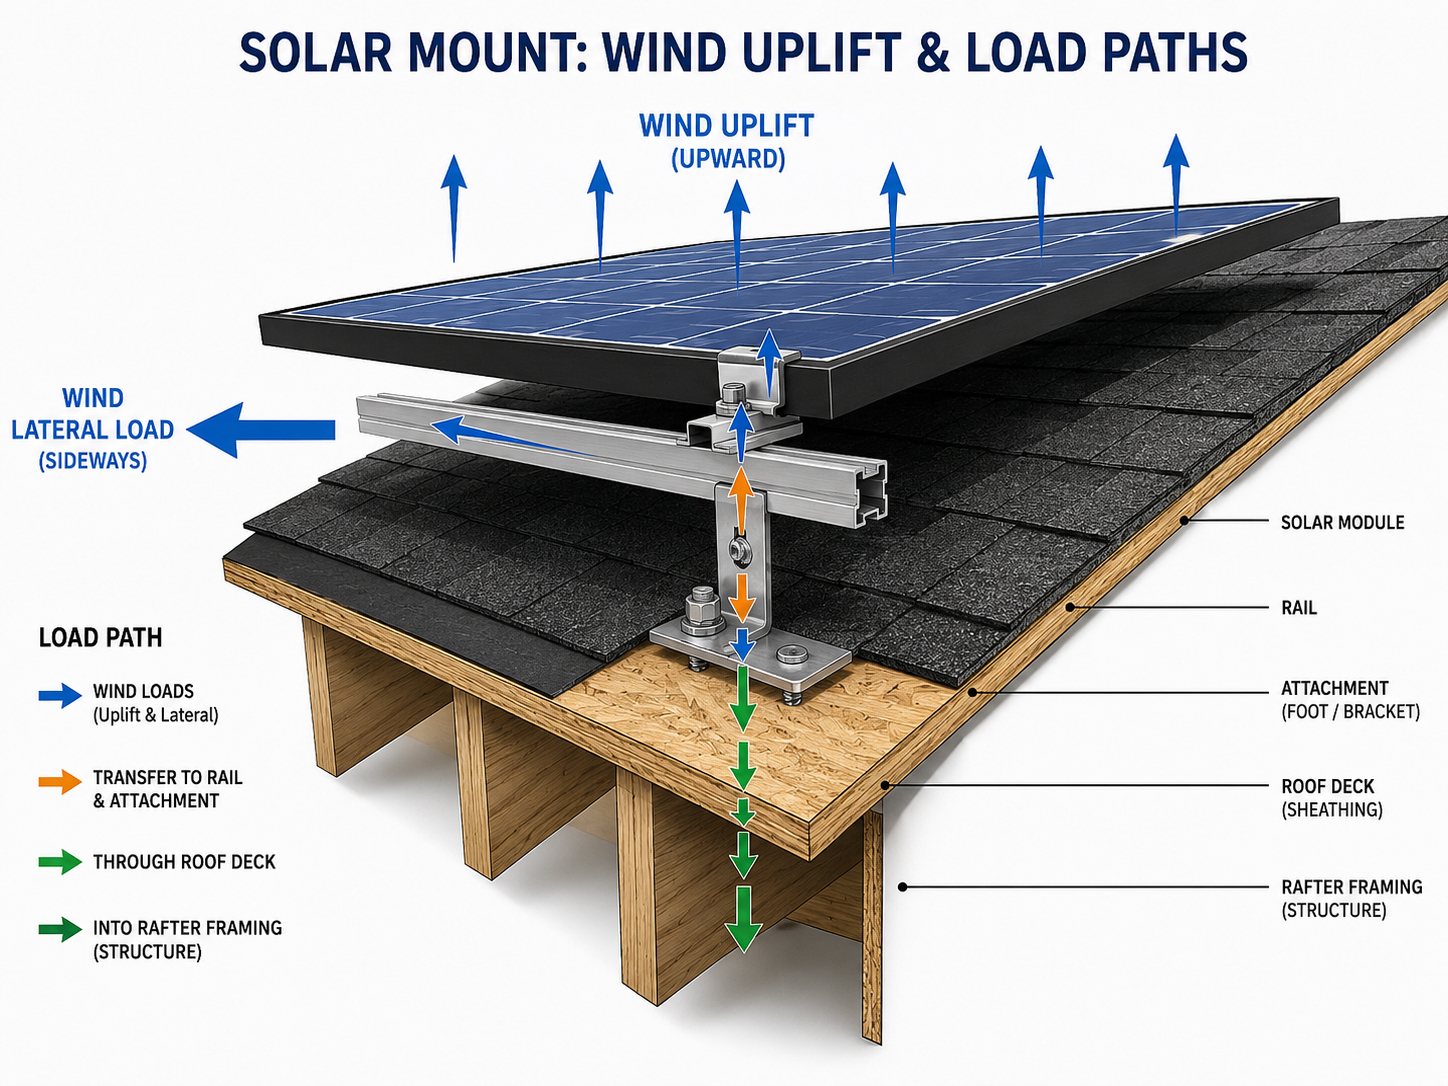
Wind Uplift
Mounting feet help transfer uplift and other forces into the structure.

Structural Review
The attachment pattern must make sense for the building below the roof.

Permit & Inspection
Good mounting-foot work should be understandable and inspectable.
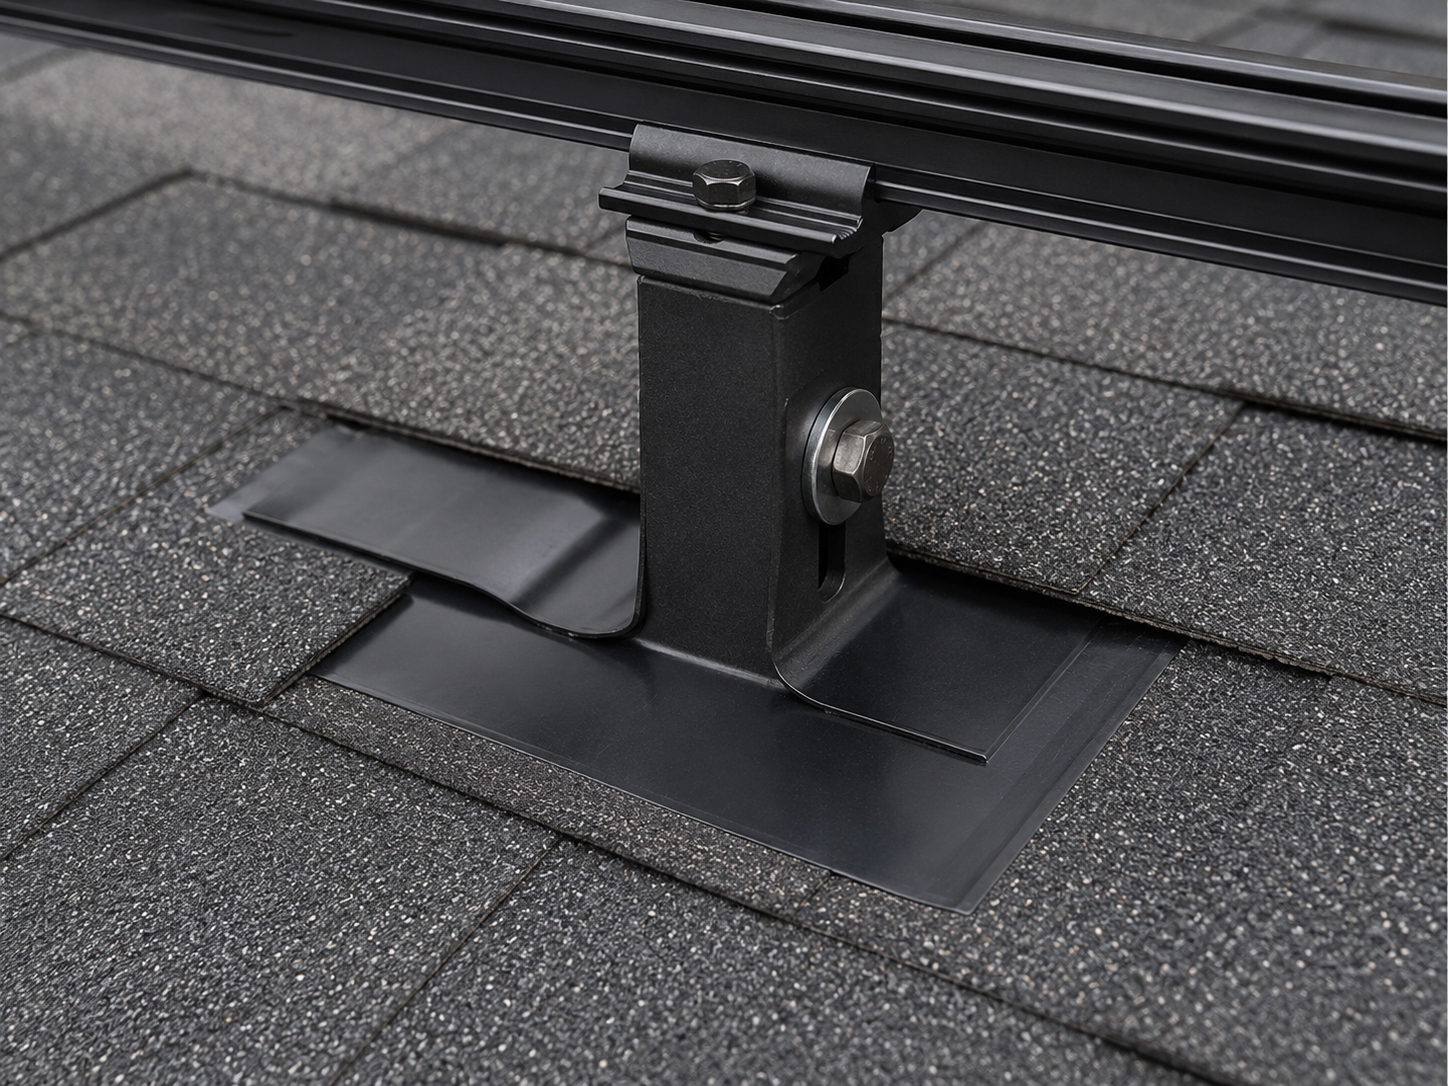
Shingle-roof example
On shingle roofs, the foot and flashing must work together.
The visible bracket is only part of the detail.
A shingle-roof mount must be reviewed for attachment location, flashing integration, shingle overlap, sealant use, roof condition, water path, and final rail placement. If any one of those elements is rushed, the foot may become a future service problem.
Plain-language summary: the mounting foot holds the solar rail. The flashing protects the roof. Both must be right.
Roof-type caution
The mounting-foot method changes with the roof.
SolarMount.com does not treat every roof as the same mounting problem.
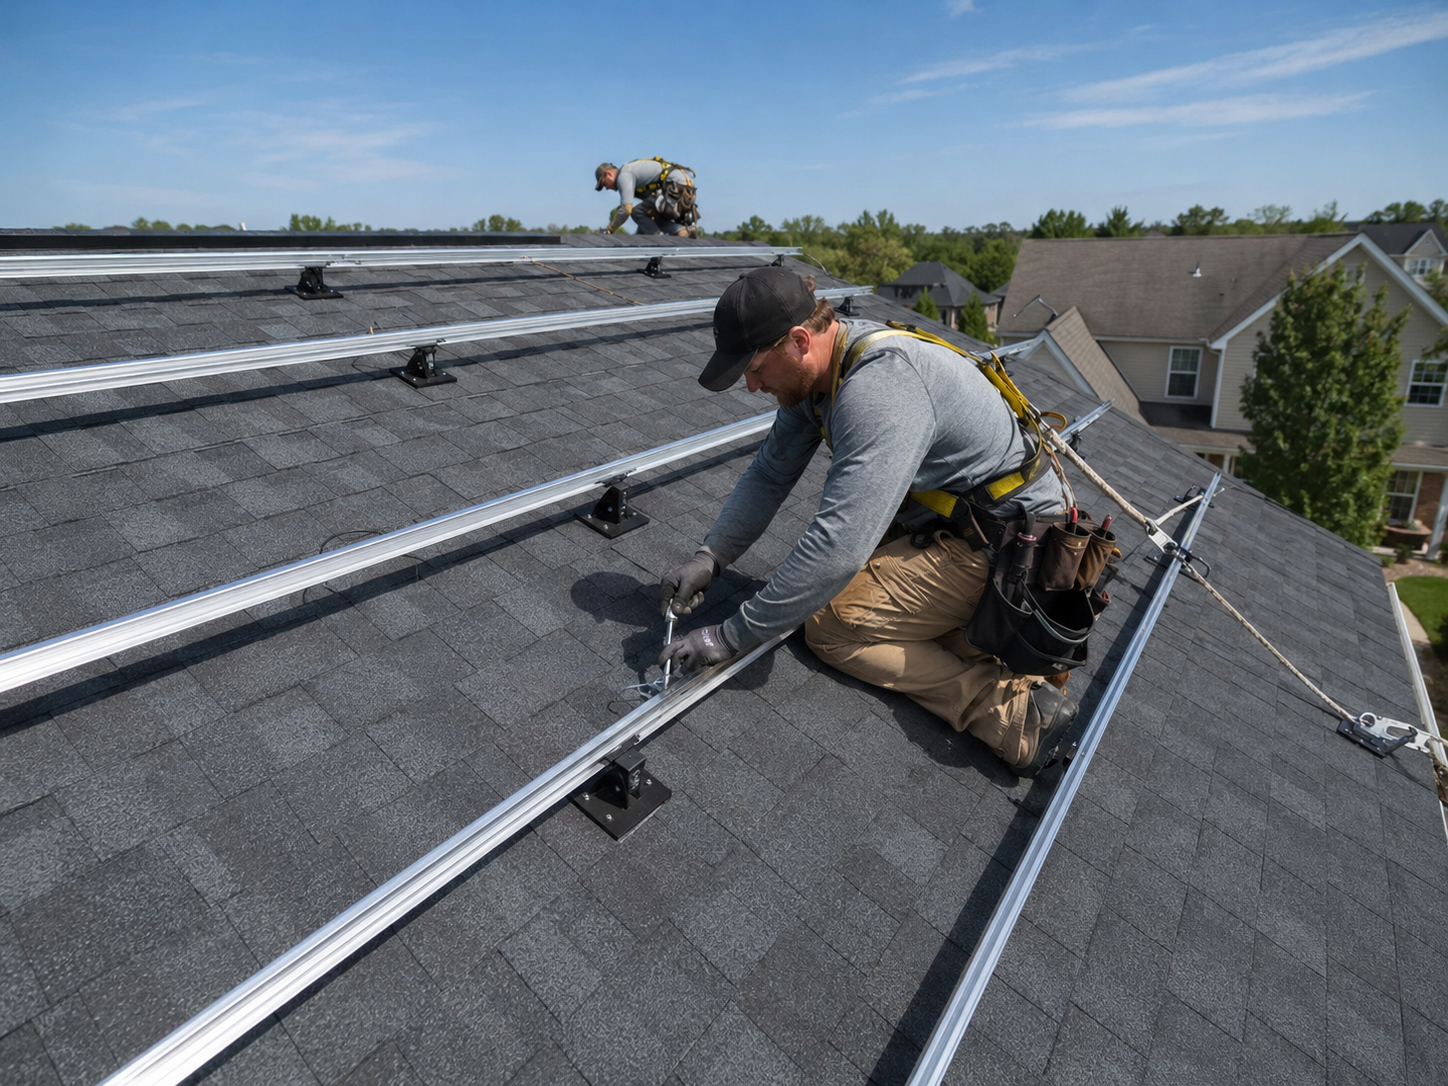
Composition Shingle
Flashed mounting-foot details are central to the roof protection plan.
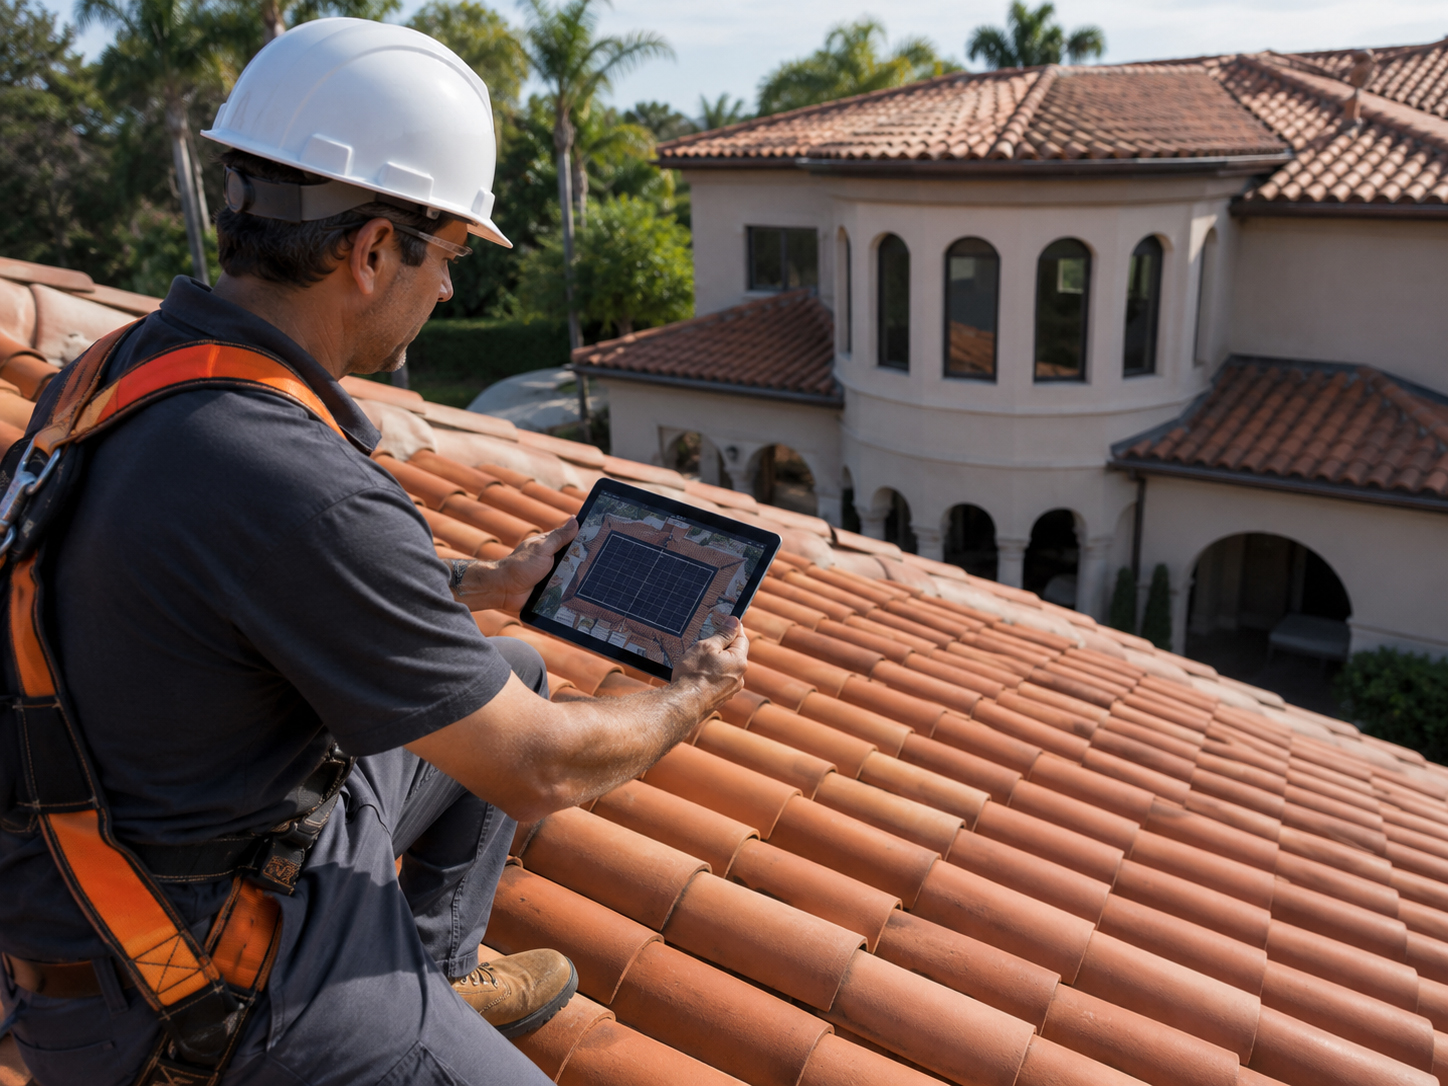
Tile Roof Review
Tile roofs require project-specific review of condition, underlayment, access, and serviceability.
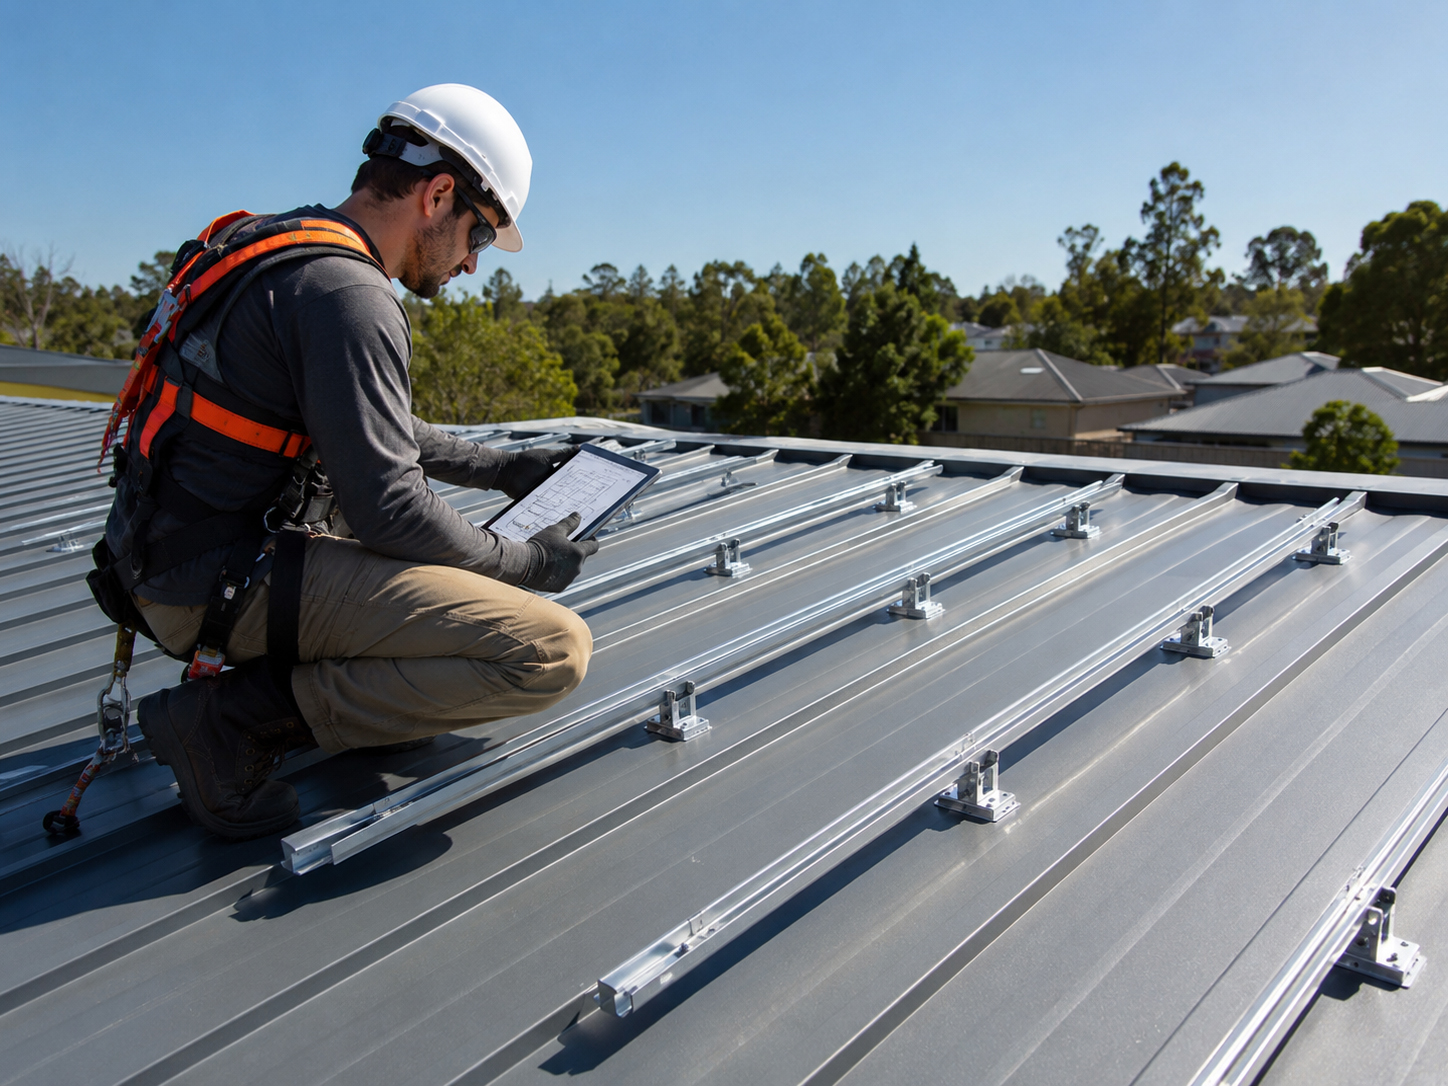
Metal Roof
Metal roof attachment depends on profile, seams, fasteners, and manufacturer requirements.

Standing Seam
Clamp-based layouts must still be checked for roof profile, load path, and manufacturer guidance.
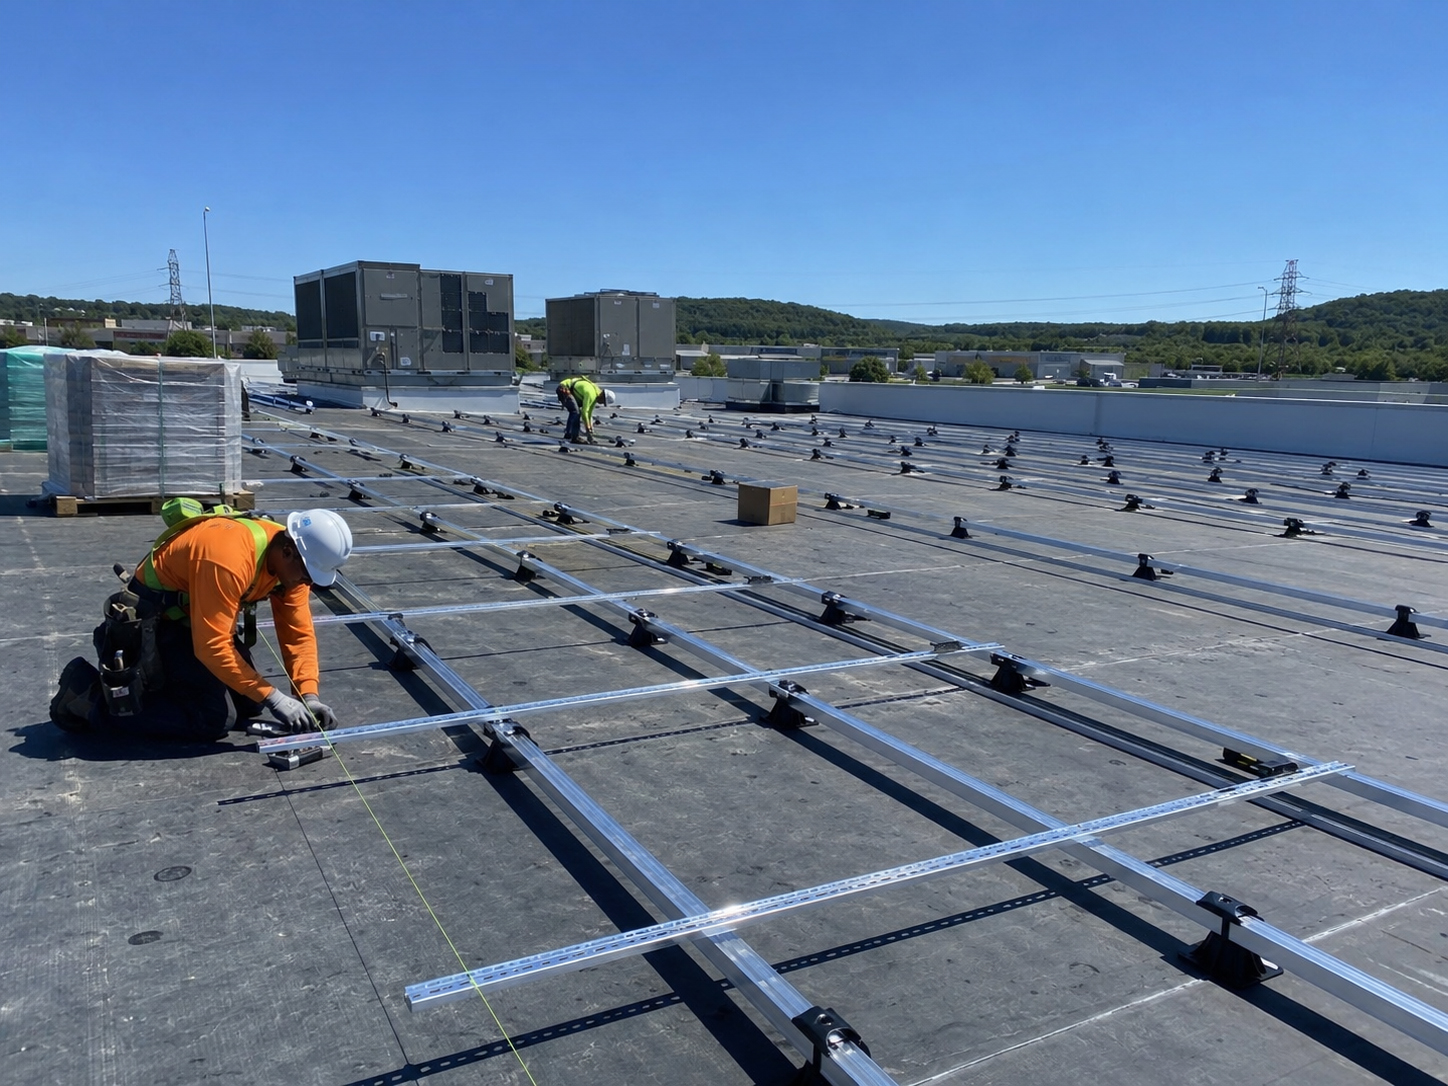
Flat Roofs
Flat roofs often involve ballast, membrane protection, weight review, and access paths.

Unique Roofs
Mixed roof materials, dormers, hips, valleys, and steep slopes change the mounting method.
Inspection before concealment
Mounting feet should be checked before panels hide the work.
Once modules are installed, the most important roof details may be harder to see.
A clean installation sequence allows the team to verify the mounting feet, attachment points, flashing, sealant, rail alignment, wire paths, and inspection requirements before the array is complete. This protects the homeowner and the installer.
Good homeowner question: “Can you show me how the mounting feet are attached, flashed, and waterproofed before the panels cover them?”
Related field guide pages
Continue the mounting-foot review.
Mounting-foot conclusion
The mounting foot is where the promise meets the roof.
Locate it correctly. Attach it correctly. Flash it correctly. Inspect it before concealment. That is the SolarMount.com field-guide approach.