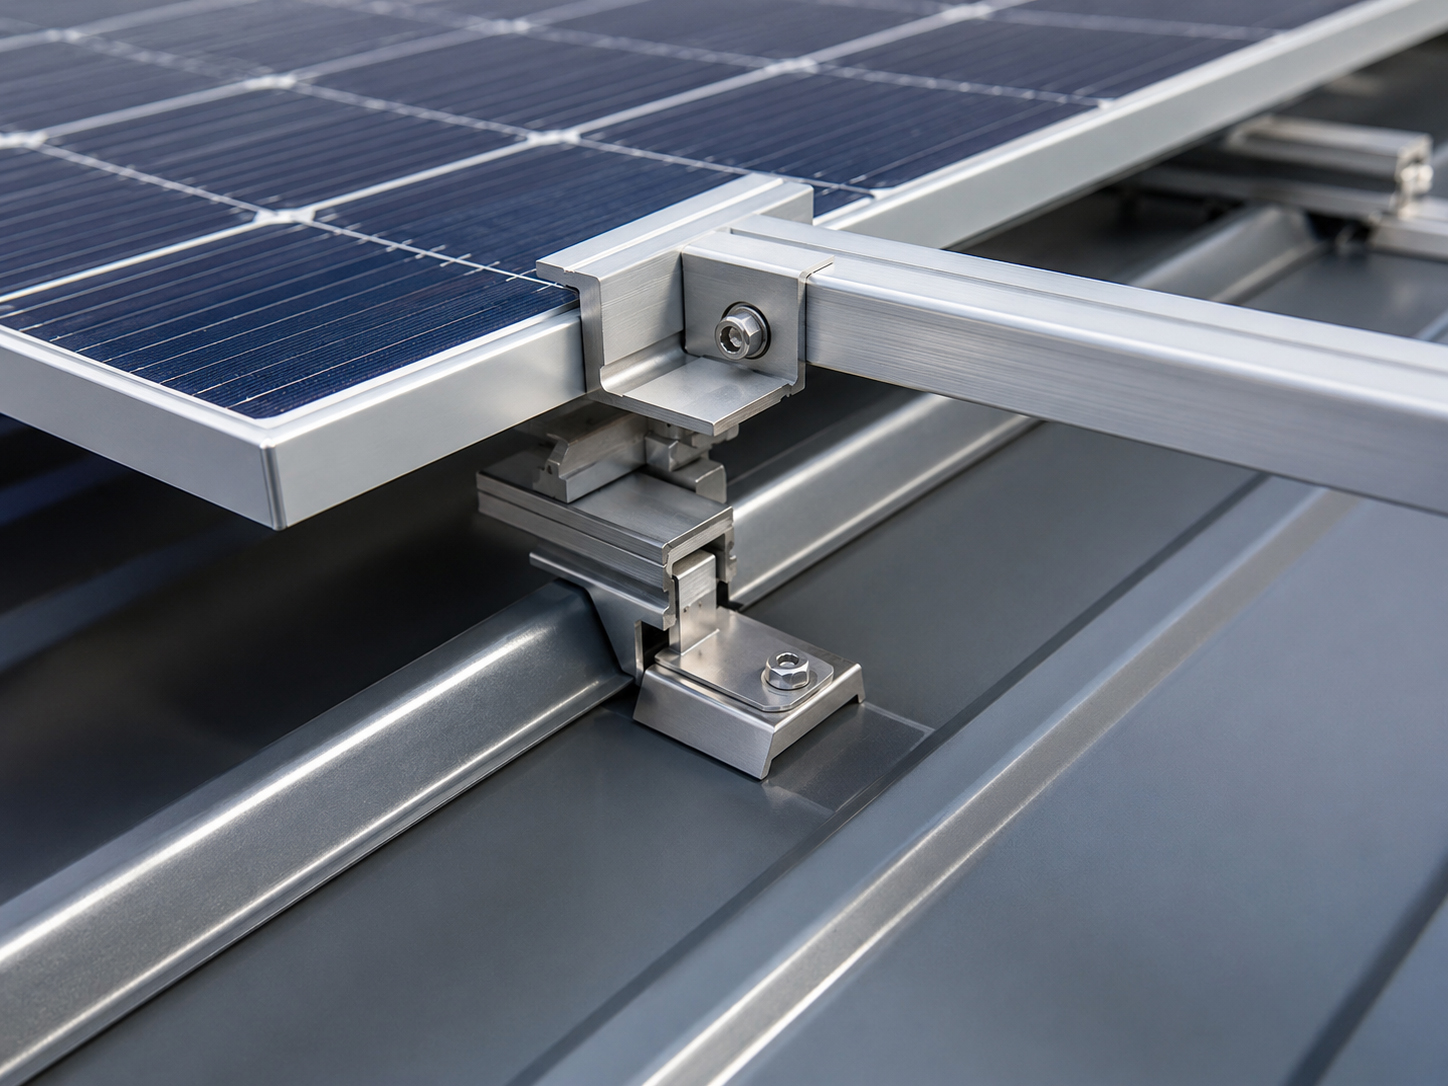
Clamp-based metal roof review
Standing seam solar starts with the seam.
Standing seam metal roofs can be excellent solar candidates because clamp-based mounting may reduce roof penetrations. But the seam profile, clamp compatibility, roof manufacturer guidance, wind uplift, load path, coatings, and inspection plan must be reviewed first.
The clamp question
A clamp is only correct if it fits the actual seam.
Standing seam roofs are not all the same. The seam geometry controls the mounting conversation.
Clamp-based solar mounting depends on the specific standing seam profile, metal thickness, seam height, seam shape, panel manufacturer requirements, clamp manufacturer instructions, structural support below the roof, and the project’s wind and load assumptions. A clamp that looks similar is not automatically appropriate for every standing seam roof.
SolarMount.com rule: identify the seam profile before choosing the clamp. The roof profile, clamp instructions, roof manufacturer guidance, and approved plan must agree.
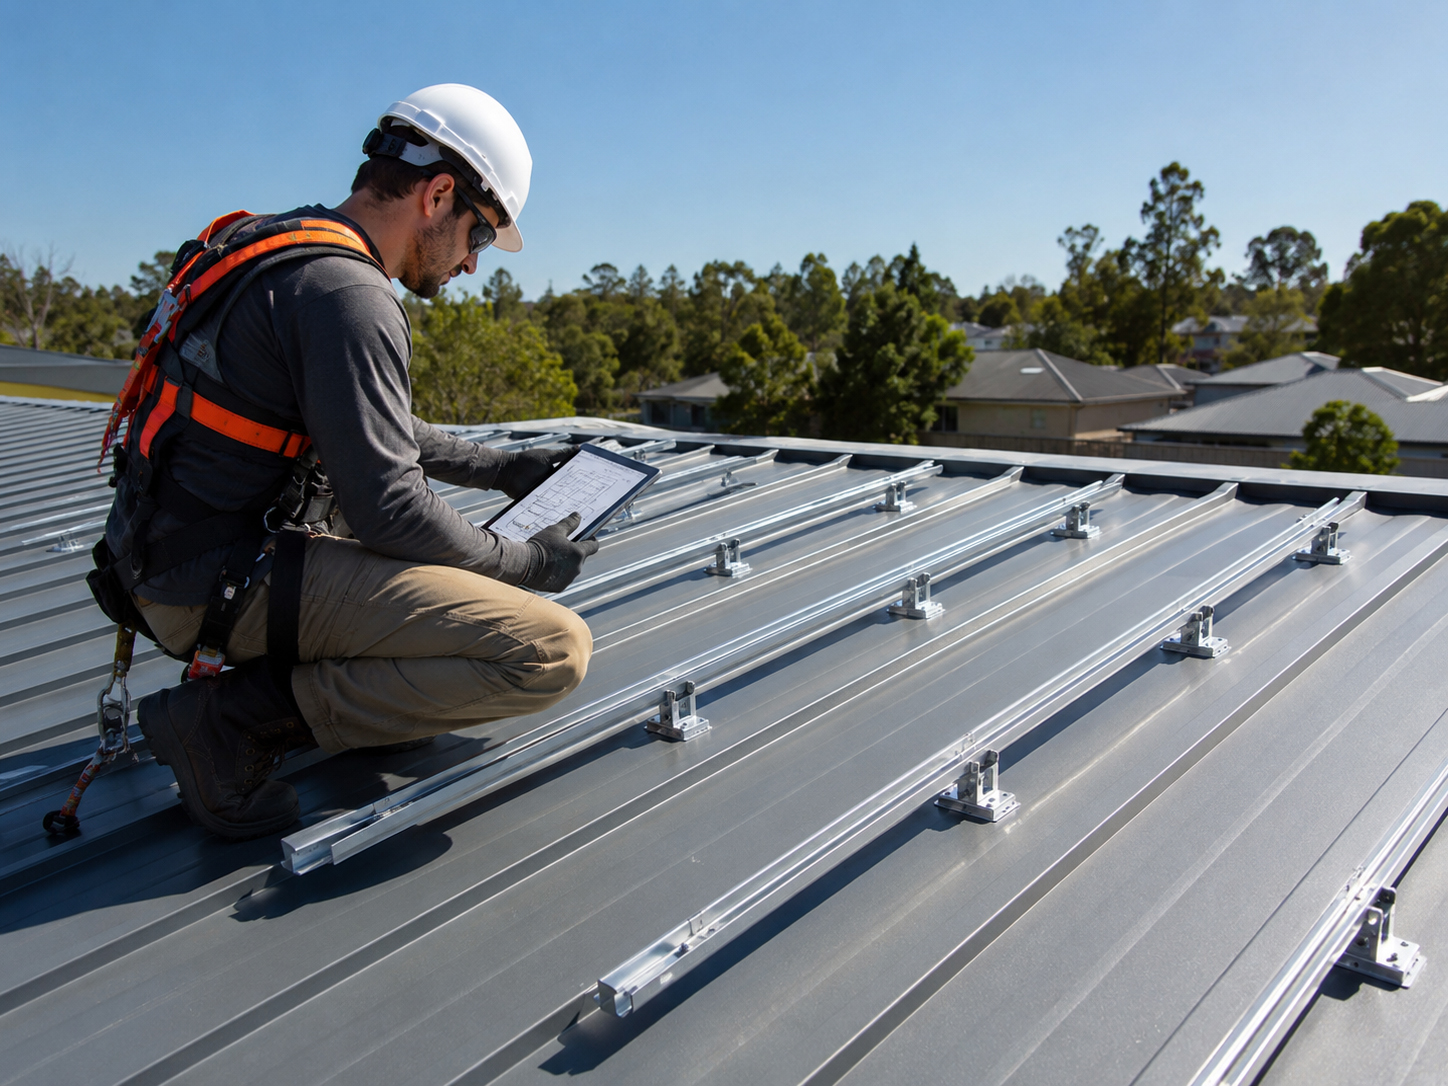
Standing seam checklist
What should be reviewed before solar clamps are installed?
Clamp-based mounting can be clean and elegant, but it still requires serious review.
Seam profile
Confirm the exact seam shape, height, fold, and profile before selecting a clamp. Similar-looking seams may require different hardware.
Clamp compatibility
The clamp must be approved for the seam type, metal thickness, roof material, expected loads, and manufacturer installation requirements.
Roof manufacturer guidance
Warranty terms, approved attachments, clamp limits, and installation guidance should be reviewed before hardware touches the roof.
Load path
The array loads must transfer through the clamp, seam, metal panel, and structural support in a way the approved design recognizes.
Coatings and corrosion
Avoid damaging roof coatings and consider material compatibility, corrosion risk, and long-term weather exposure.
Inspection readiness
The clamp layout, rail layout, grounding, bonding, wire management, and load path should be explainable before final inspection.
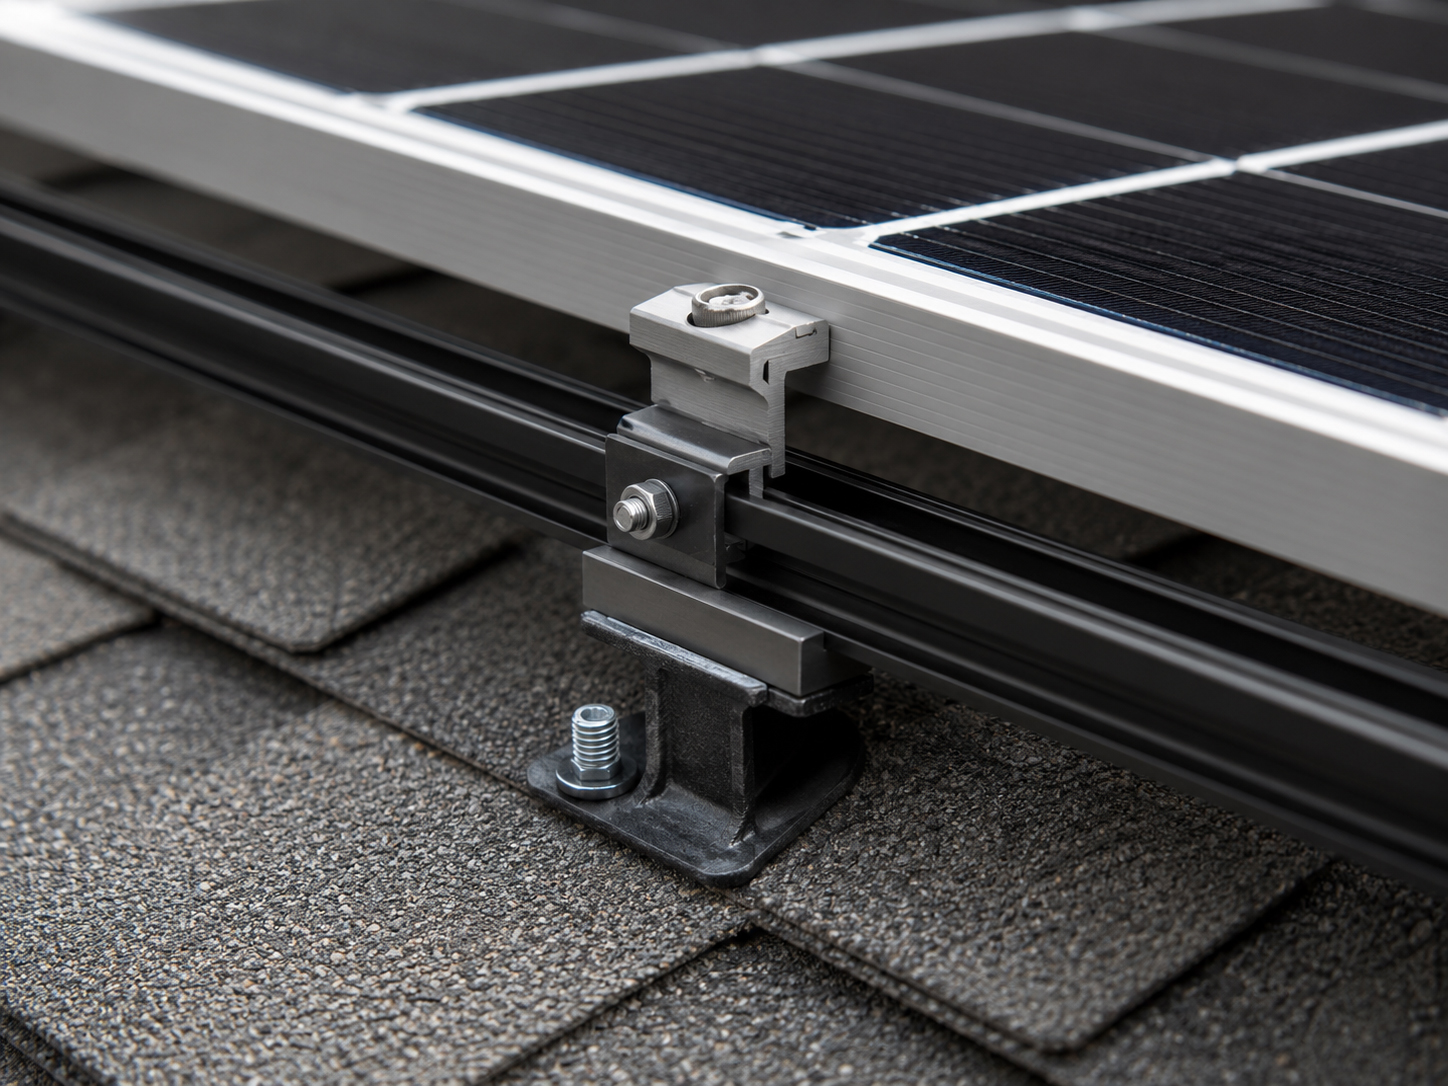
Rails and clamps
The rail system depends on the clamp layout below it.
A straight rail does not prove the clamp layout is correct.
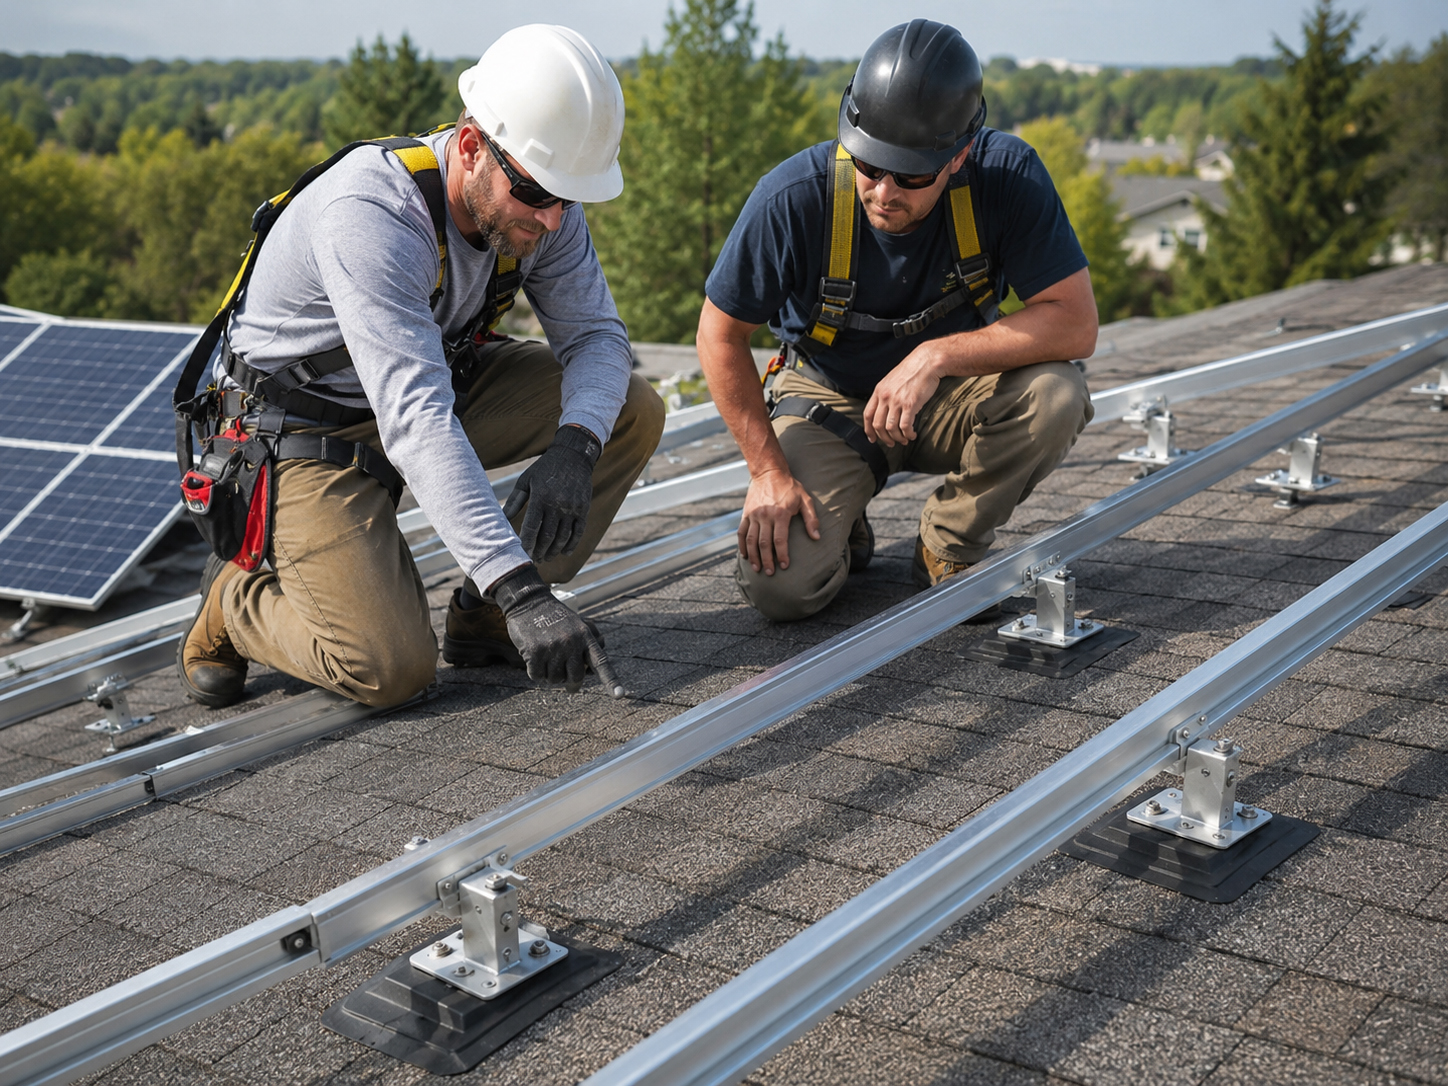
The clamp spacing, rail direction, module layout, wind zone, roof profile, seam spacing, and structural support must work together. The visible array should follow the approved clamp and rail plan, not force the roof to accept a generic pattern.
Practical rule: do not treat standing seam clamps as universal. Verify the exact clamp-to-seam match before layout becomes installation.
Clamp-based mounting
Why standing seam can be attractive for solar.
The advantage is simple: fewer roof penetrations may mean fewer waterproofing interruptions.
Potential advantages
- Clamp-based mounting may avoid penetrating the roof surface.
- Rails can attach to standing seams instead of flashed roof feet.
- Reduced penetrations can simplify the roof-waterproofing conversation.
- Metal roofs can be durable long-term solar platforms when properly reviewed.
- Clamp systems can create clean layouts on suitable standing seam profiles.
- Future service may be cleaner when the attachment method is well documented.
Review requirements
- Confirm seam profile and roof panel type.
- Confirm clamp manufacturer compatibility.
- Confirm roof manufacturer and warranty guidance.
- Confirm engineering assumptions for wind uplift and load path.
- Confirm grounding, bonding, wire management, and inspection requirements.
- Confirm the roof surface will not be damaged during installation.
Important: this page is educational. Actual standing seam solar mounting, clamp selection, seam loading, rail spans, module clamp zones, grounding/bonding, wind uplift, structural review, and inspection requirements must follow the approved plan set, roof manufacturer guidance, clamp manufacturer instructions, engineering requirements, electrical code, and local code.
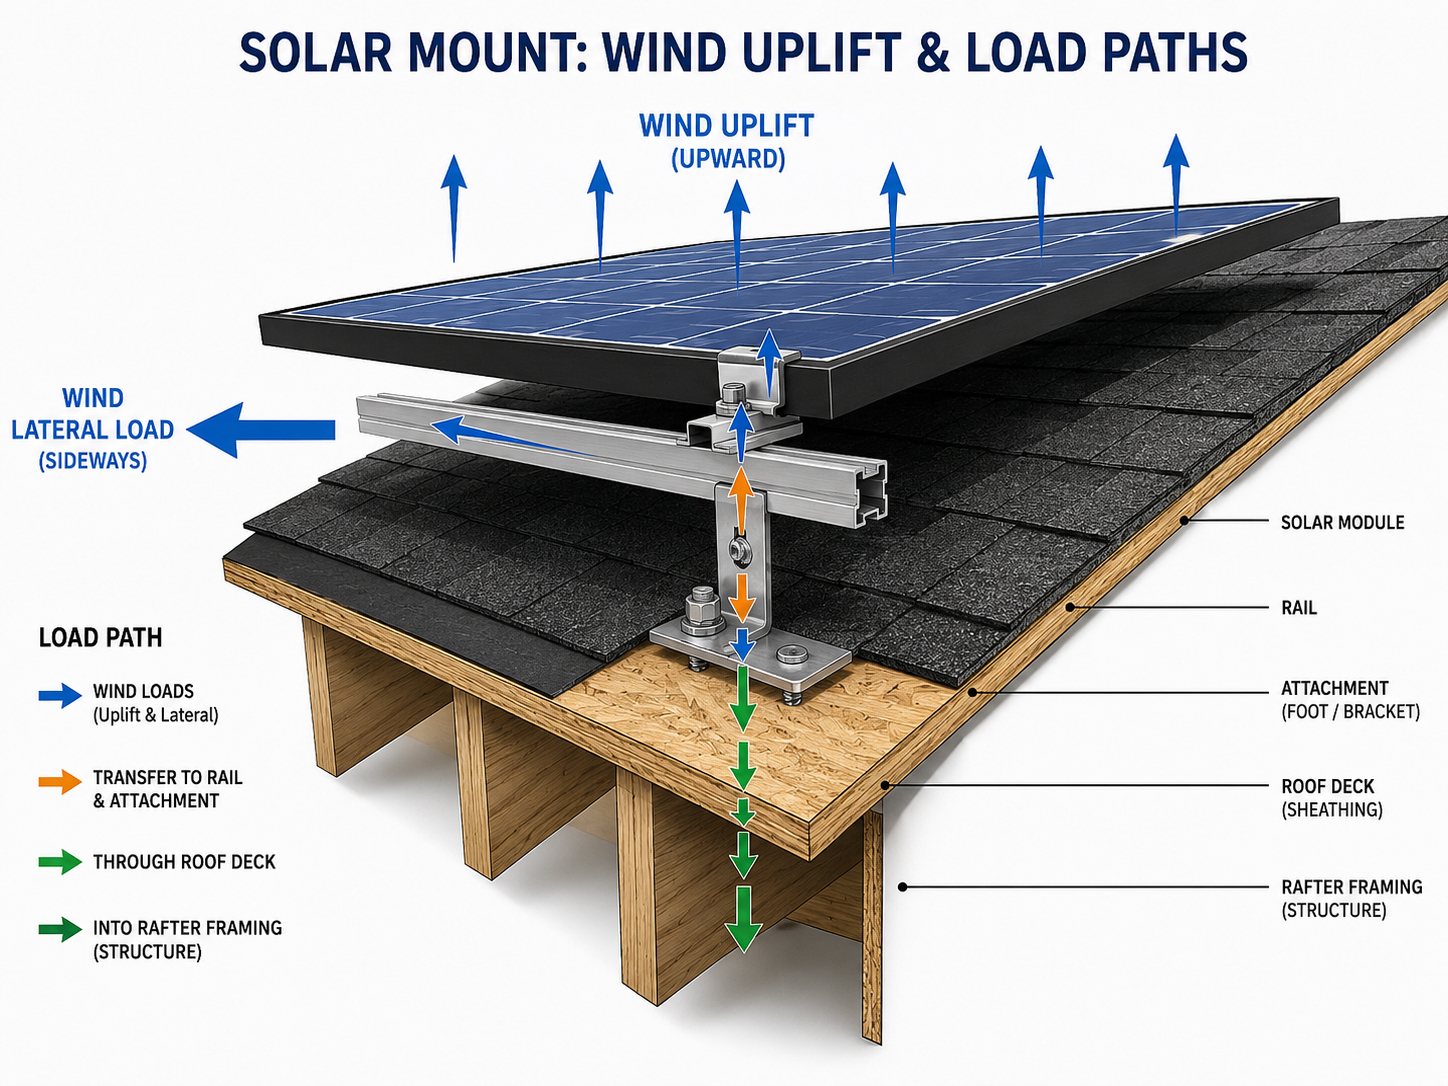
Wind uplift
The wind tests the clamp, seam, rail, and roof together.
Standing seam mounting still needs a clear load path.
Wind uplift can try to pull the array away from the roof. The module, clamp, rail, standing seam, roof panel, and building structure must work together. The approved design should explain how forces move from the array into the roof system without damaging the seam or exceeding manufacturer limits.
The module must be clamped according to the module and racking requirements.
The rail must transfer loads into clamps at approved spacing and locations.
The seam and roof panel must be part of an approved load path.
Roof protection
Even without penetrations, the roof still needs protection.
Clamp-based mounting may reduce roof openings, but it does not eliminate roof-care responsibilities.
The installer should protect metal roof coatings, avoid scratches, prevent galvanic corrosion conflicts, respect thermal movement, avoid over-tightening clamps, and follow torque and placement instructions. The roof should not be damaged in the process of avoiding penetrations.
Protect coatings
Scratched coatings can create future corrosion risk. Installation movement and tool handling matter.
Respect torque
Clamps must be tightened according to manufacturer instructions, not installer guesswork.
Plan service access
Wire management, rail placement, and array layout should allow future inspection and service.
Plain-language summary: fewer penetrations can be good, but only when the clamp, seam, roof panel, and load path are actually compatible.
Manufacturer and roofer awareness
Roof warranty and manufacturer guidance matter.
Solar mounting should not ignore the metal roof’s own rules.
Before clamps are installed, the project should review roof manufacturer guidance, warranty restrictions, clamp approvals, metal thickness, seam compatibility, and whether roofing professionals should be consulted. A good installation respects both the solar equipment and the roof system.
Practical rule: when the seam type or roof manufacturer guidance is uncertain, pause and verify before installing clamps.
Common standing seam concerns
The most common mistake is assuming compatibility.
Standing seam roofs can be great solar platforms when the clamp-to-seam match is correct.
Wrong seam assumption
Standing seam is a category, not a single shape. The clamp must fit the actual seam profile.
Clamp over-tightening
Over-tightening can damage the seam, coating, or clamp performance if manufacturer instructions are ignored.
Unclear load path
The array must transfer wind and weight through an approved path, not just visually sit on the roof.
Warranty conflict
Roof manufacturer requirements and warranty limitations should be reviewed before clamps are installed.
Coating damage
Scratches, incompatible metals, and installation traffic can reduce roof life if ignored.
Poor wire management
A clean clamp system still needs clean wiring, grounding, bonding, and service access.
Homeowner questions
What should homeowners ask about standing seam solar?
The right questions are direct and practical.
Ask whether the exact seam profile has been identified, whether the clamp is approved for that profile, whether the roof manufacturer allows the method, whether penetrations are needed, how the load path is handled, and how the roof coating and warranty will be protected.
Good homeowner question: “Is the clamp approved for my exact standing seam profile, and how does the system transfer wind uplift safely without damaging the roof?”


Inspection readiness
The clamp layout should be explainable.
The final array should match the approved plan and manufacturer instructions.
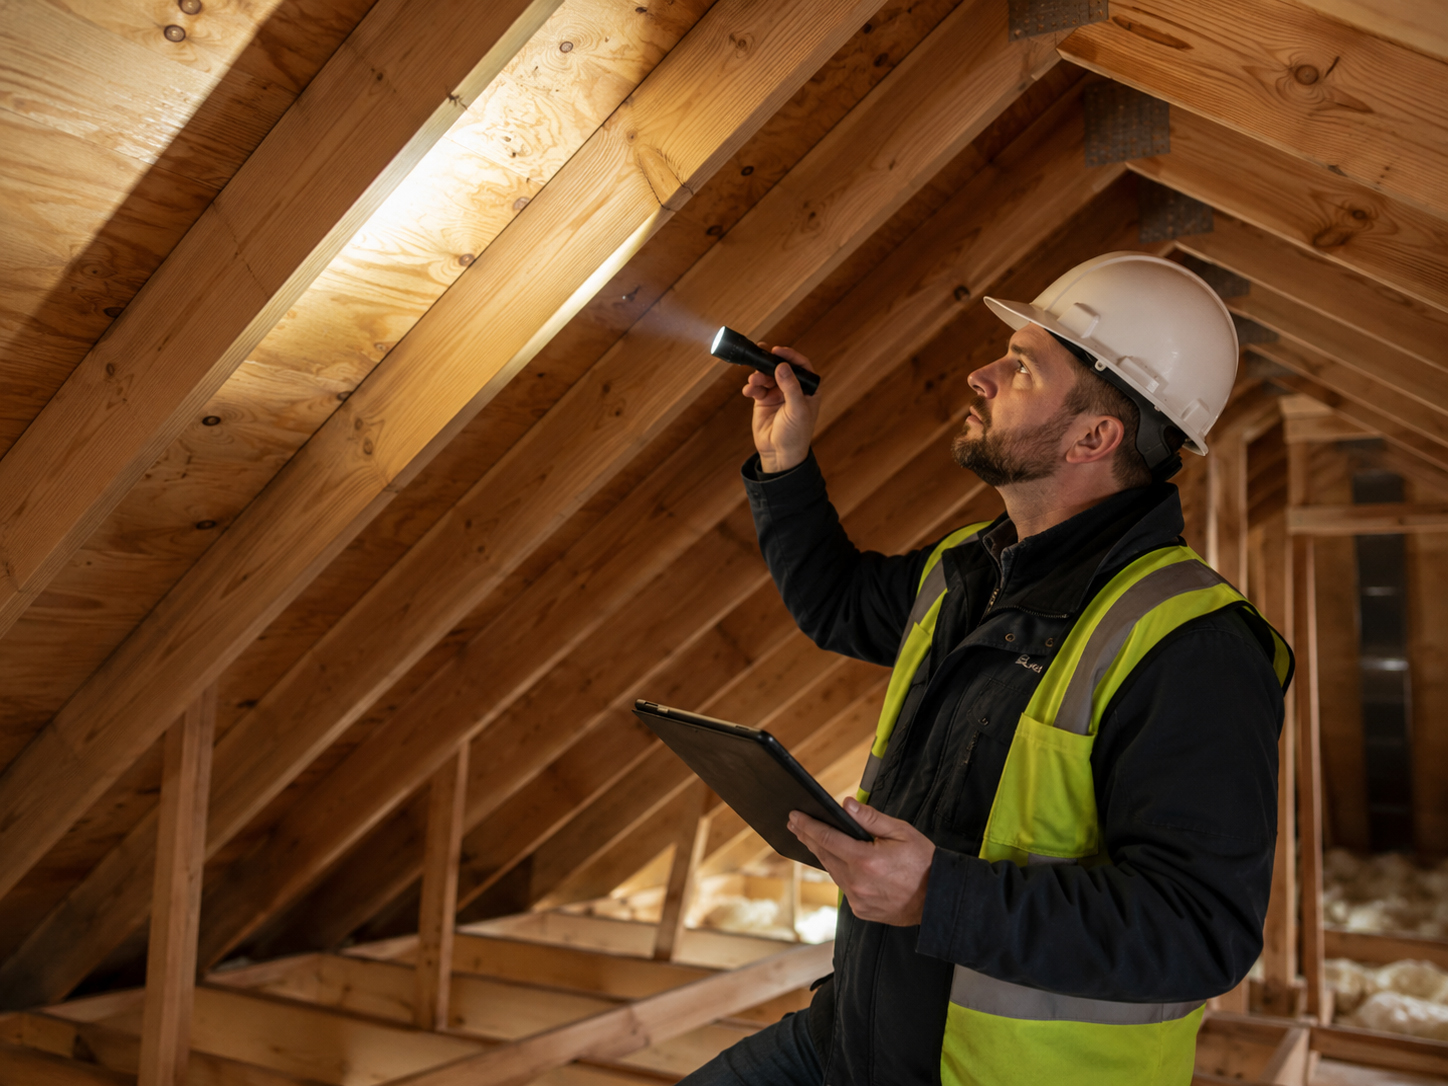
The plan set should identify the standing seam roof profile, clamp type, rail layout, clamp spacing, grounding and bonding method, wire management, structural assumptions, and inspection requirements. The finished system should be understandable to the installer, inspector, roofer, homeowner, and future service team.
Plain-language summary: a clean standing seam installation should look simple because the review was done carefully before the clamps were installed.
Related field guide pages
Continue the standing seam review.
Standing seam conclusion
Clamp-based mounting can be excellent when the seam is understood.
Identify the seam. Verify the clamp. Respect the roof manufacturer. Confirm the load path. Protect the roof coating. Install according to the approved plan.