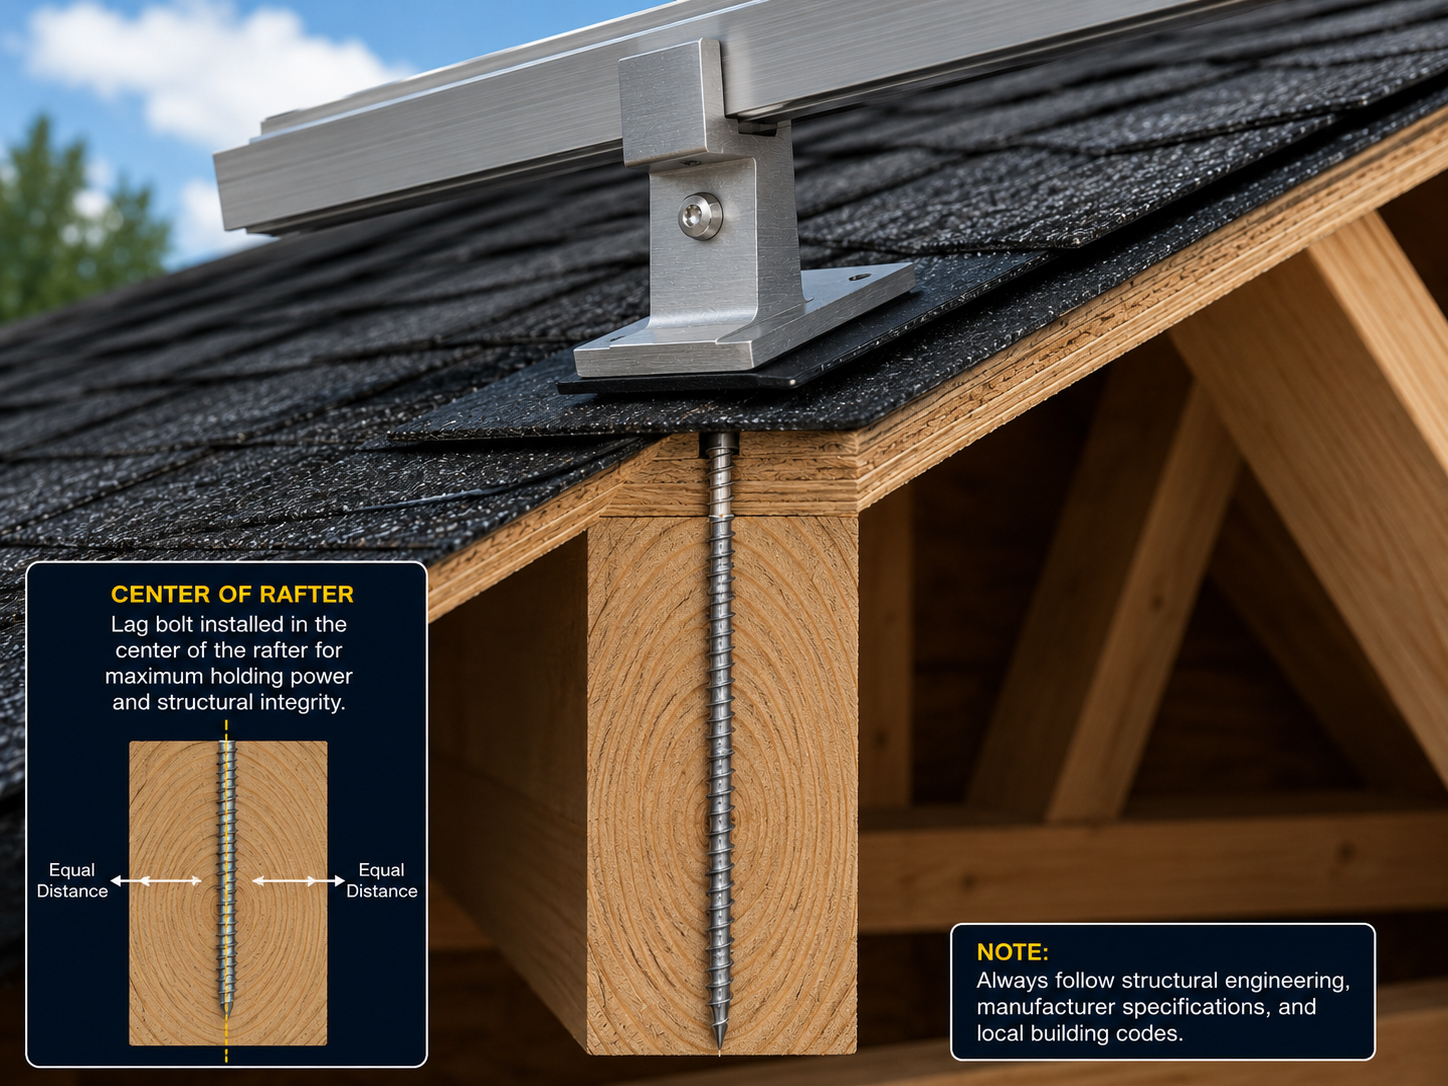
Attachment into structure
Lag bolts must land in the rafter.
Solar mounting is not held by shingles. The attachment must transfer loads into real roof framing. For many sloped-roof systems, that means the lag bolt must be properly located, centered, fastened, flashed, sealed, and inspected.
Conceptual field guide
The lag bolt is a load-path decision.
A lag bolt into a rafter is not just a fastener. It is part of the structural path between the solar array and the building.
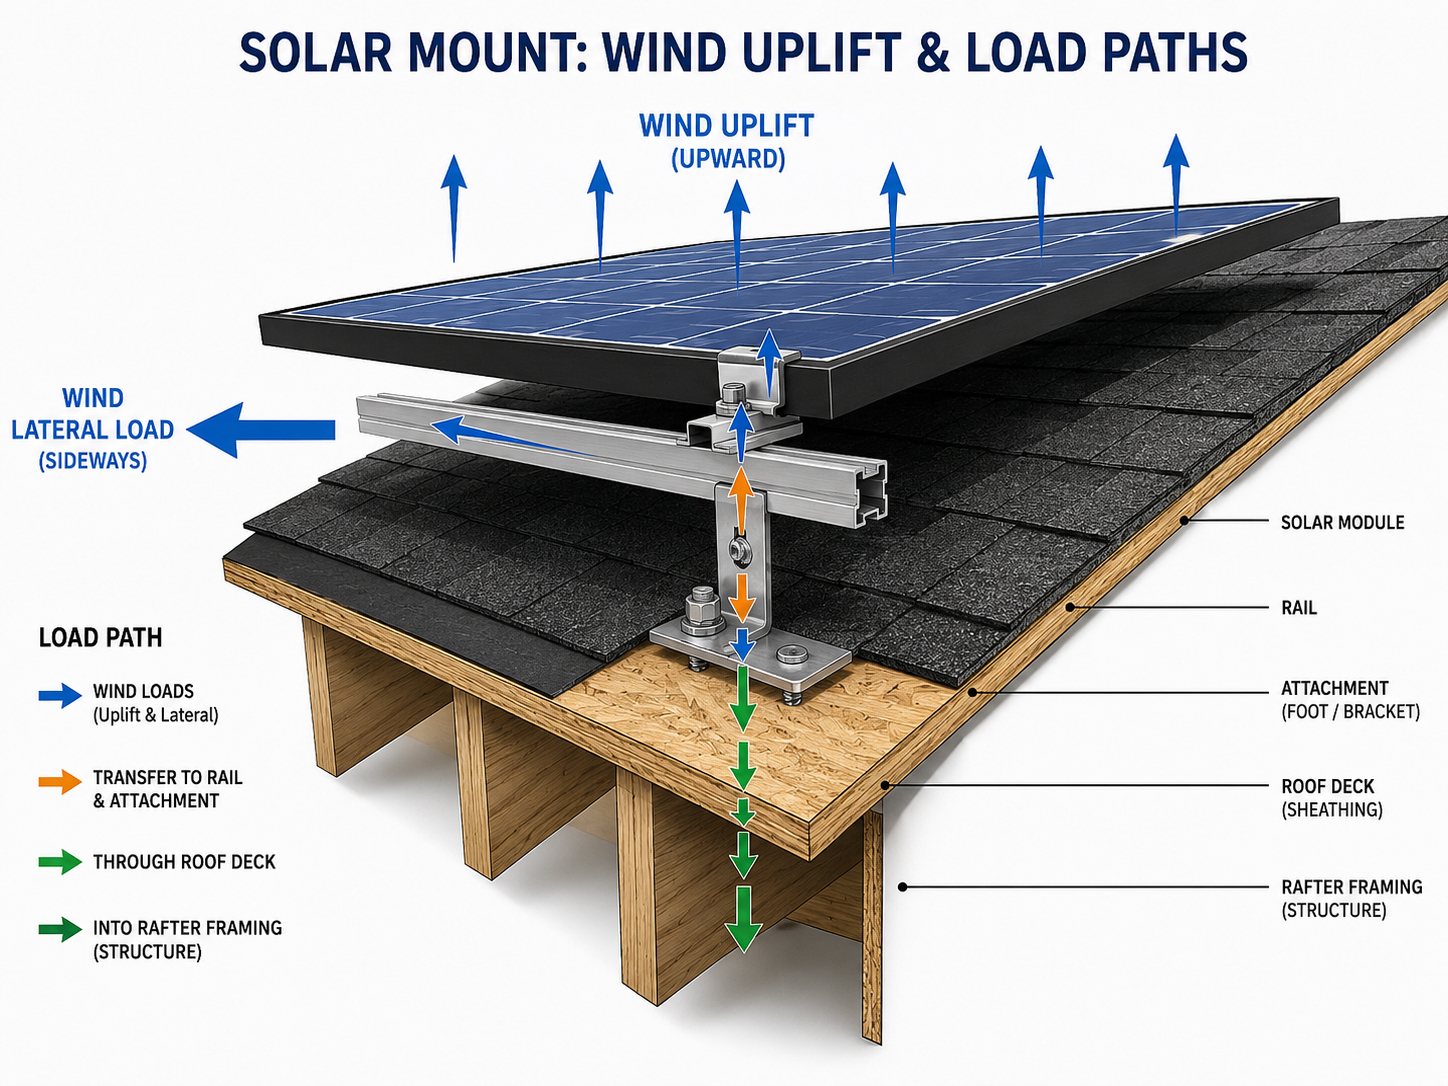
The solar module transfers force to the clamps. The clamps transfer force to the rails. The rails transfer force to the mounting feet. The mounting feet transfer force through the lag bolts into the rafters or approved framing. That chain only works when each connection is located and installed correctly.
SolarMount.com rule: the attachment should be aimed at the structure, not the roof surface. The shingle or tile is only what you see. The rafter is what carries the load.
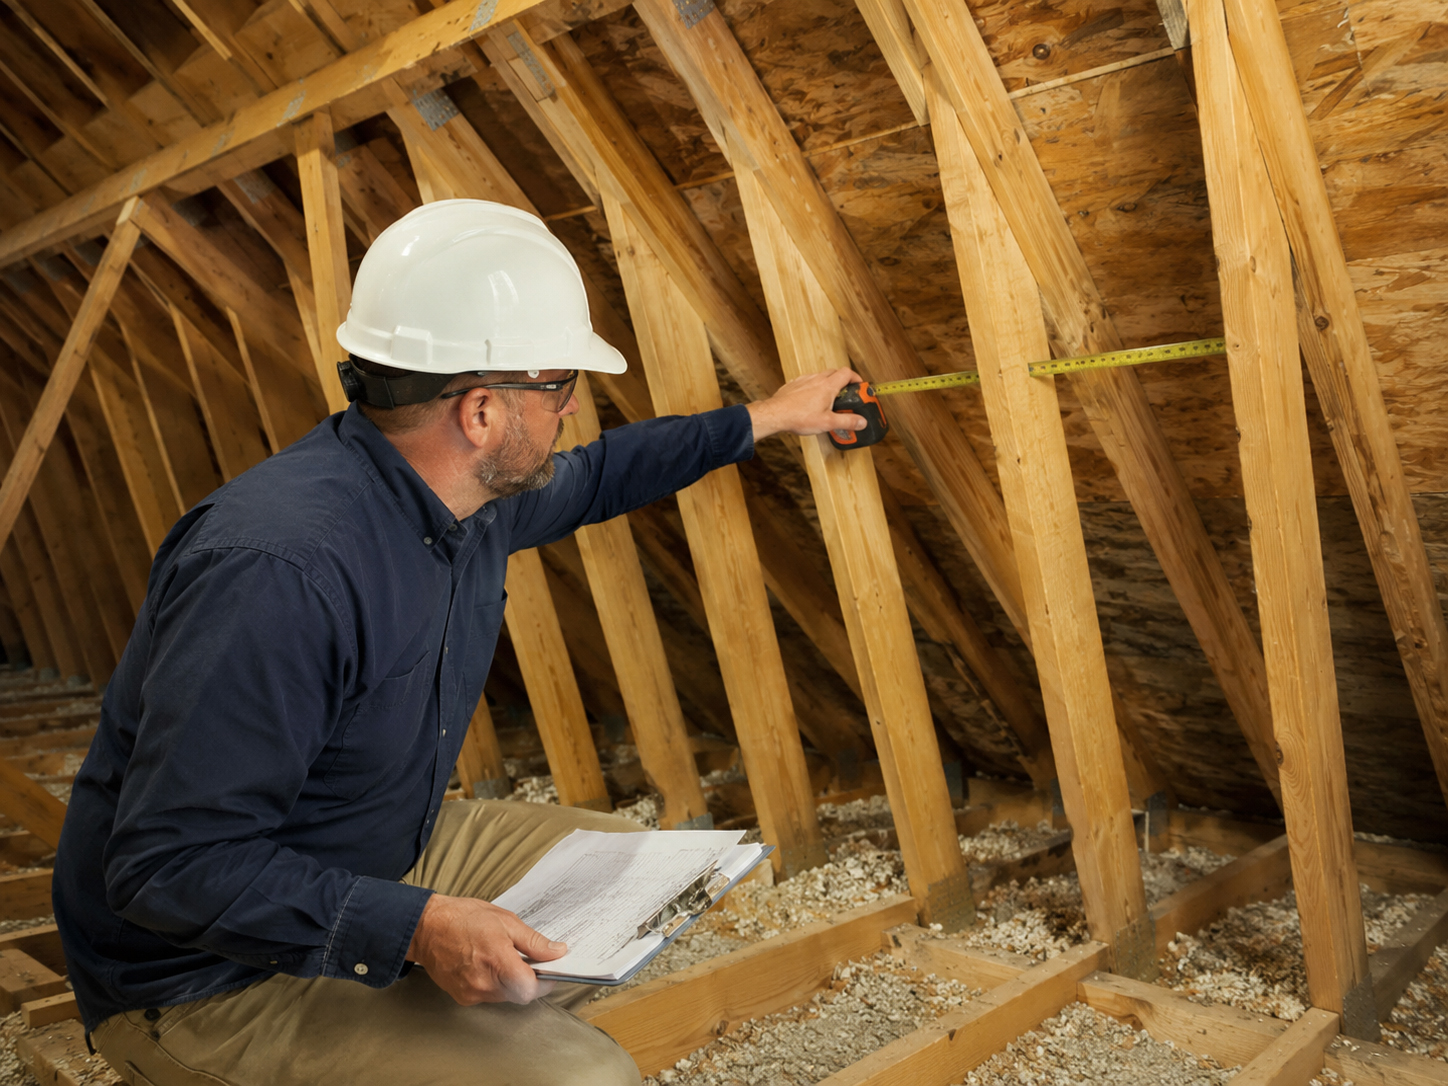
Rafter attachment checklist
What must be confirmed before lag bolts are installed?
The goal is simple: put the attachment where the structure actually is, then protect the roof around it.
Rafter location
The crew must identify the rafter or approved structural member before drilling. Guessing from the roof surface is not enough.
Centering
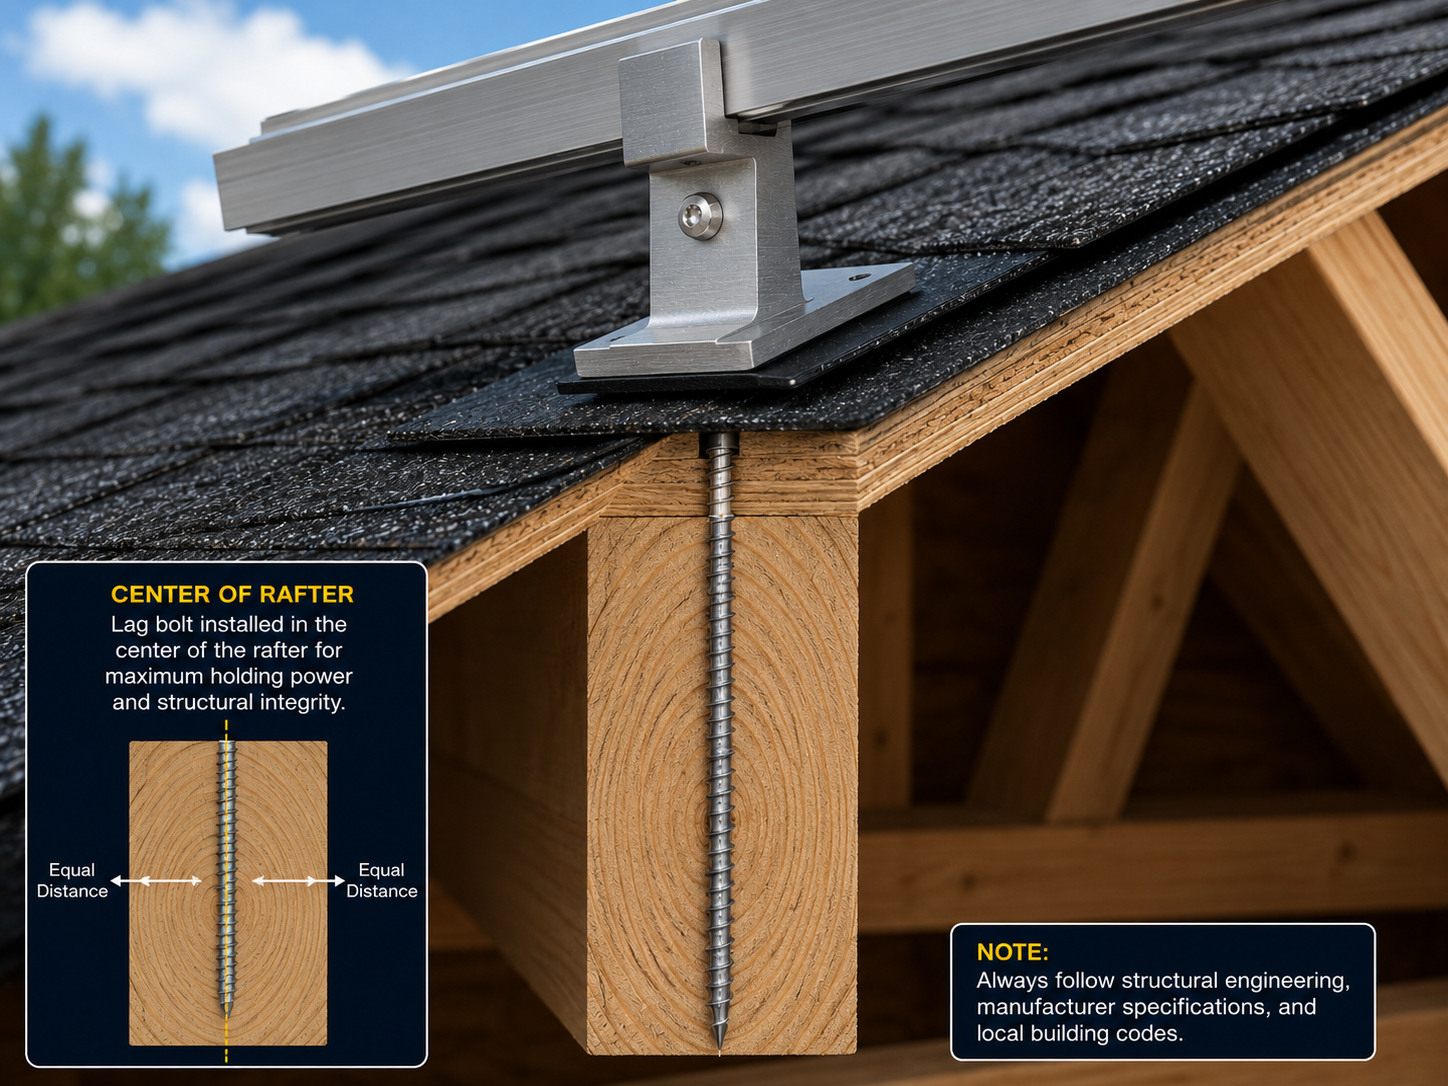
The lag bolt should land where the approved detail requires it. In a typical rafter attachment concept, the target is centered in the rafter, not off to the side.
Pilot hole
A properly prepared feeder or pilot hole can help the fastener land correctly and reduce installation mistakes.
Mounting foot
The lag bolt works with the mounting foot. The foot must be placed, seated, and aligned with the rail plan.
Waterproofing
The attachment must be flashed and sealed according to the roof type, mounting detail, and approved instructions.
Inspection
Attachment and waterproofing details should be checked before rails and modules make them difficult to see.
Before the fastener
Preparation helps prevent missed rafters.
The fastener should not be used as a search tool.
A feeder or pilot hole is part of installation discipline. It helps confirm the attachment path, reduce splitting risk, support cleaner fastener placement, and make the work more repeatable. The correct size, depth, and method depend on the approved hardware and installation requirements.
Practical rule: if the crew is not confident where the rafter is, the project should slow down before drilling becomes damage.
Load path
What does the lag bolt actually do?
It helps transfer solar array forces into the roof framing through the mounting foot.
Forces the attachment must address
- Dead load from modules, rails, clamps, and mounting hardware.
- Wind uplift that tries to pull the array away from the roof.
- Lateral and racking forces created by wind exposure.
- Thermal expansion and contraction over time.
- Service loads from installation and maintenance activities.
- Long-term vibration, movement, and weather exposure.
Questions before attachment
- Where is the rafter?
- What is the rafter size and spacing?
- Is the roof framing in good condition?
- Does the attachment pattern match the approved plan?
- Is the correct hardware being used?
- How will the penetration be flashed, sealed, and inspected?
Important: this page is educational. Actual lag bolt size, pilot-hole size, embedment depth, edge distance, attachment spacing, flashing, sealant, torque, engineering, and inspection requirements must follow the approved plan set, manufacturer instructions, local code, and licensed professional review when required.
Centerline discipline
The best conceptual image is simple: bolt into the middle of the rafter.
A clean rafter attachment concept shows the lag bolt aligned with the structural member below.
For educational purposes, SolarMount.com should show the concept clearly: no floating bolt, no side-of-rafter confusion, no decorative hardware pretending to be structure. The lag bolt should visually read as entering the rafter where the attachment belongs.
Use approved site methods to identify the framing below the roof surface.
Use the required pilot hole, hardware, mounting foot, and layout.
Flash and seal the attachment detail before the array covers the work.
Mounting-foot connection
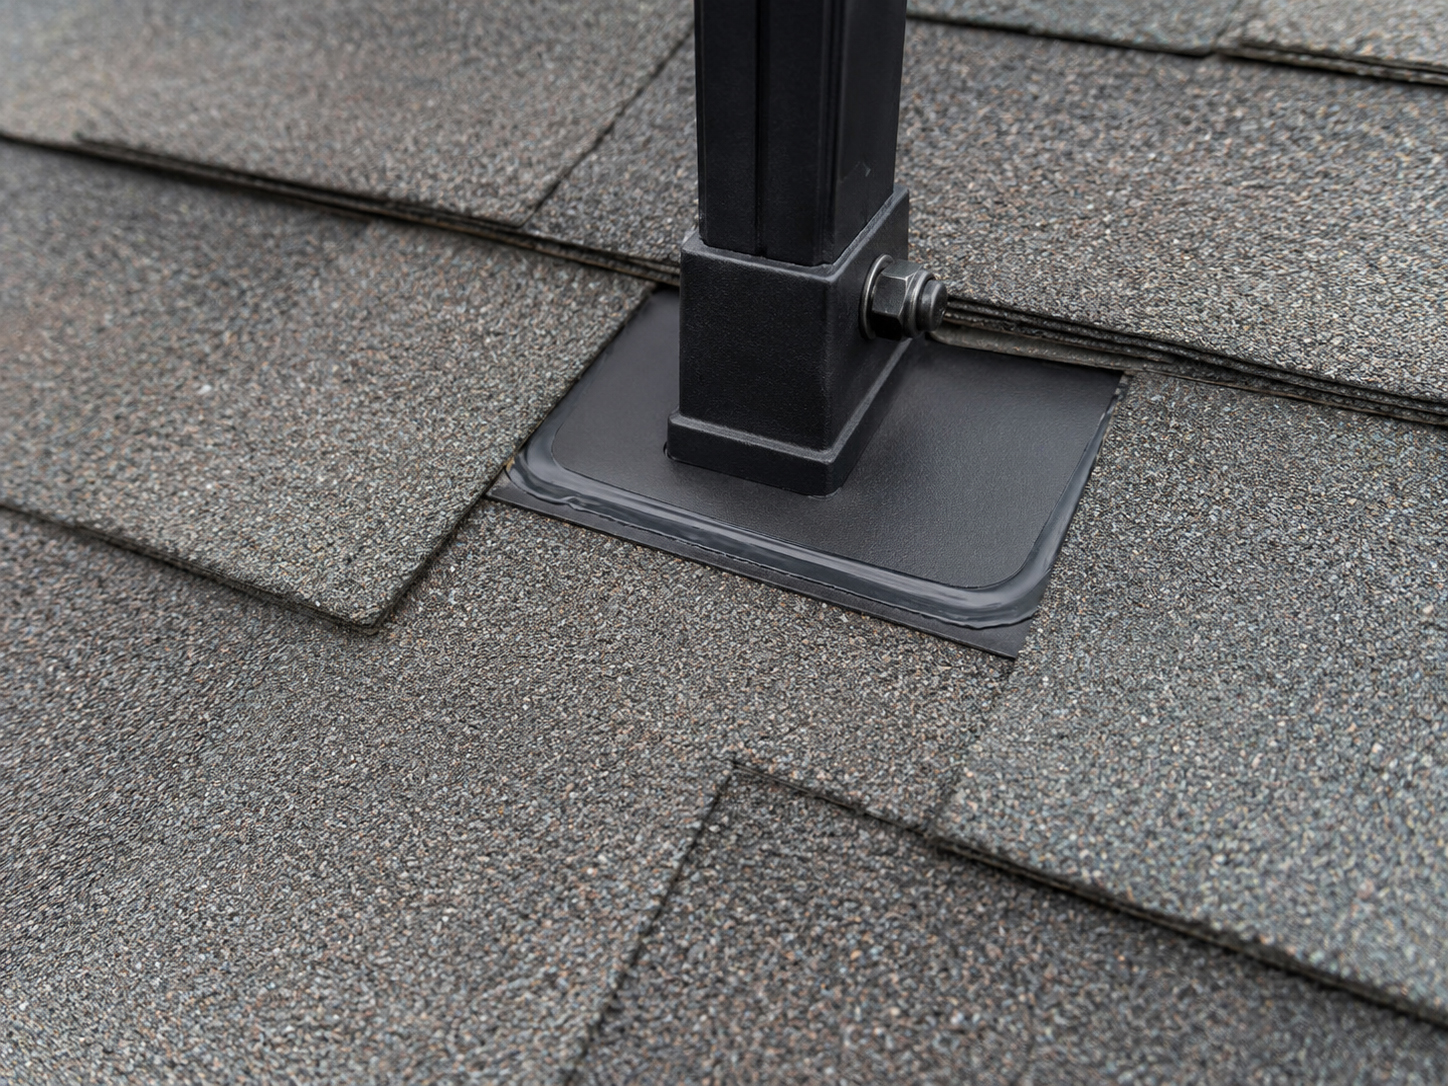
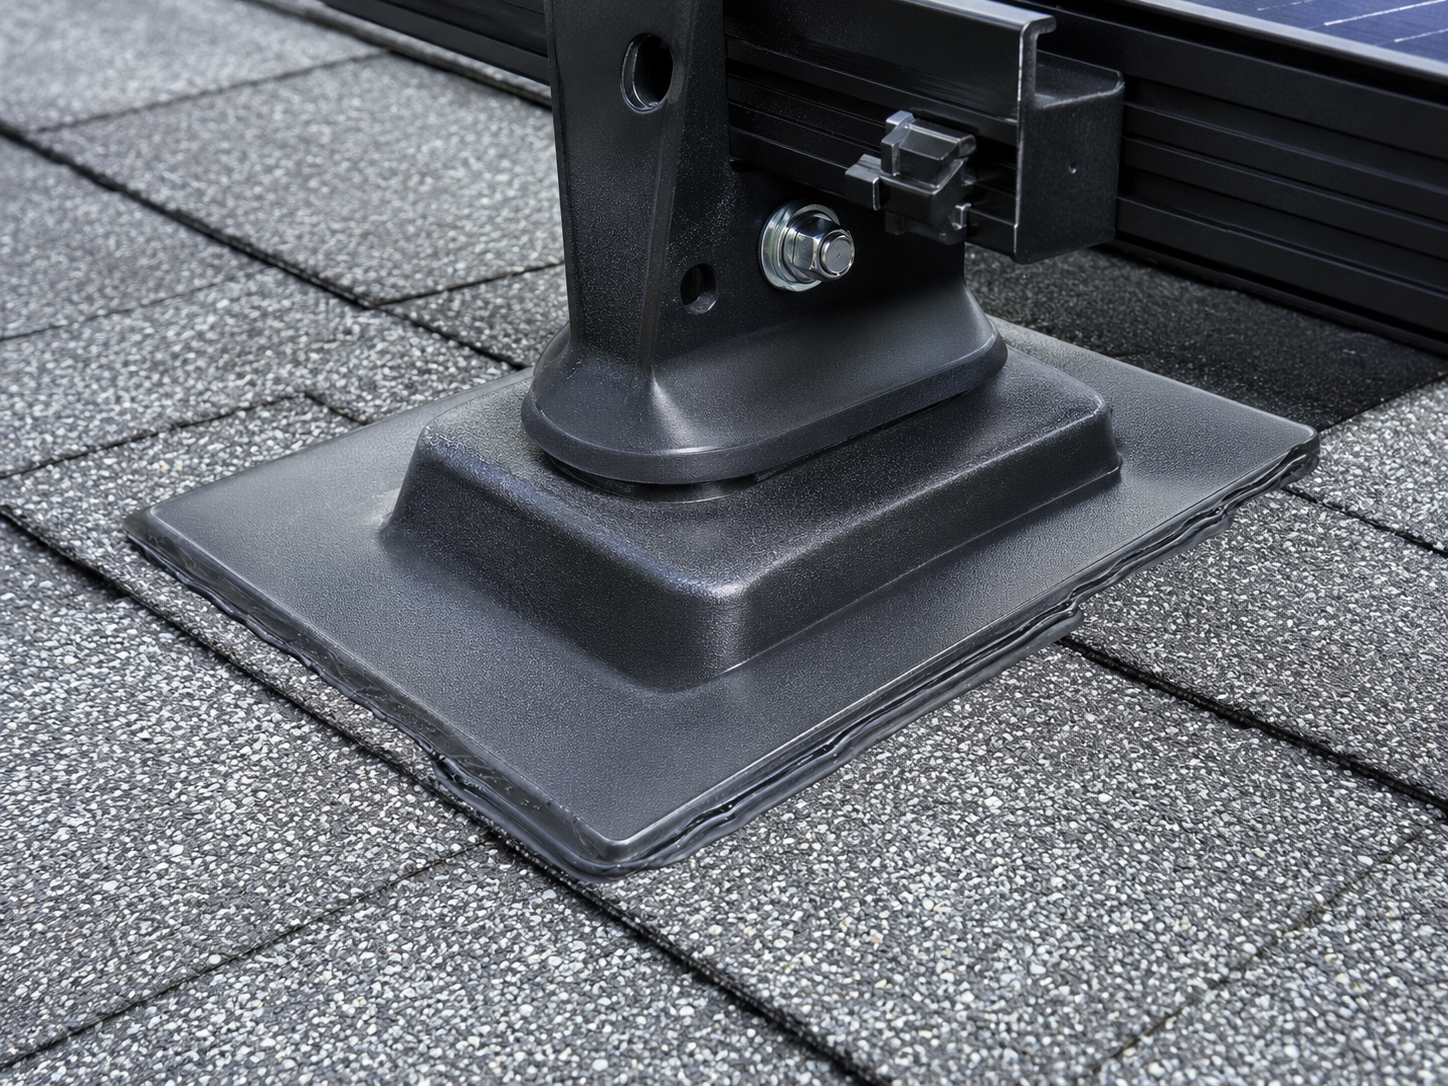
The lag bolt works with the mounting foot and flashing.
A fastener alone is not a complete solar mounting detail.
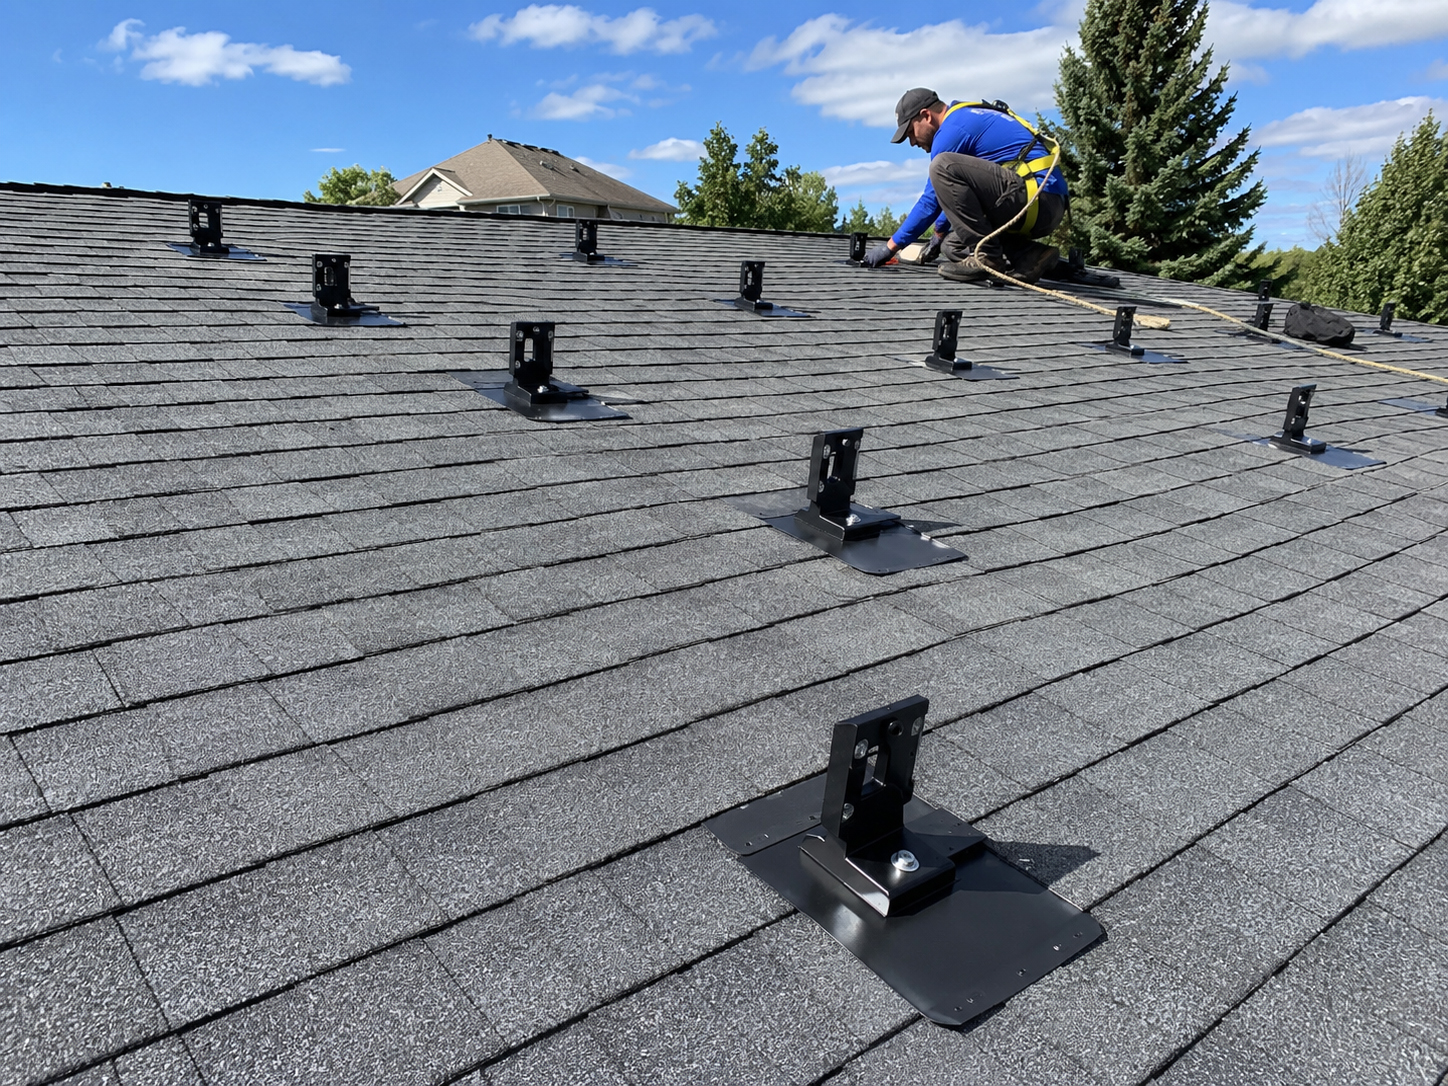
Wind uplift
The lag bolt is part of the wind-resistance system.
Solar arrays face upward and sideways forces, not just gravity.
Wind uplift can try to pull the array away from the roof. The racking system, clamps, rails, mounting feet, fasteners, and rafters must work together as an approved load path. That is why attachment location and fastener quality matter.
Plain-language summary: the wind does not care that the array looks neat. It tests the connection from panel to clamp, rail, foot, fastener, and framing.
Common field concerns
What can go wrong if rafter attachment is sloppy?
Most problems begin with rushing: guessing the rafter, skipping verification, or treating waterproofing as an afterthought.
Missed rafter
A fastener that misses the structural target can compromise the intended load path and may create an unnecessary roof opening.
Off-center attachment
A fastener placed too close to the edge of framing can raise structural concerns and may not match the approved detail.
Poor pilot hole
Incorrect preparation can create splitting, weak attachment, misalignment, or an installation that does not match manufacturer requirements.
Bad flashing sequence
Even a structurally good attachment can become a roof problem if the waterproofing detail is wrong.
Hidden defect
Rails and modules can hide attachment problems if the work is not inspected before concealment.
No documentation
Missing photos, notes, or inspection evidence can make future service and troubleshooting harder.
Homeowner question
What should homeowners ask?
Homeowners do not need to become installers, but they should understand the basic load-path story.
A homeowner can ask how the rafter locations are found, how the mounting feet are attached, how missed rafters are avoided, how penetrations are flashed, what gets inspected, and how the finished array remains serviceable.
Good question: “How do you confirm that the lag bolts land in the rafters, and how do you waterproof each attachment point?”

Related field guide pages
Continue the attachment review.

Lag bolt conclusion
The fastener must know where it is going.
Locate the rafter. Prepare the hole. Install the approved hardware. Flash and seal the roof. Inspect before concealment.