Visible hardware, hidden responsibility
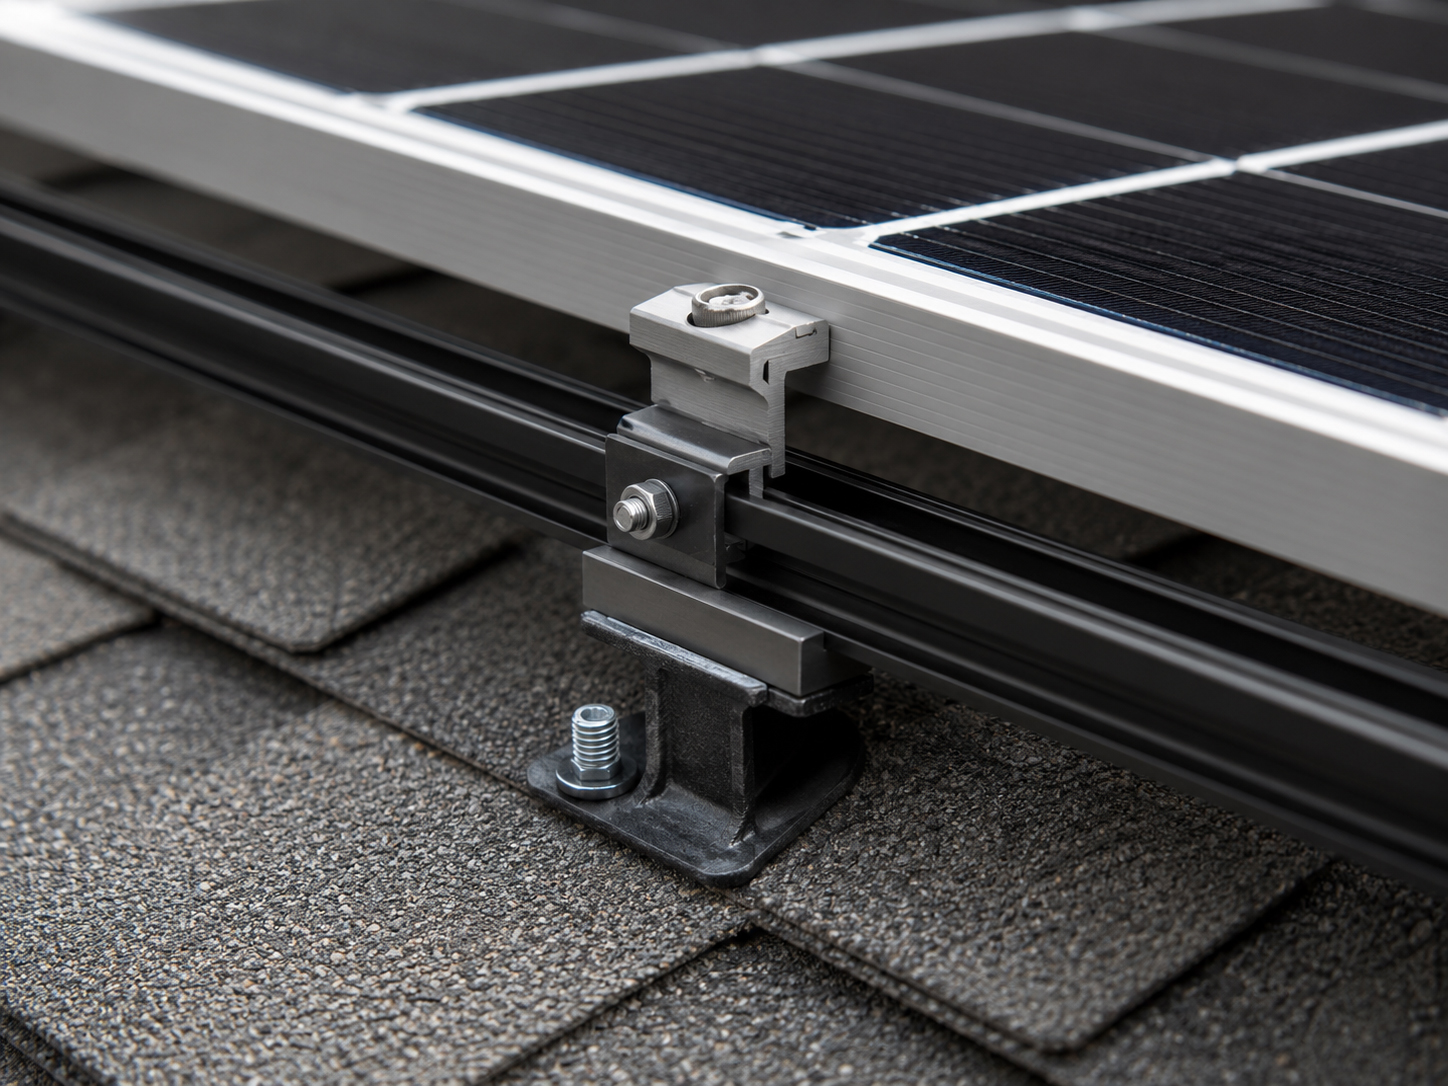
Solar rails and clamps hold the array together.
Rails and clamps are the visible framework of many solar installations. But they only work correctly when the roof attachments, mounting feet, rafter layout, waterproofing details, and approved plan set below them are correct.
The rail system
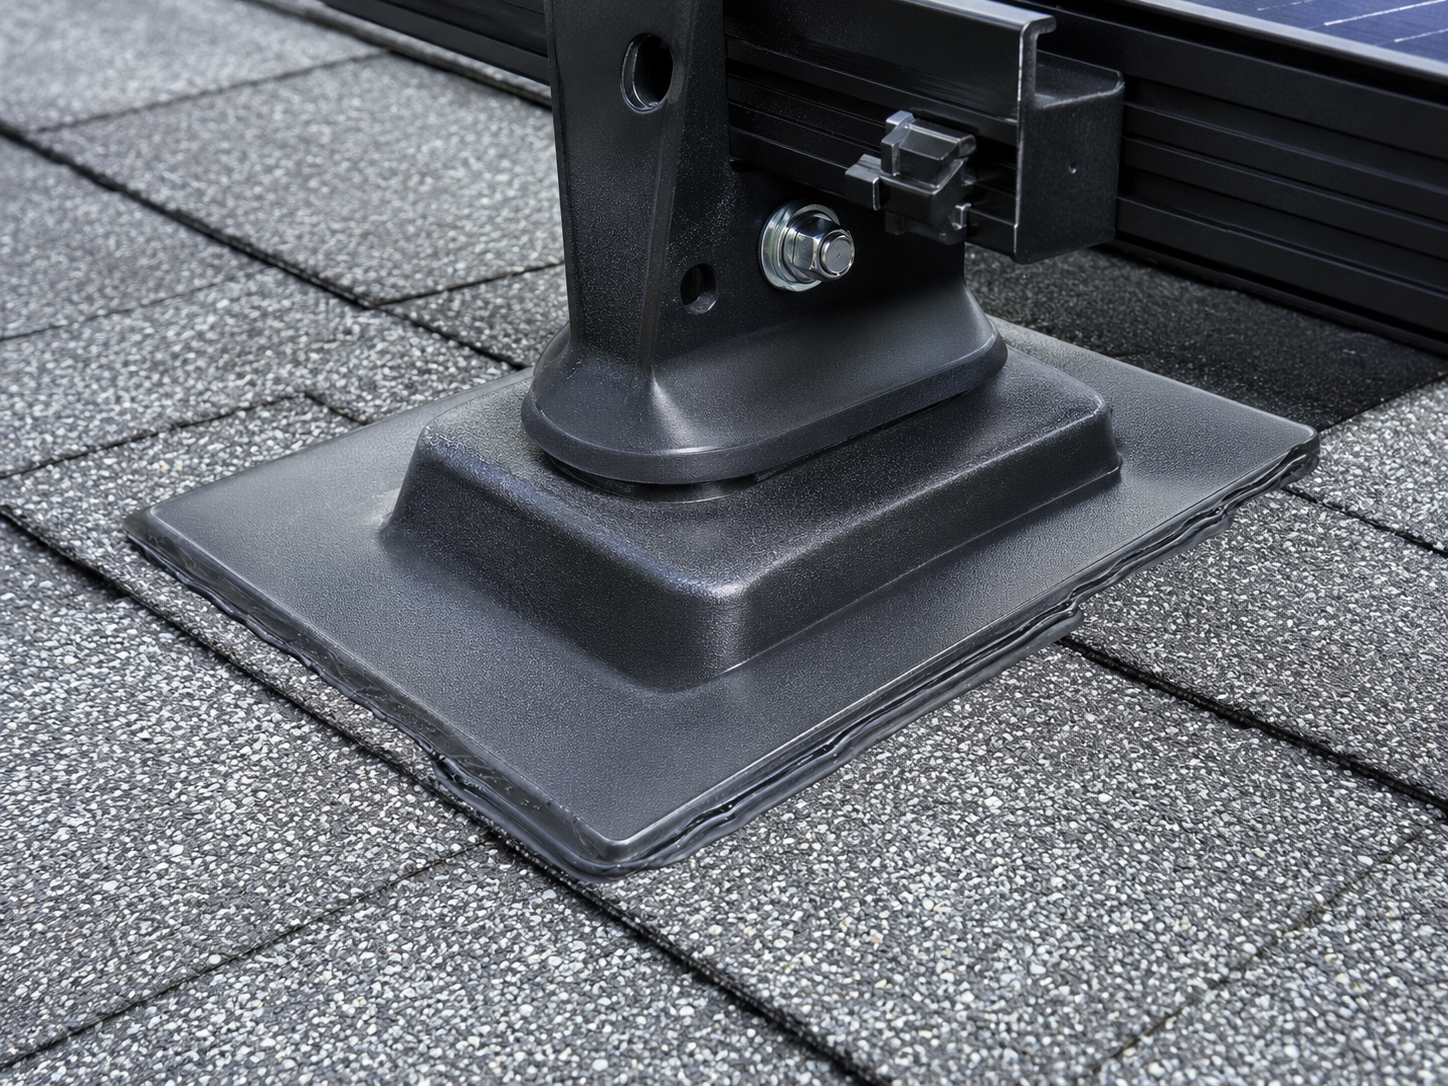
Rails create the panel plane. Mounting feet create the connection.
The rail is not floating by itself. It depends on the attachment layout below.
A solar rail system aligns the modules, supports the clamps, distributes forces, creates a serviceable array, and helps maintain clean wire management. The rail layout must be coordinated with roof geometry, module dimensions, mounting-foot locations, structural attachment points, setbacks, fire pathways, wind exposure, and inspection requirements.
SolarMount.com rule: do not judge the rail system only by how straight it looks. Rails and clamps must follow the structural, waterproofing, and layout logic underneath.
Rail and clamp checklist
What should be reviewed before rails and clamps are installed?
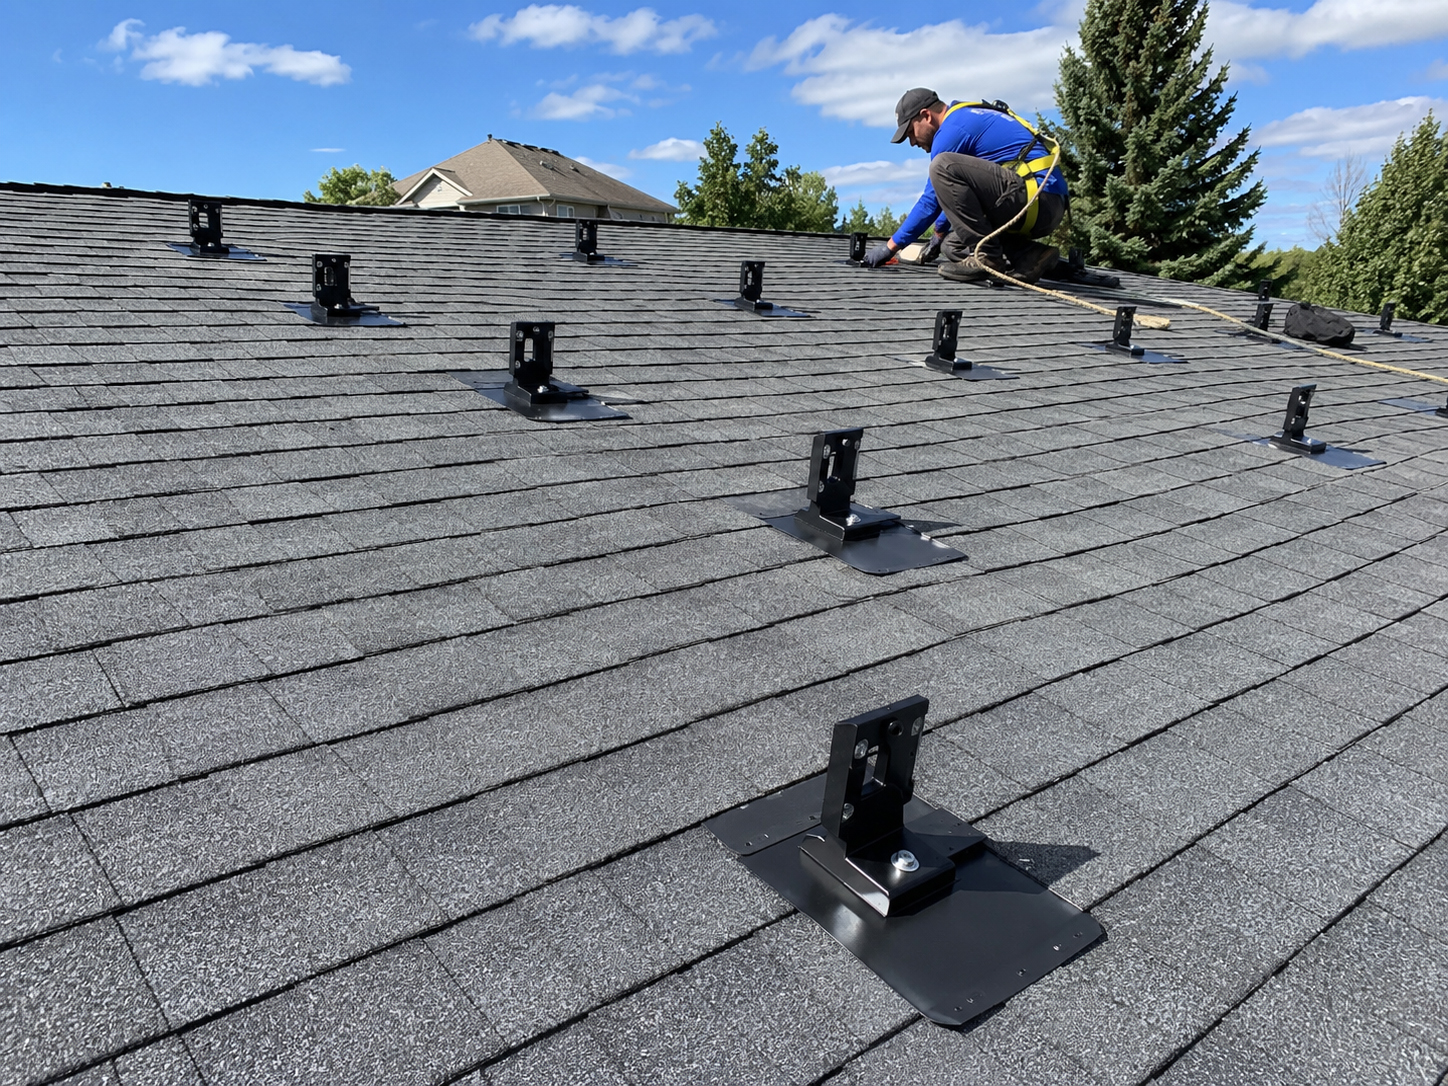
Rails and clamps should be installed only after the roof attachment plan is understood.
Module layout
Rail placement must match the selected module dimensions, orientation, roof area, setbacks, access pathways, and electrical layout.
Mounting-foot layout
Rails depend on the mounting feet below. Foot spacing, row alignment, and roof attachment points must support the rail plan.
Structural attachment
The rail system must transfer loads through the mounting feet into rafters, framing, ballast, or another approved structural path.
Clamp placement
End clamps and mid clamps must match module requirements, rail type, spacing requirements, and manufacturer instructions.
Wire management
Rails often support wire routing. The finished layout should avoid dangling wires, sharp edges, poor access, and future service confusion.
Inspection visibility
Rails and modules should not hide roof-attachment or waterproofing details before they are inspected or documented where needed.
Layout before hardware
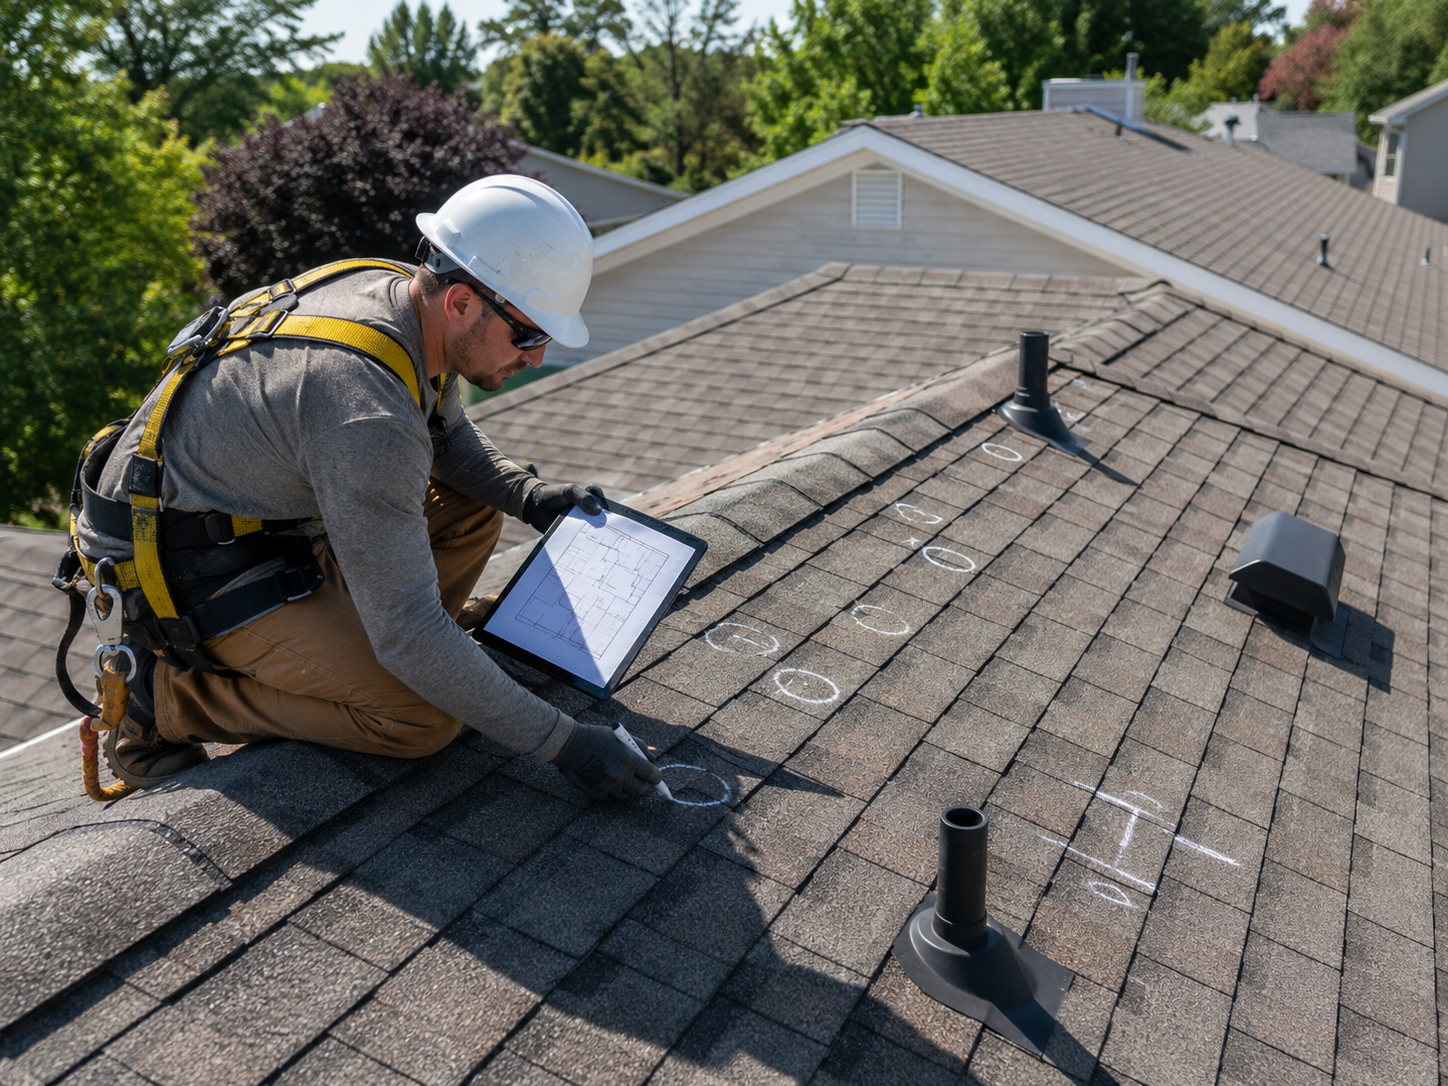
The rail line begins with the roof mark.
A clean rail layout starts with accurate attachment locations.
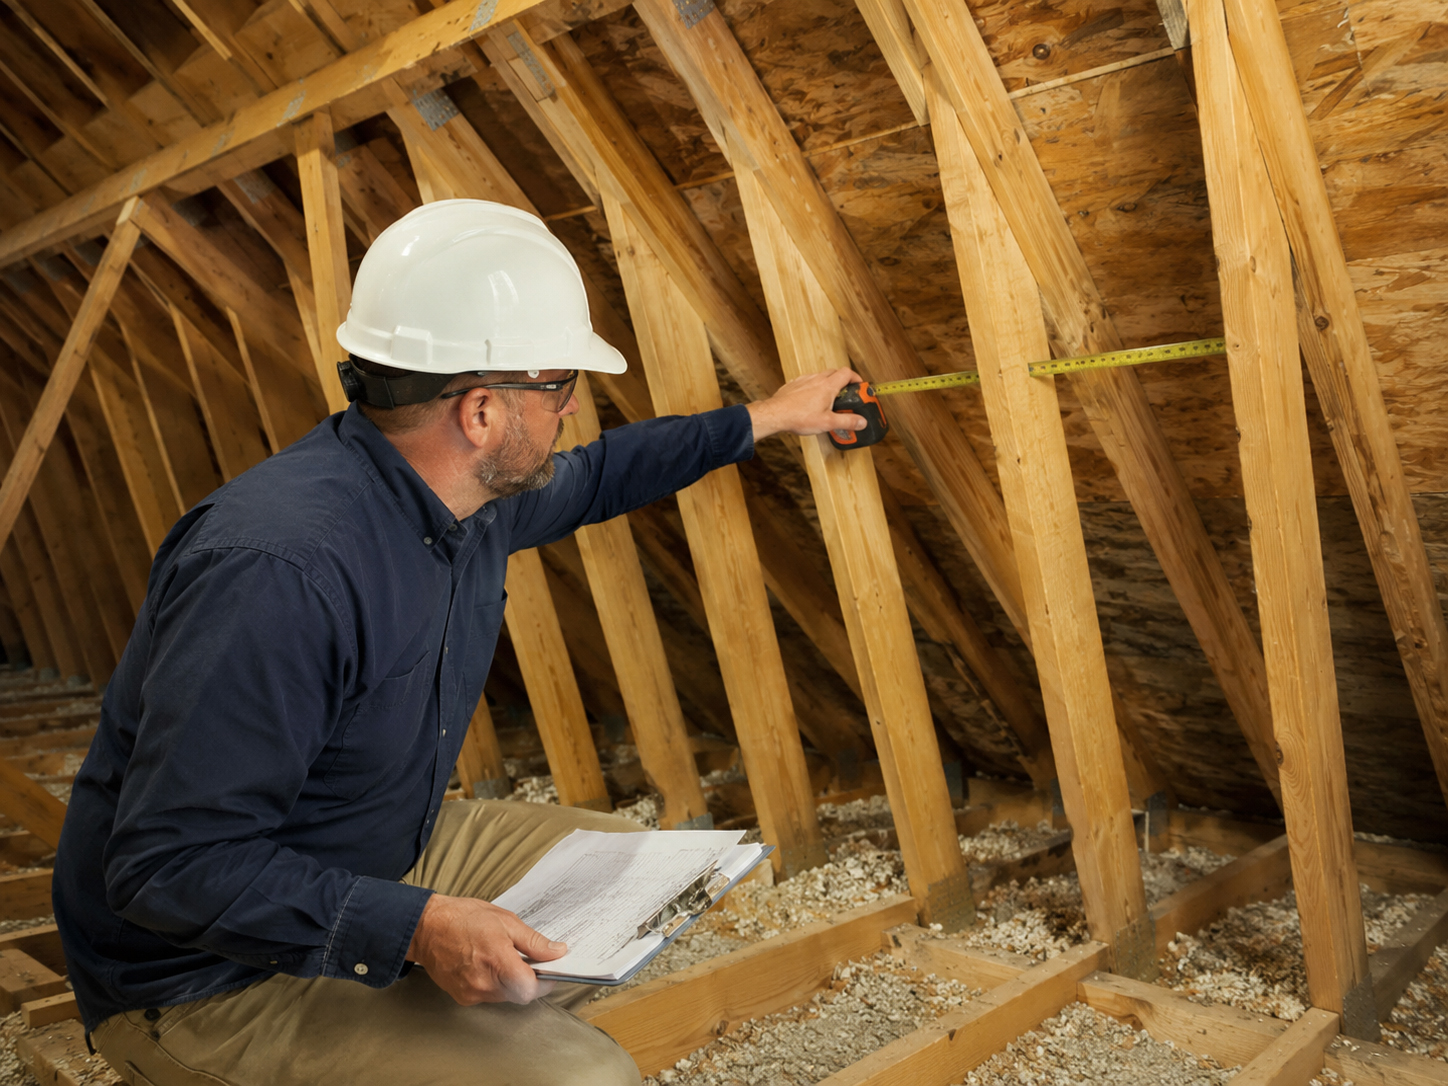
Before rails are installed, the project team should know where the mounting feet belong, where the rafters or structural supports are, how the waterproofing is handled, and how the modules will sit on the finished rail plane. The rail line should be the result of planning, not a way to cover layout mistakes.
Practical rule: do not rush from mounting feet to rails until the attachment, flashing, and waterproofing details have been checked.
Clamps matter
Clamps are small parts with system-level consequences.
The clamp is where the module meets the rail. Poor clamp planning can affect alignment, serviceability, aesthetics, and long-term array stability.
Clamp questions
- Are the clamps compatible with the selected modules and rails?
- Are end clamps and mid clamps placed where the module manufacturer allows?
- Is the rail spacing correct for the module frame?
- Are torque requirements and manufacturer instructions being followed?
- Will the final layout remain serviceable?
- Can wire management be kept clean under the array?
Rail questions
- Do rail spans match the approved mounting-foot spacing?
- Are rail splice locations planned correctly?
- Is the rail layout coordinated with roof obstructions?
- Are fire setbacks and service pathways respected?
- Does the rail layout allow proper module alignment?
- Does the rail system transfer load into approved supports?
Important: this page is educational. Actual rails, clamps, torque values, rail spans, attachment spacing, grounding/bonding methods, and module clamp zones must follow the approved plan set, manufacturer instructions, engineering requirements, electrical code, and local inspection rules.
Forces through the system
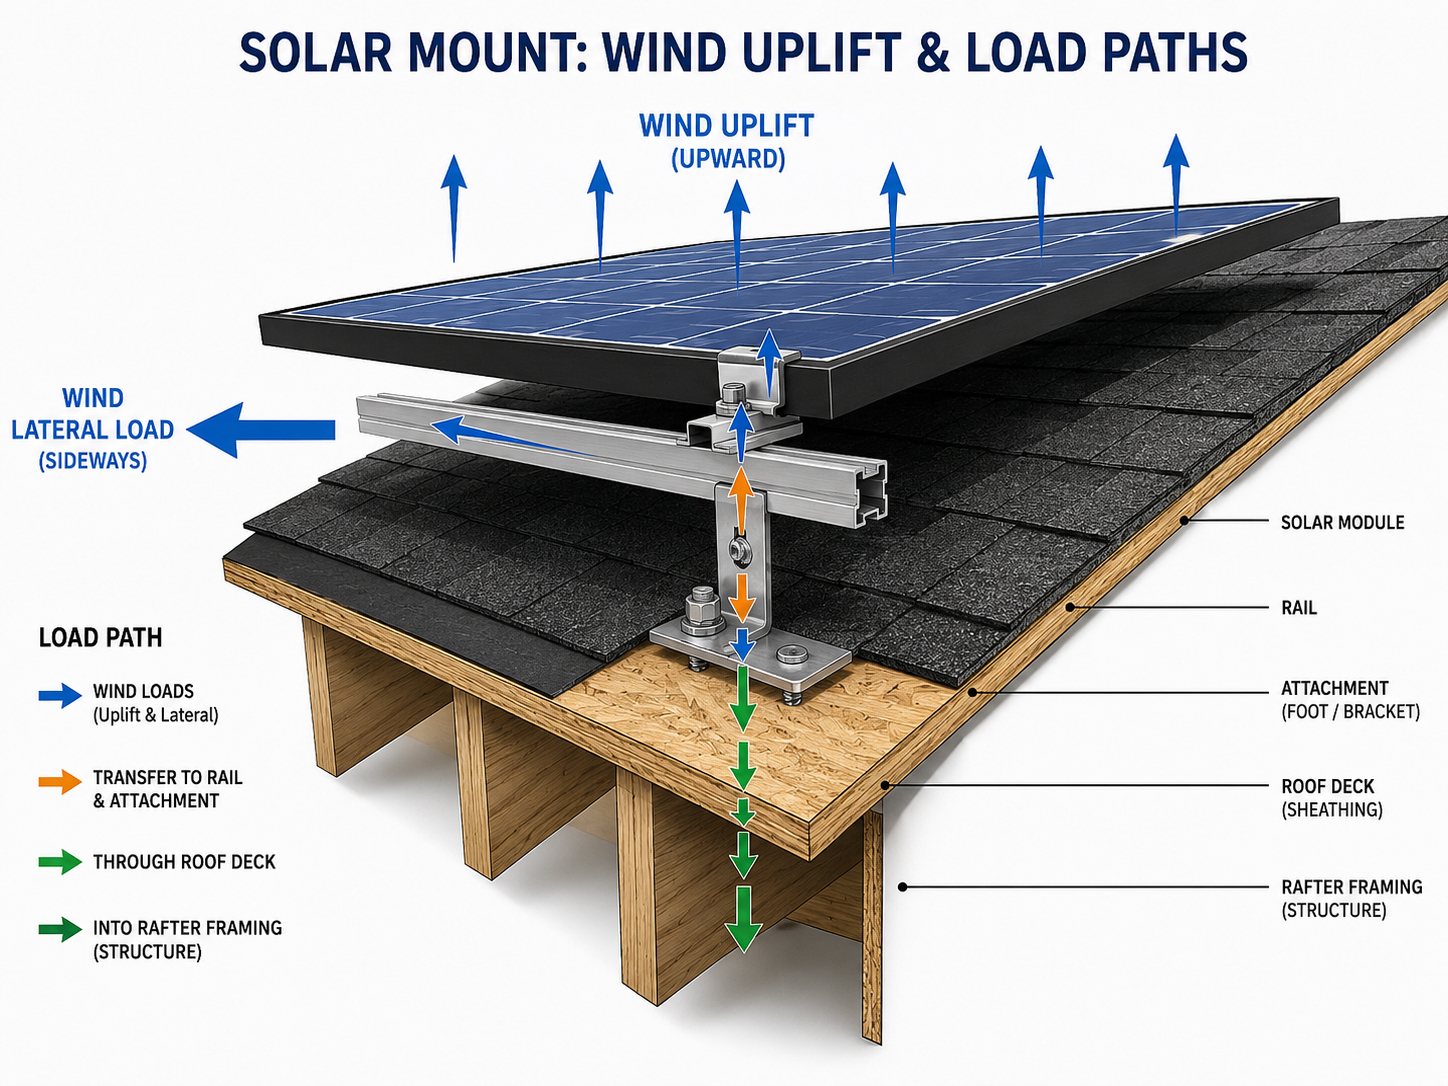
Rails help transfer wind and weight into the mounting system.
The rail is part of the load path, not just a panel holder.
Solar modules face wind uplift, downward loads, thermal movement, and long-term vibration. Rails and clamps help keep the modules aligned and secured, but those forces must continue through the mounting feet and into the building structure or approved ballast system.
The module frame must be held where the manufacturer allows.
The clamp must connect the module to the rail according to the racking design.
The rail transfers load through mounting feet into the roof or structural support.
Roof-type differences
The rail may look similar. The attachment below may be very different.
Rails and clamps are visible, but the roof-specific mounting method underneath changes the real design problem.
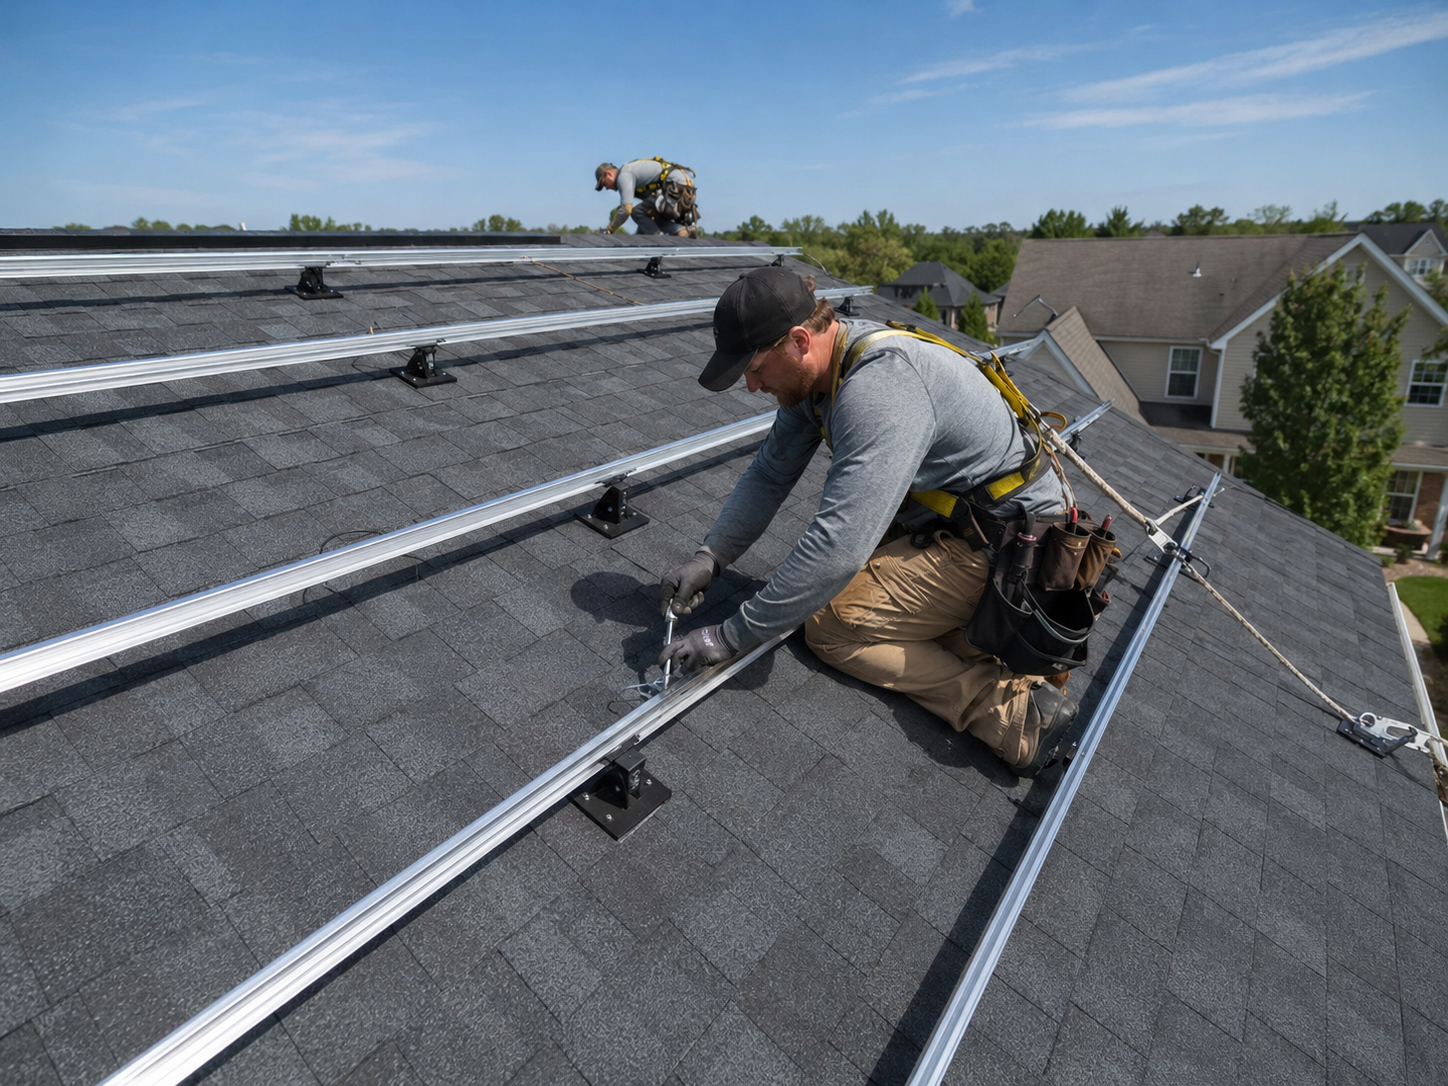
Composition Shingle
Rail layout must follow flashed mounting feet and rafter attachment below.
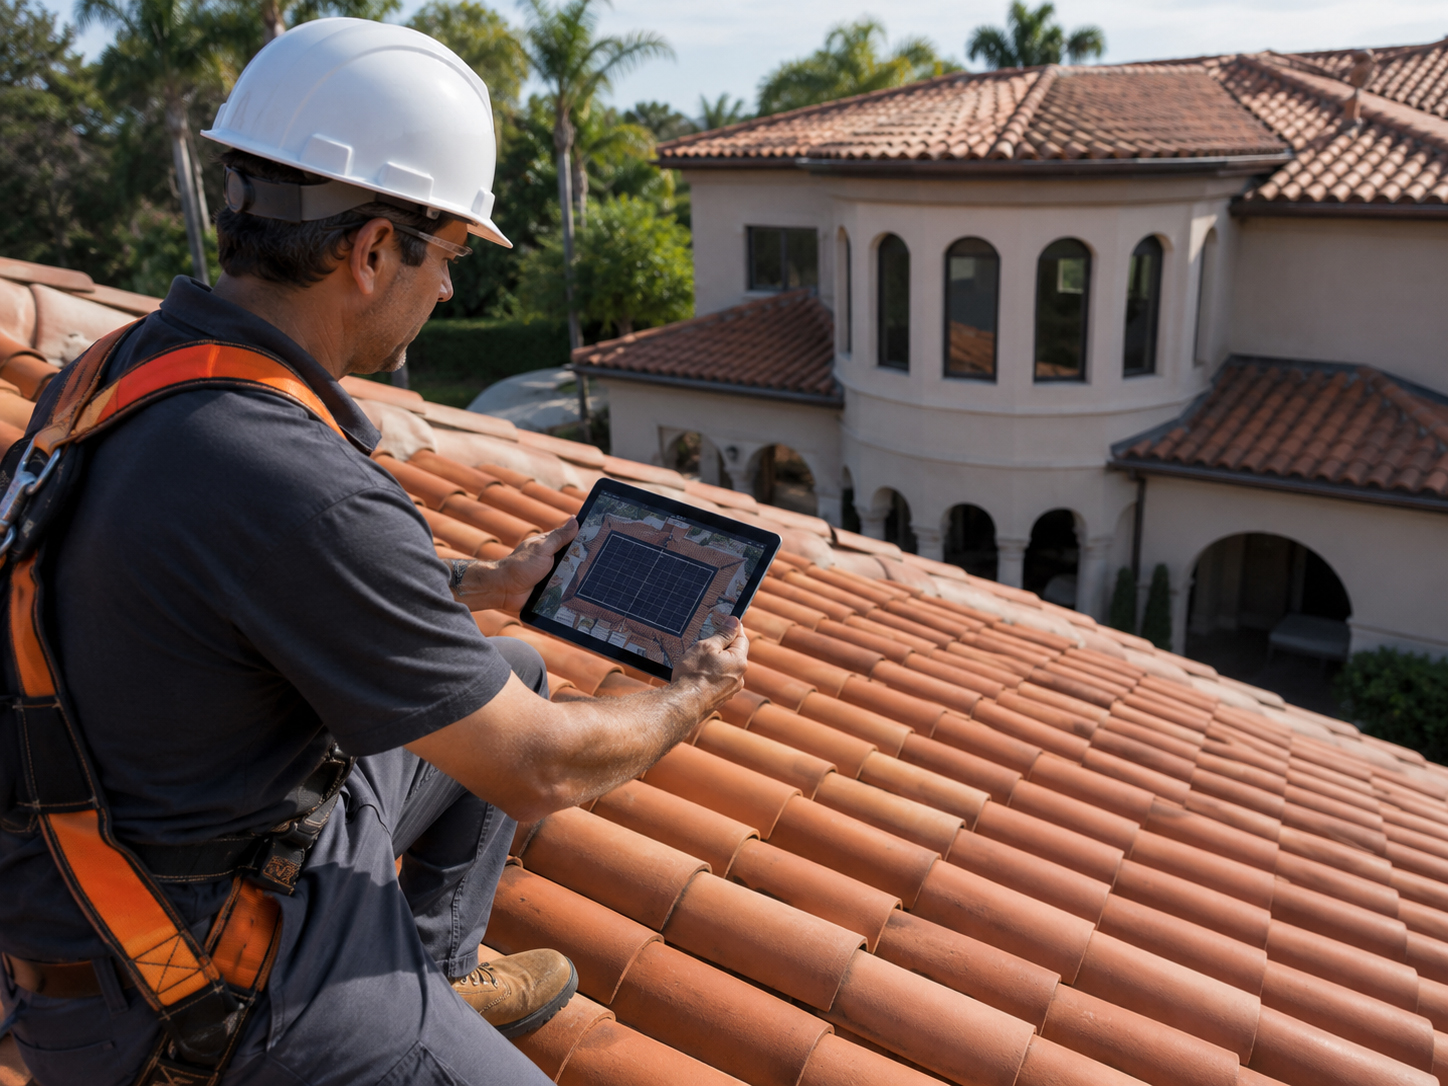
Tile Roof Review
Tile roofs require a project-specific mounting review before rails are planned.
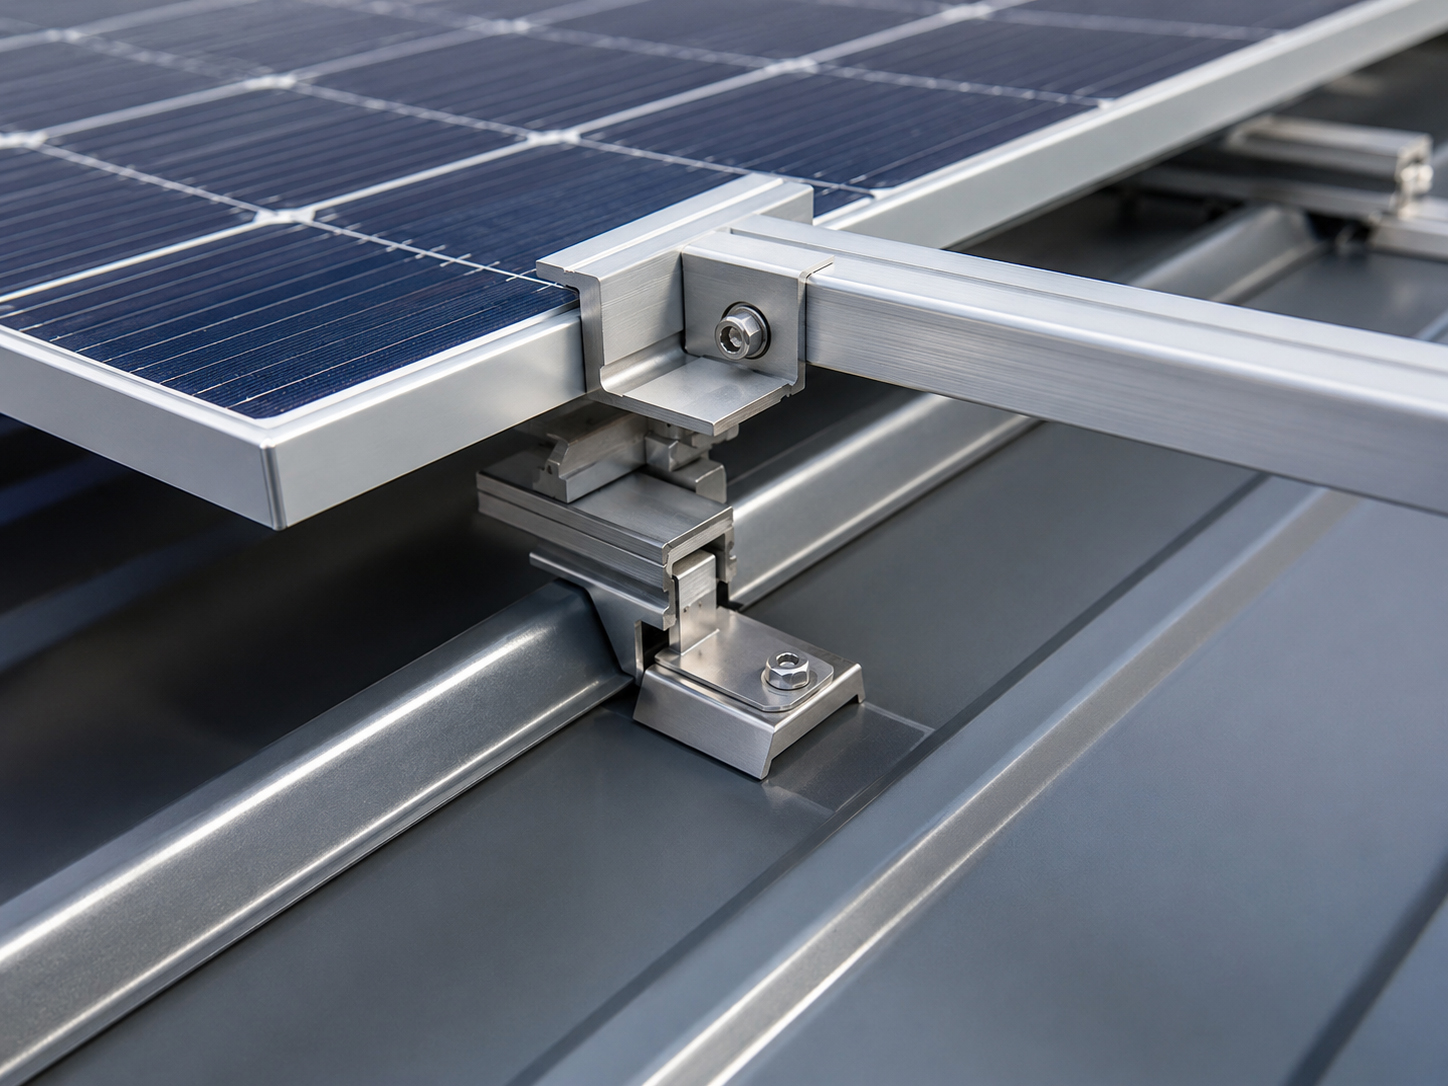
Standing Seam
Clamp-based metal roof systems still require roof-profile and manufacturer review.
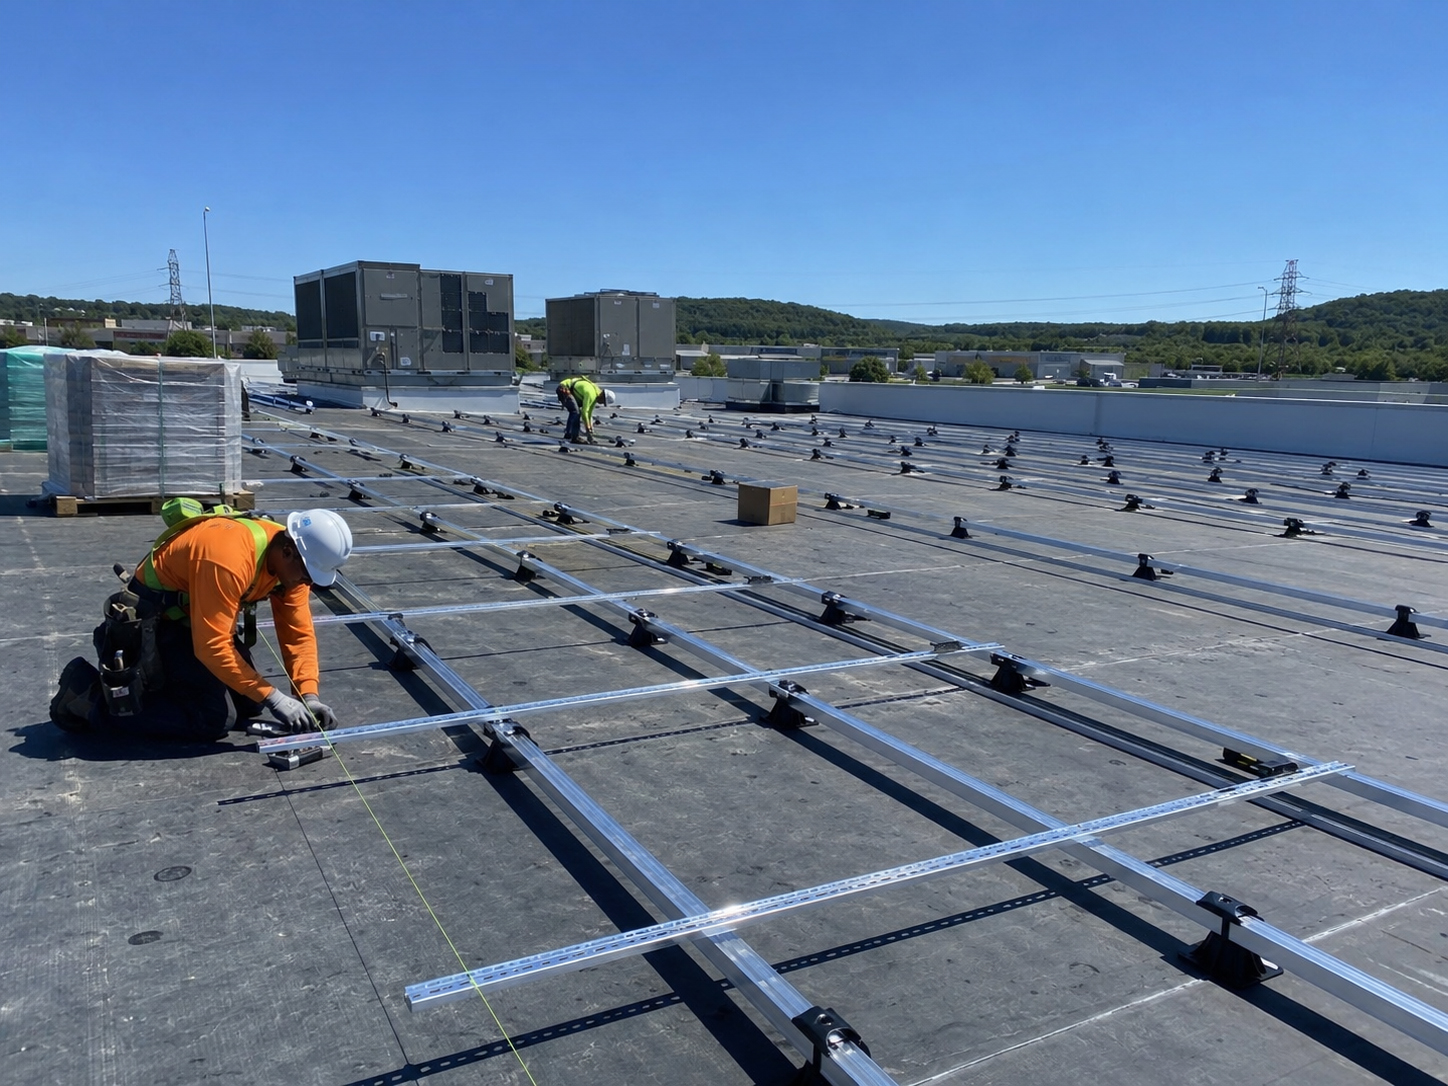
Flat Roofs
Flat-roof rails and racks must coordinate with ballast, membrane protection, and roof-load review.
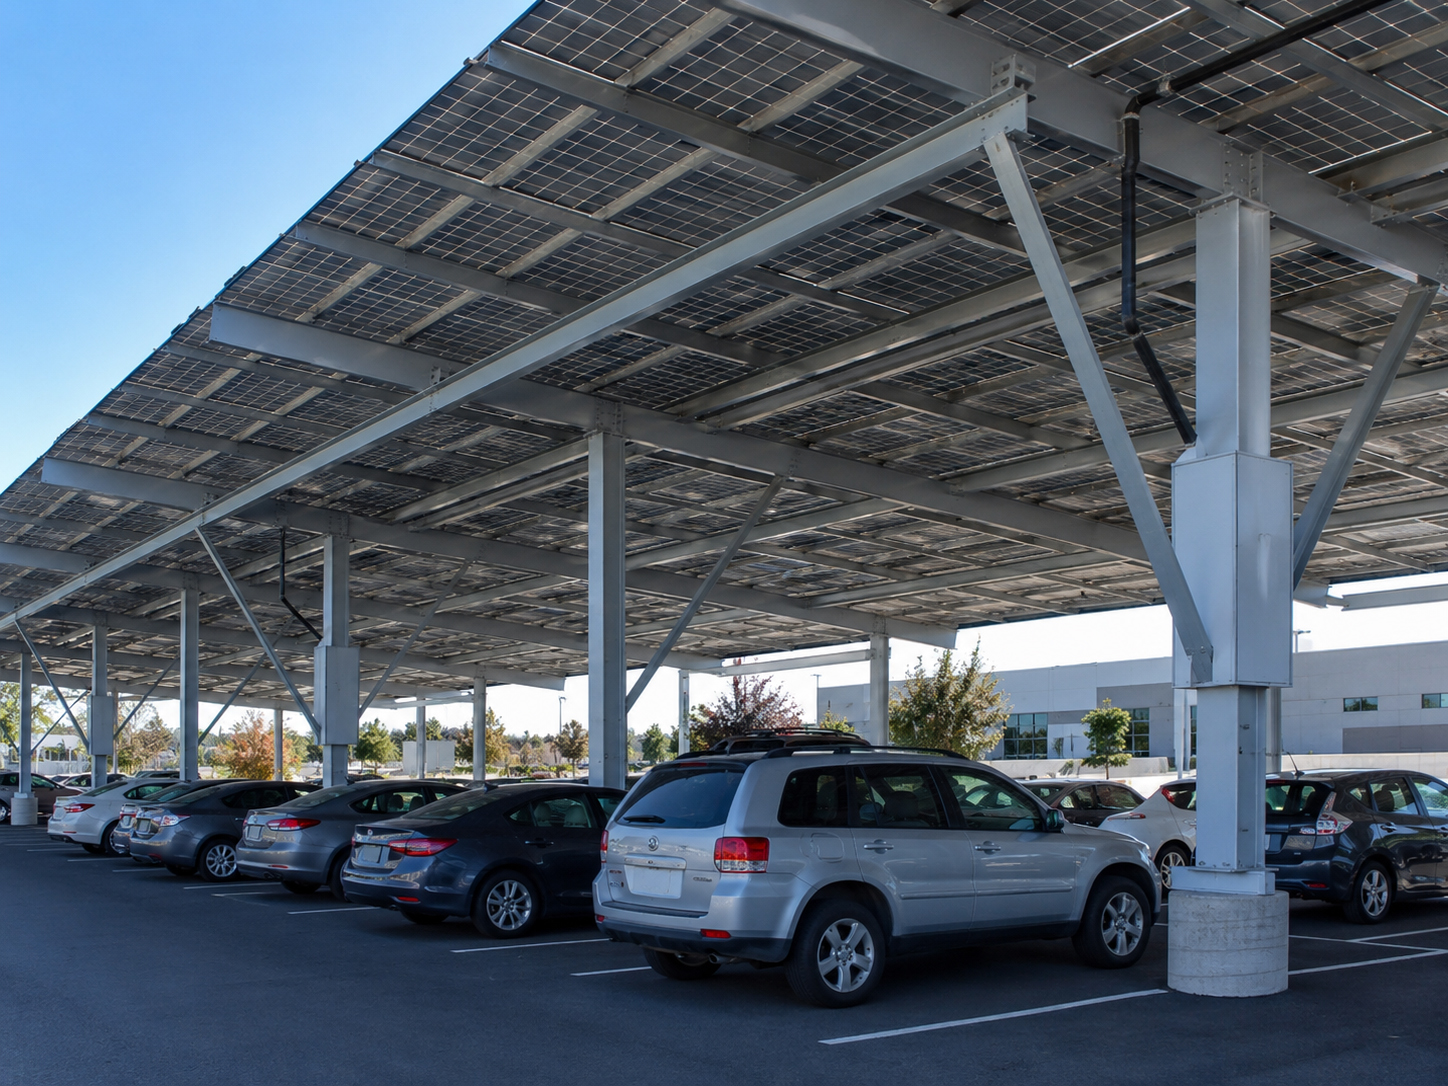
Solar Carports
On carports, rails and clamps become part of a larger steel-structure conversation.

Building-Integrated Solar
When the solar system becomes part of the building envelope, mounting logic changes again.

Inspection and service
The finished rail system should be clean, explainable, and serviceable.
A good array should not look like a mystery after installation.
Rails, clamps, grounding, bonding, wire management, module alignment, attachment points, and access paths should be understandable to the installer, homeowner, inspector, and future service team. The best installation is not only secure on day one; it is serviceable years later.
Plain-language summary: straight rails look good, but a correct rail system also follows the roof, structure, electrical, inspection, and service plan.
Homeowner question
What should homeowners ask about rails and clamps?
Homeowners do not need to know every racking part number, but they should understand the logic.
Ask how the rails are attached to the roof, how the clamps hold the modules, how the system handles wind, how the roof penetrations are flashed, how wires are managed, and whether the system remains serviceable after installation.
Good question: “Can you show me how the rails connect to the mounting feet, and how the mounting feet connect to the roof structure?”

Related field guide pages
Continue the rail and clamp review.
Rails and clamps conclusion
The visible array depends on the hidden plan.
Rails and clamps hold the modules, but the real quality of the installation comes from the roof review, mounting-foot layout, structural attachment, waterproofing, inspection, and serviceability beneath them.