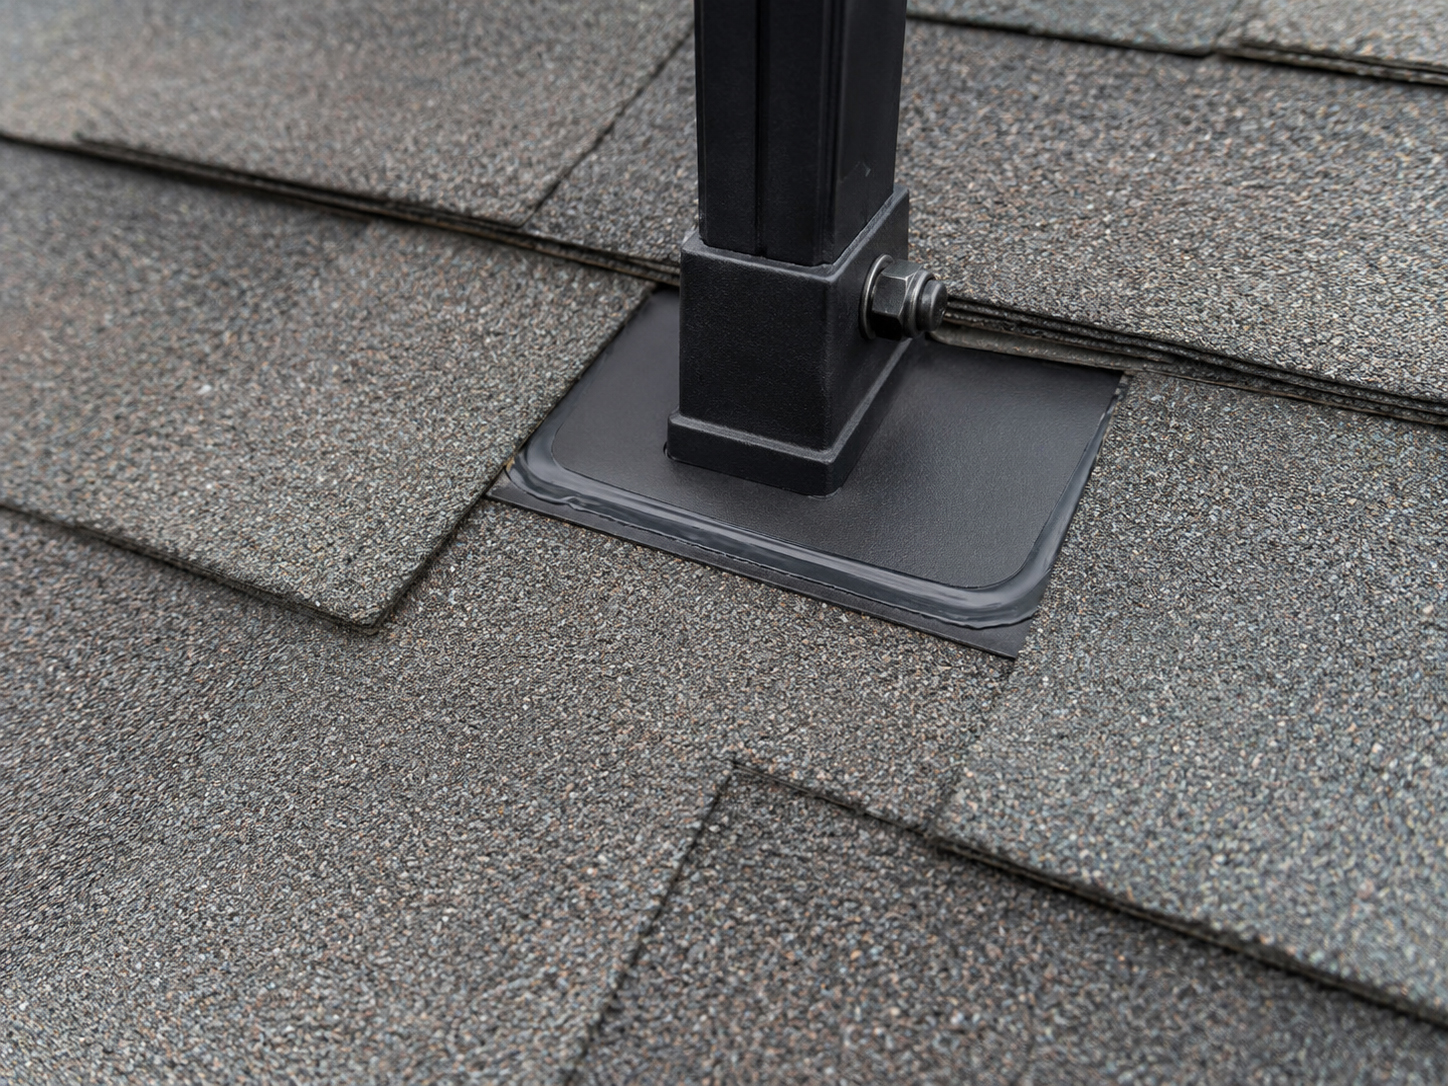
Roof protection detail
Flashing handles water. Sealant supports the detail.
Solar mounting creates roof attachment points. Flashing and sealant are the roof-protection details that help those attachment points remain dry, durable, inspectable, and serviceable.
The roofing logic
The mount must become part of the roof’s water path.
A roof is not just a surface. It is a layered water-management system.
Solar flashing should work with that system. On a shingle roof, water moves by gravity across overlapping layers. On tile, metal, flat roof, and unique roof assemblies, the water path changes. Sealant may help complete the detail, but sealant should not be used as a shortcut around correct flashing, correct placement, or correct roof review.
SolarMount.com rule: flashing is the water-shedding strategy. Sealant supports the approved detail. Do not treat sealant alone as the roof protection plan.

Flashing and sealant checklist
What should be reviewed before the array covers the roof?
The most important waterproofing details are easiest to verify before rails and modules hide the work.
Roof material
Composition shingle, asphalt shingle, tile, metal, flat roof membrane, and wood shake each require roof-specific waterproofing review.
Water path
The flashing must respect the direction water naturally moves across the roof. Do not create dams, traps, or hidden ponding points.
Mount location
The best flashing detail can be weakened by a bad location near valleys, obstructions, damaged material, or poor structural targets.
Roof layers
Flashing must integrate with the roof assembly, not merely sit on top as cosmetic metal.
Sealant choice
Sealant should match the roof condition, approved detail, manufacturer instructions, and expected weather exposure.
Inspection timing
The work should be inspected or documented before rails, panels, and wire management make the detail difficult to see.
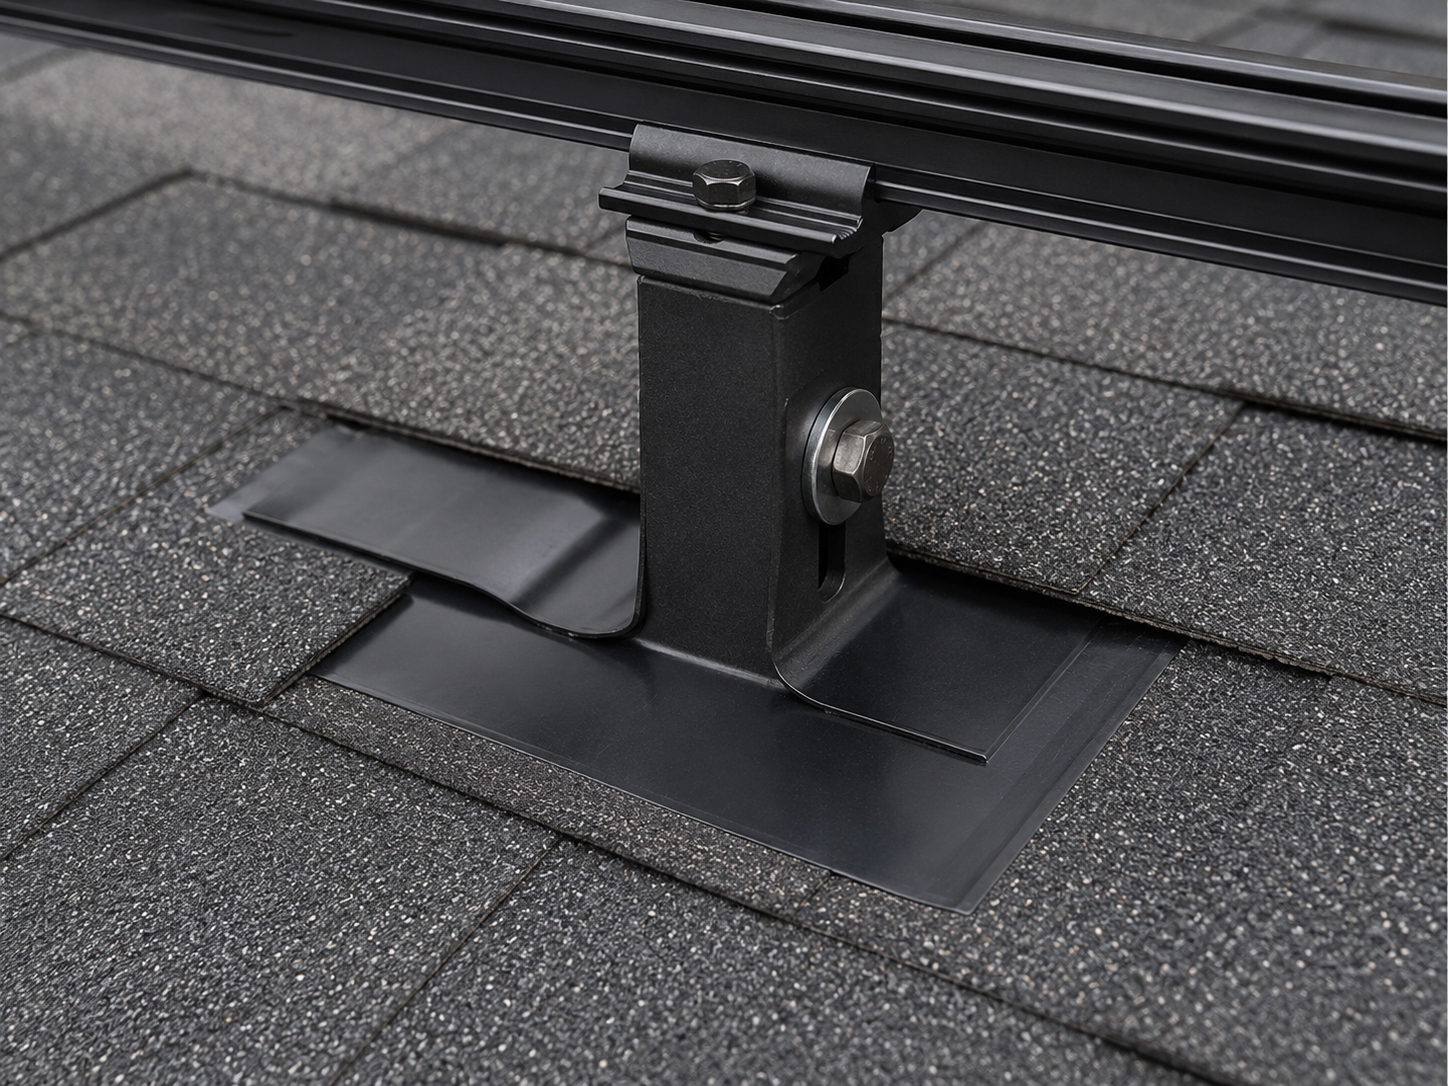
Shingle example
On shingle roofs, overlap matters.
Water protection depends on how roofing layers shed water over one another.
A flashed solar mount on a shingle roof should work with the existing roof layers. The flashing should guide water over and around the attachment point, while the mounting foot remains attached to the structural target below. The sealant supports the detail, but the flashing and roof-layer integration do the primary water-management work.
Practical rule: if the flashing does not make sense with the roof’s water path, more sealant is not the answer. The detail needs review.
Flashing vs. sealant
Do not confuse the two jobs.
Flashing and sealant can work together, but they are not the same thing.
Flashing should:
- Integrate with the roof’s water-shedding system.
- Guide water away from the penetration or attachment point.
- Work with roof layers, slope, and material type.
- Remain durable under sunlight, heat, wind, and service conditions.
- Be visible enough to inspect before concealment.
- Match the roof-specific approved installation method.
Sealant should:
- Support the approved waterproofing detail.
- Be compatible with roof material, flashing, and hardware.
- Be applied where the detail actually calls for it.
- Not be used to hide missed rafters, bad holes, or bad flashing.
- Not be treated as the only defense against water.
- Be checked before the array covers the work.
Important: this page is educational. Actual flashing, sealant, roof penetration, attachment, and waterproofing details must follow the approved permit set, manufacturer instructions, roof manufacturer guidance, engineering requirements, local code, and qualified professional judgment.
Mounting feet
The flashing detail begins at the mounting foot.
The mounting foot is the point where roof protection, structural attachment, and solar racking meet.
The mounting foot must be located for the rafter or approved structural target, but it also must sit within a waterproofing detail that protects the roof surface. The best installation sequence checks both: did the attachment land correctly, and does the flashing make sense for water?
Confirm the roof mark, rafter target, rail layout, and obstruction clearance.
Install the approved mounting foot and fastener according to plan and instructions.
Integrate flashing and sealant with the roof assembly before the work is covered.
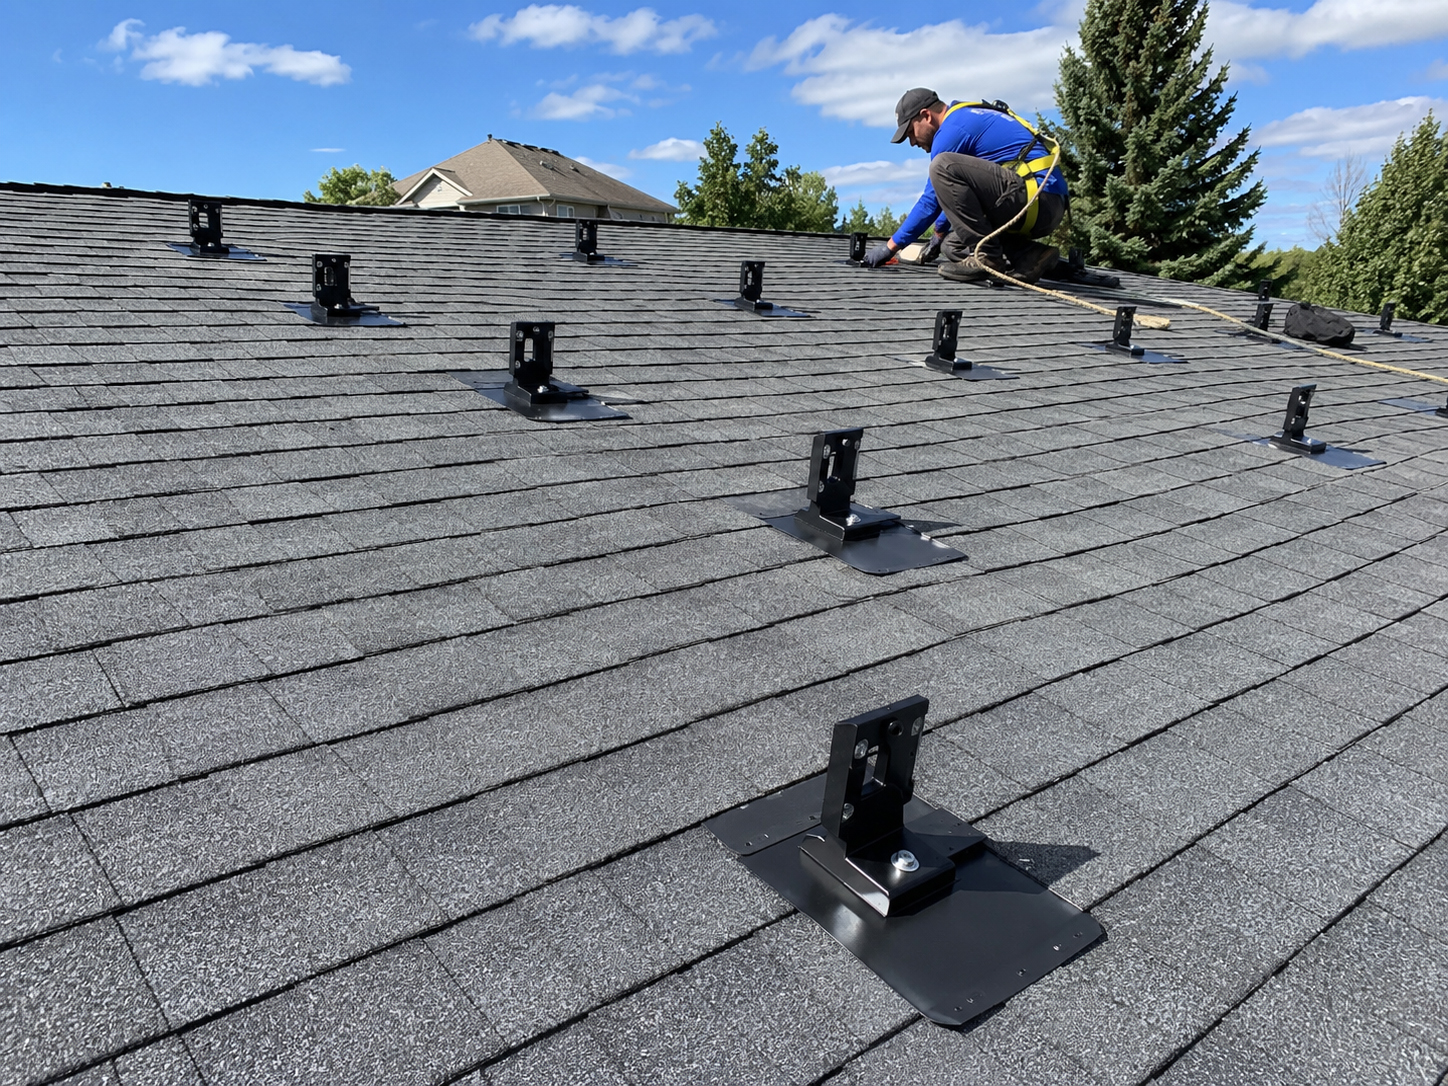
Roof-type review
The flashing conversation changes with the roof.
SolarMount.com treats roof type as a real design variable, not a cosmetic description.
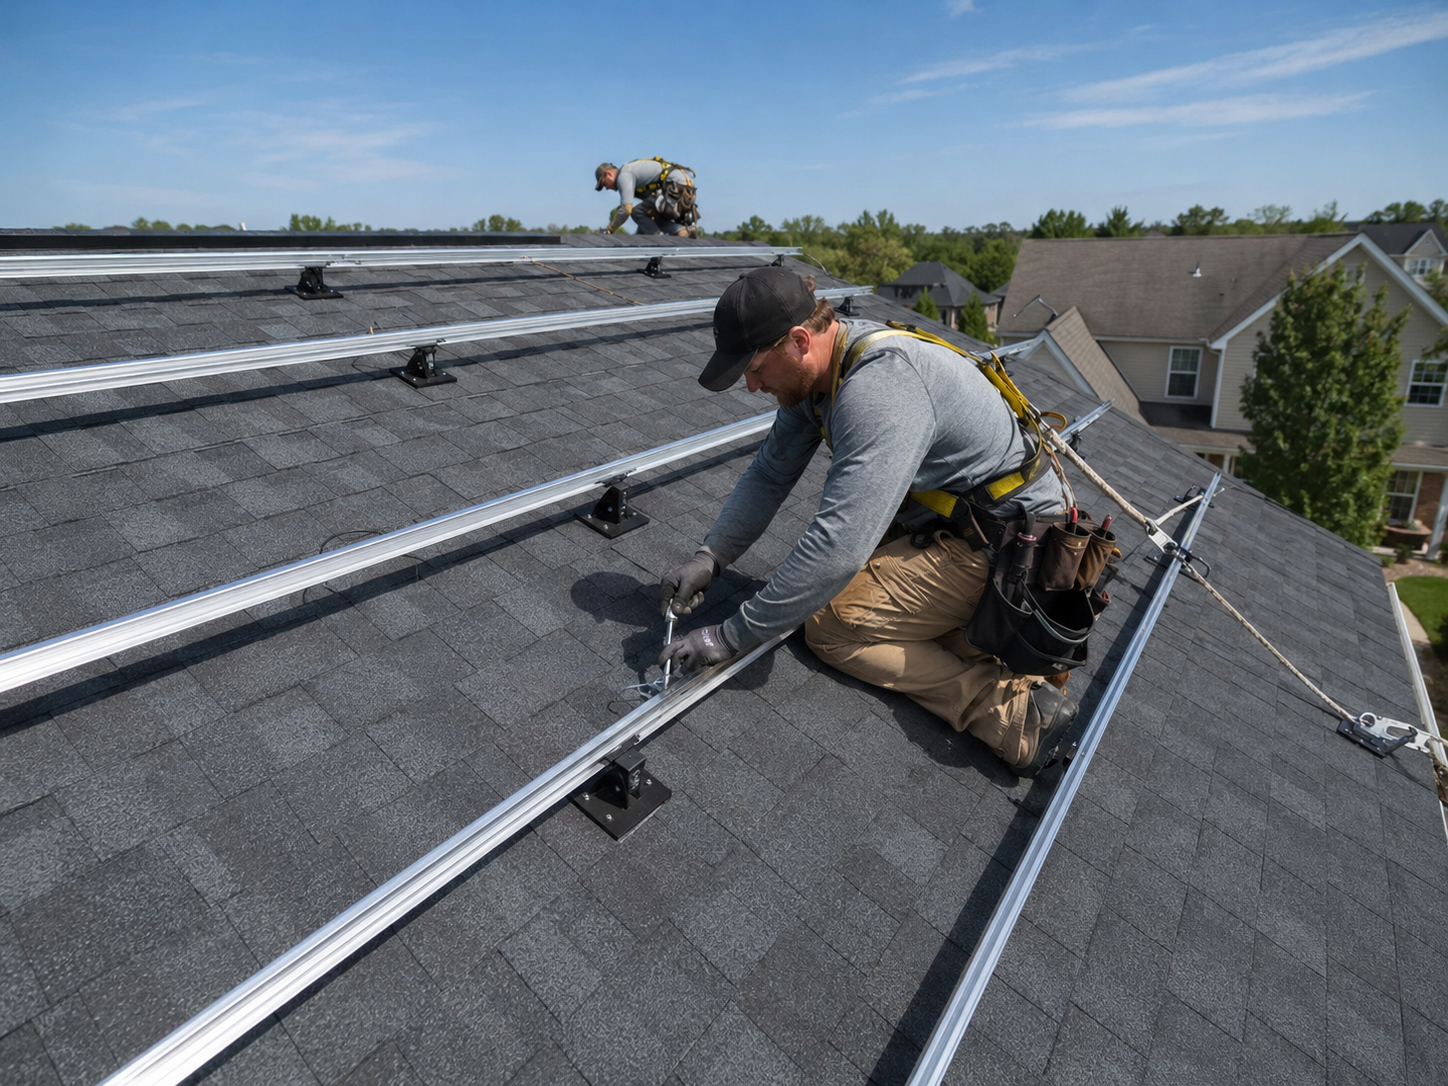
Composition Shingle
Flashing must work with shingle overlap, slope, roof condition, and rafter attachment.
Asphalt Shingle
Flashed mounts need disciplined placement, sealant, and inspection before concealment.

Tile Roof Review
Tile roofs require project-specific review of roof condition, underlayment, access, and serviceability.
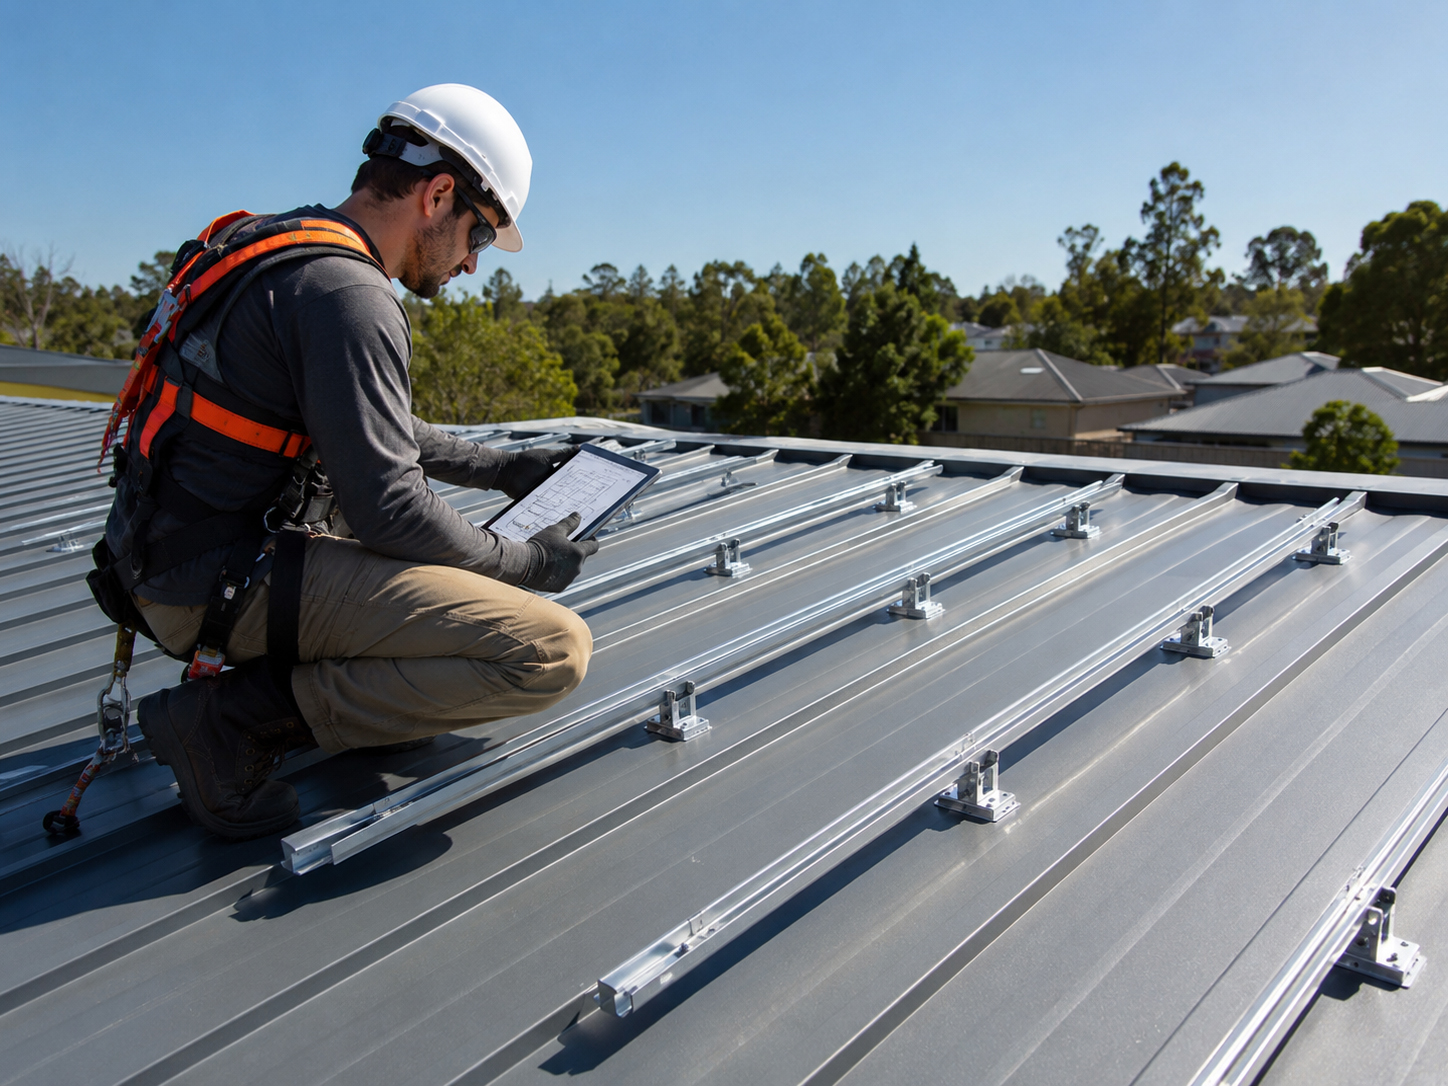
Metal Roofs
Metal flashing and sealant decisions depend on roof profile, seams, coatings, and manufacturer guidance.
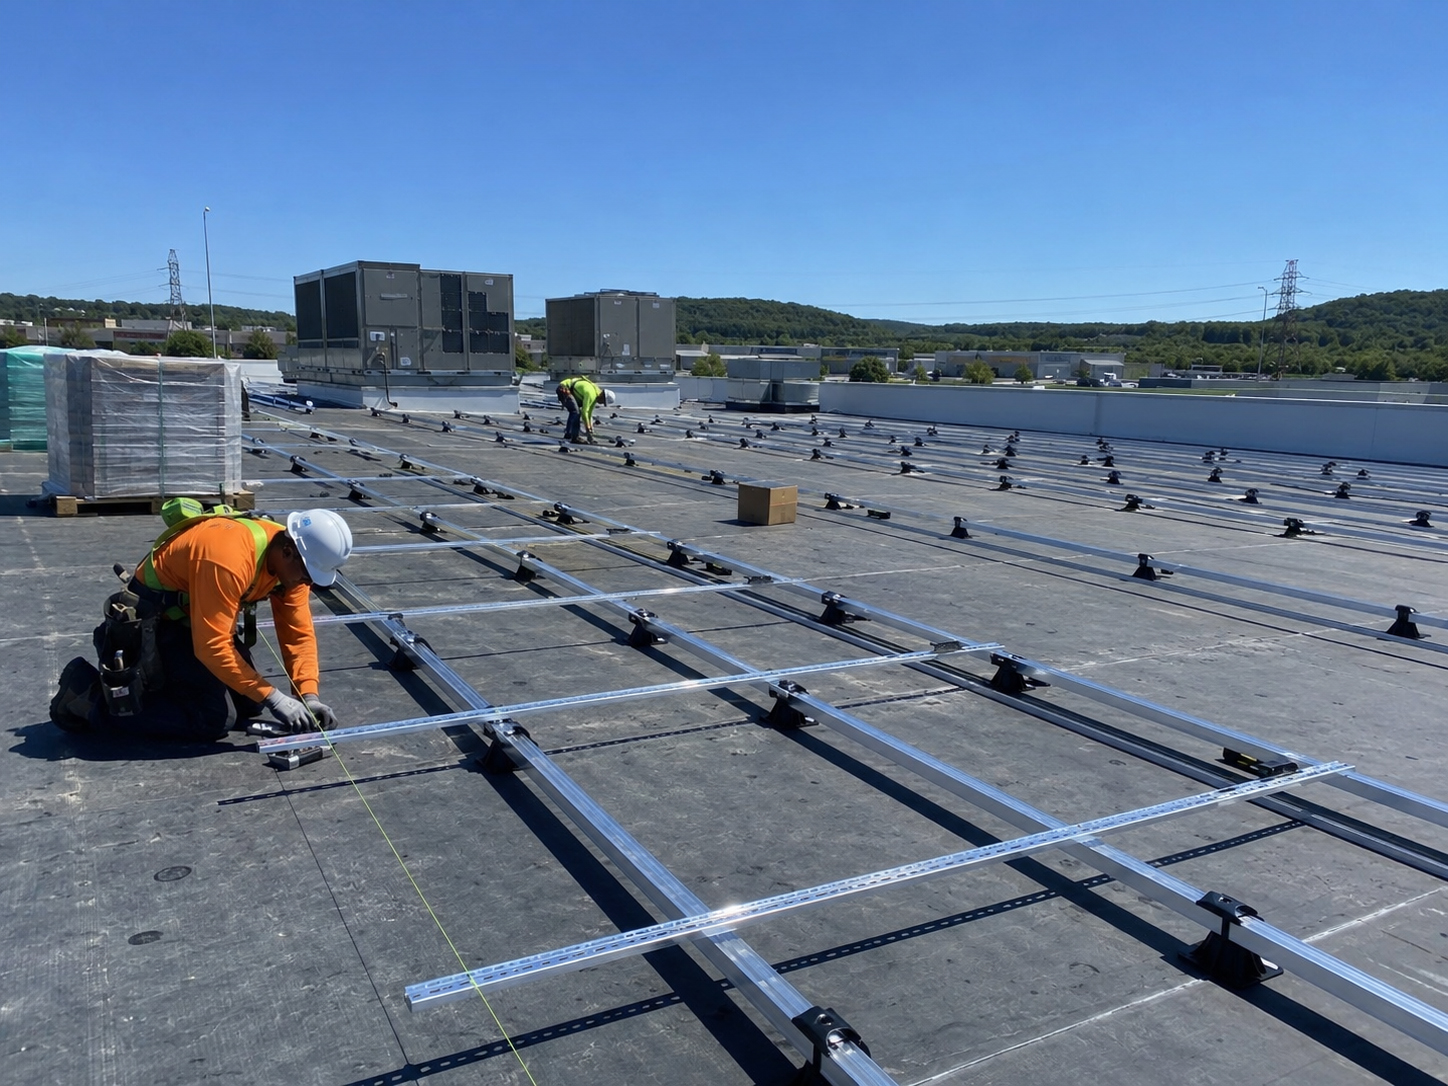
Flat Roofs
Flat roofs require membrane review, drainage review, walk paths, ballast, and roof-load awareness.

Unique Roofs
Complex geometry, mixed materials, valleys, dormers, skylights, and steep slopes require extra review.

Inspection before concealment
Check the flashing before panels hide it.
A solar array can make roof details harder to inspect after the fact.
The ideal inspection moment is after the mounting foot, flashing, sealant, and attachment are in place, but before rails and modules make the detail difficult to view. Photos and notes can help future service teams understand what was done.
Plain-language summary: look at the flashing while you can still see it. Once the array is complete, the most important details may be under the panels.
Homeowner transparency
Homeowners should be able to ask simple waterproofing questions.
The answers do not need to be mysterious.
A homeowner can ask where the penetrations are, how the mounting feet are flashed, what sealant is used, what gets inspected, and how the roof can be serviced later. Clear answers build trust before the installation begins.
Good question: “Can you show me the flashing detail before the rails and panels cover it?”

Related field guide pages
Continue the waterproofing review.
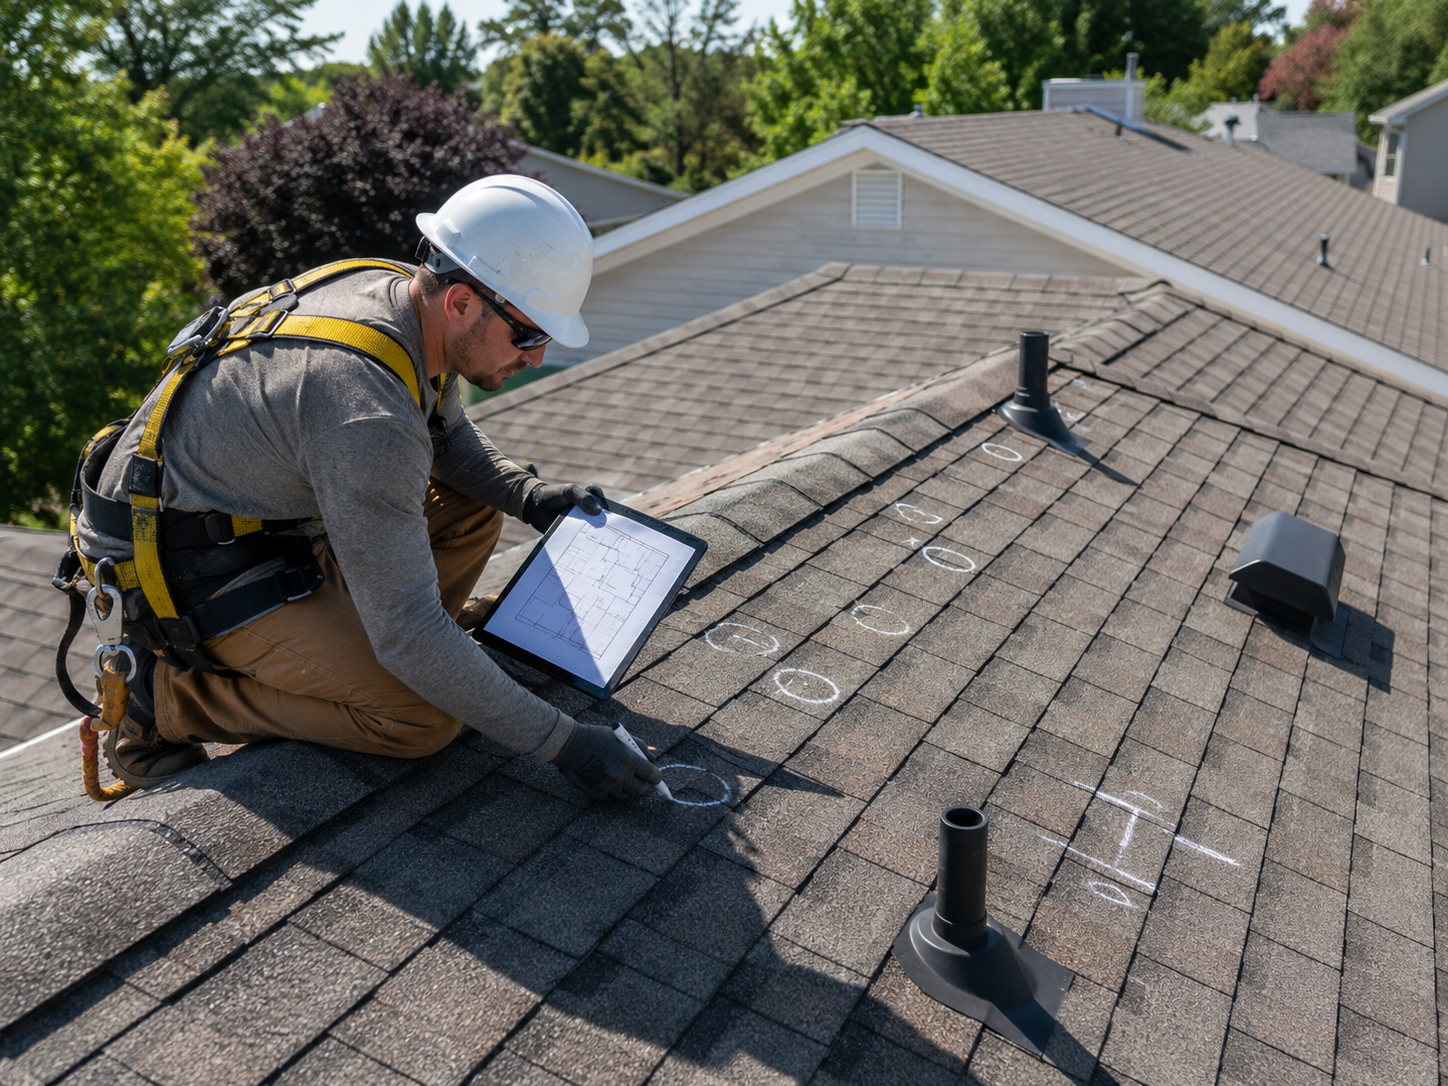

Flashing conclusion
A good solar mount respects the roof first.
Flashing handles the water. Sealant supports the approved detail. The finished array should leave the roof protected, serviceable, and inspectable.