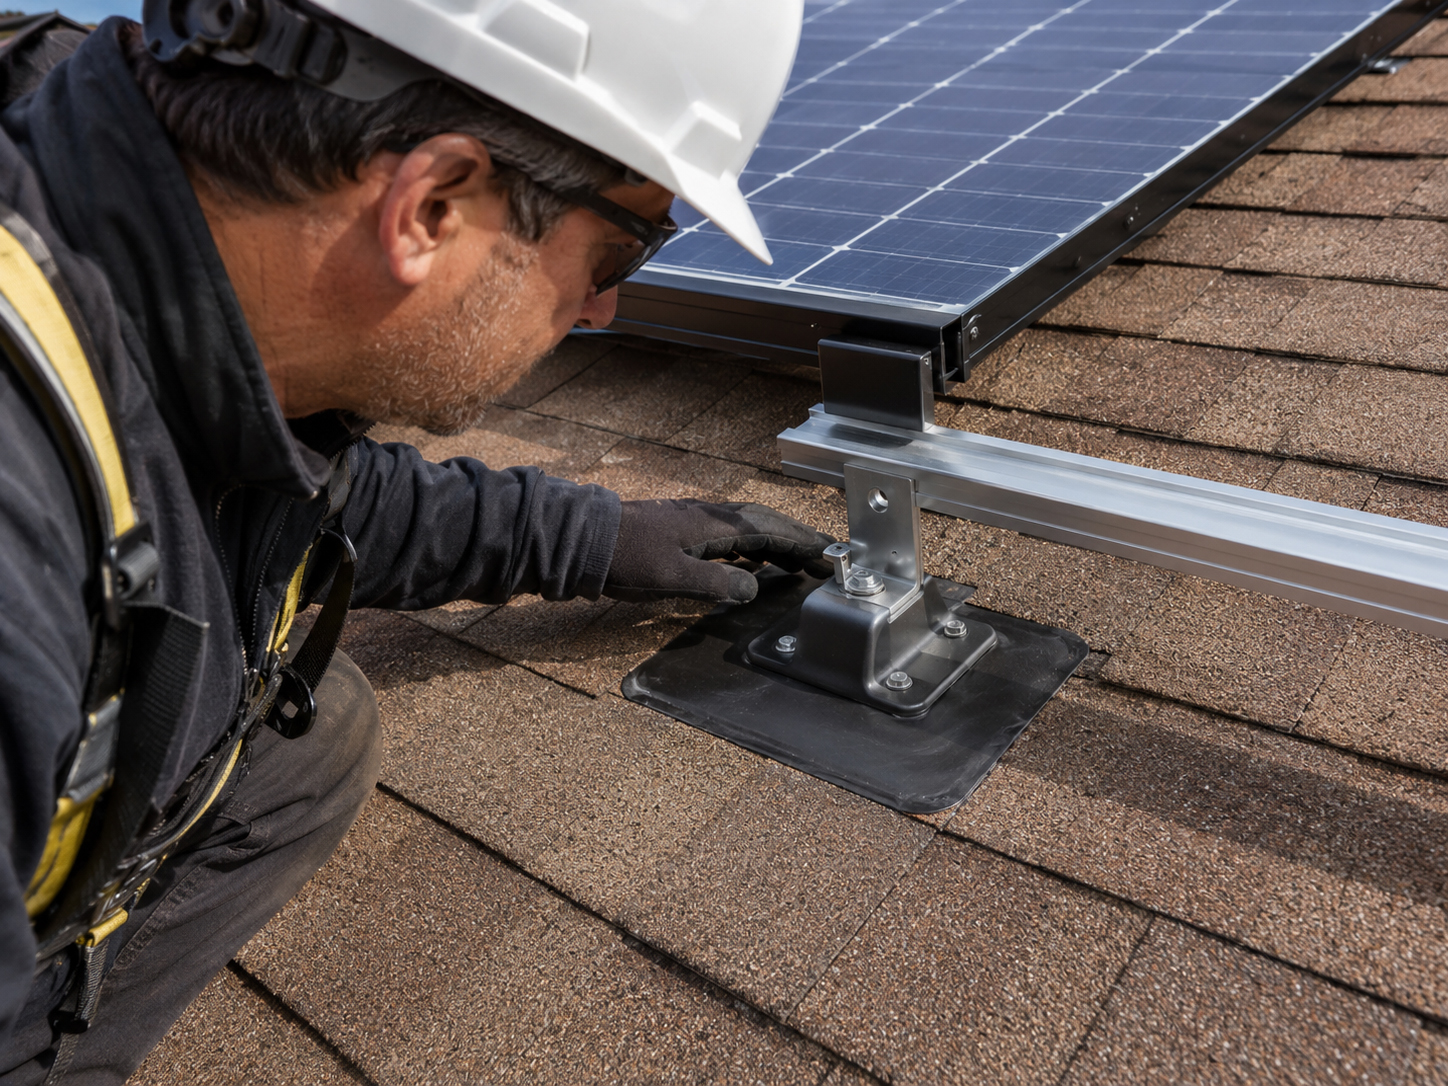
Waterproofing before concealment
Prevent roof leaks before the panels cover the work.
Roof leak prevention is not a cleanup task. It starts before the first roof penetration: roof condition, mounting locations, flashing, sealant, rafter attachment, inspection timing, documentation, and future service planning.
The leak prevention rule
The roof should remain a roof after solar is installed.
Solar should not turn a dry roof into a mystery.
Roof leak prevention begins by respecting the existing roof system. The project should review roof age, material condition, water path, roof penetrations, flashing method, sealant use, mounting-foot locations, and what must be inspected before rails and modules make the details hard to see.
SolarMount.com rule: locate it, attach it, flash it, seal it, inspect it, document it, then cover it. Do not reverse that order.
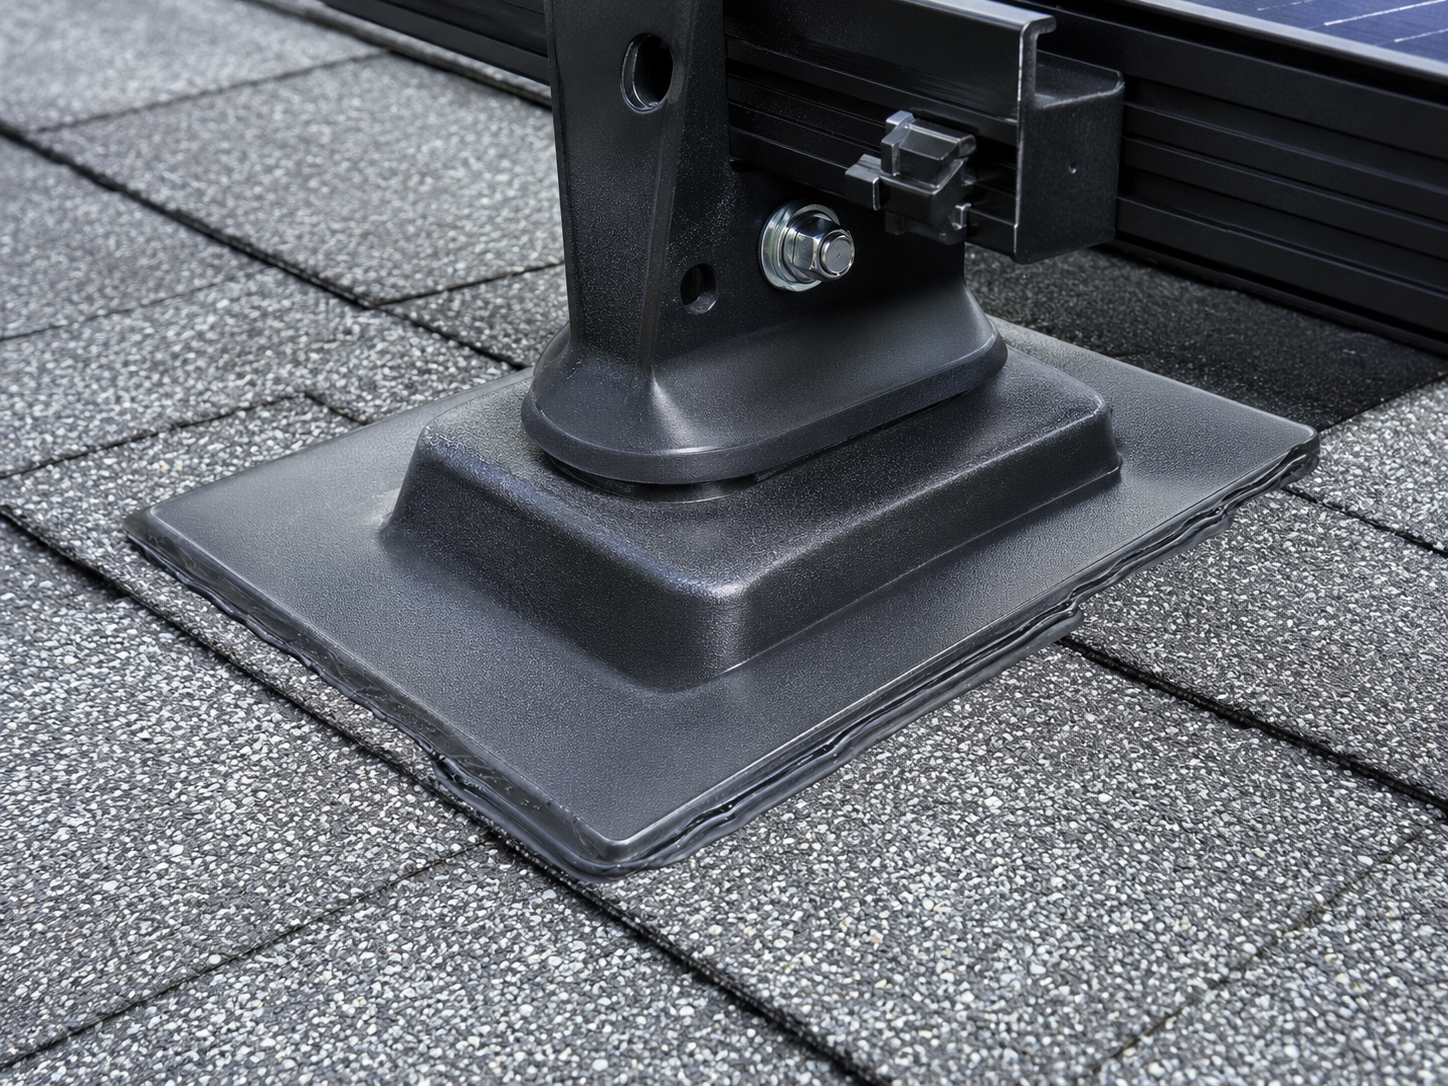
Leak prevention checklist
What should be reviewed before panels go on?
The most important roof-protection details are easiest to verify before the array is complete.
Roof condition
Check roof age, prior leaks, worn material, broken tiles, brittle shingles, patched areas, ponding, soft spots, and service life before mounting.
Water path
Understand how water moves across the roof before placing mounts, conduit, boxes, rails, or ballast.
Penetration locations
Every planned penetration should have a reason, structural target, flashing plan, and inspection moment.
Flashing method
Flashing should integrate with the roof material and water-shedding system, not merely cover a hole.
Sealant discipline
Sealant can support the detail, but it should not be treated as the only waterproofing strategy.
Inspection before concealment
Verify and document roof-protection details before rails, modules, and wire management cover them.

Do not bury a roof problem
A tired roof should be addressed before solar makes it harder to reach.
Many leak problems begin before the solar installation ever starts.
If a roof is near the end of its service life, already leaking, heavily patched, brittle, ponding, or showing signs of wear, the solar project should pause for roofing review. Installing a long-life solar array over a questionable roof can create future removal, repair, and responsibility problems.
Practical rule: solar should not be used as a cover over roofing uncertainty. Review the roof first.
Where leaks can begin
Solar roof leaks are usually detail problems.
The goal is to prevent the detail problem before it becomes a ceiling stain.
Details that deserve attention
- Mounting feet and roof penetrations.
- Flashing position and roof-layer integration.
- Sealant compatibility, placement, and condition.
- Conduit penetrations and junction-box locations.
- Old roof repairs, patches, seams, valleys, and transitions.
- Flat roof membrane contact points and drainage areas.
Questions to ask before concealment
- Can the flashing detail be seen and inspected now?
- Did the attachment land where intended?
- Does water flow naturally around the detail?
- Is sealant supporting the detail rather than hiding a problem?
- Are photos or notes needed for future service?
- Will the roof remain serviceable after the panels are installed?
Important: this page is educational. Actual roof leak prevention, flashing, sealant, mounting, roof repair, warranty, inspection, and waterproofing requirements must follow the approved plan set, manufacturer instructions, roofing requirements, local code, and qualified professional judgment.
Flashing leads
Flashing should do the water work.
Sealant helps. Flashing leads. Roof layers matter.
A roof mount should be integrated into the roof’s water-shedding system. On shingle roofs, that means respecting overlap. On tile roofs, that means understanding tile and underlayment. On metal roofs, that means respecting seams, coatings, fasteners, and manufacturer guidance. On flat roofs, that means protecting the membrane and drainage.
The waterproofing method must match the material and roof assembly.
Sealant should support the approved detail, not compensate for bad placement.
Review the detail before the panels make it difficult to see.
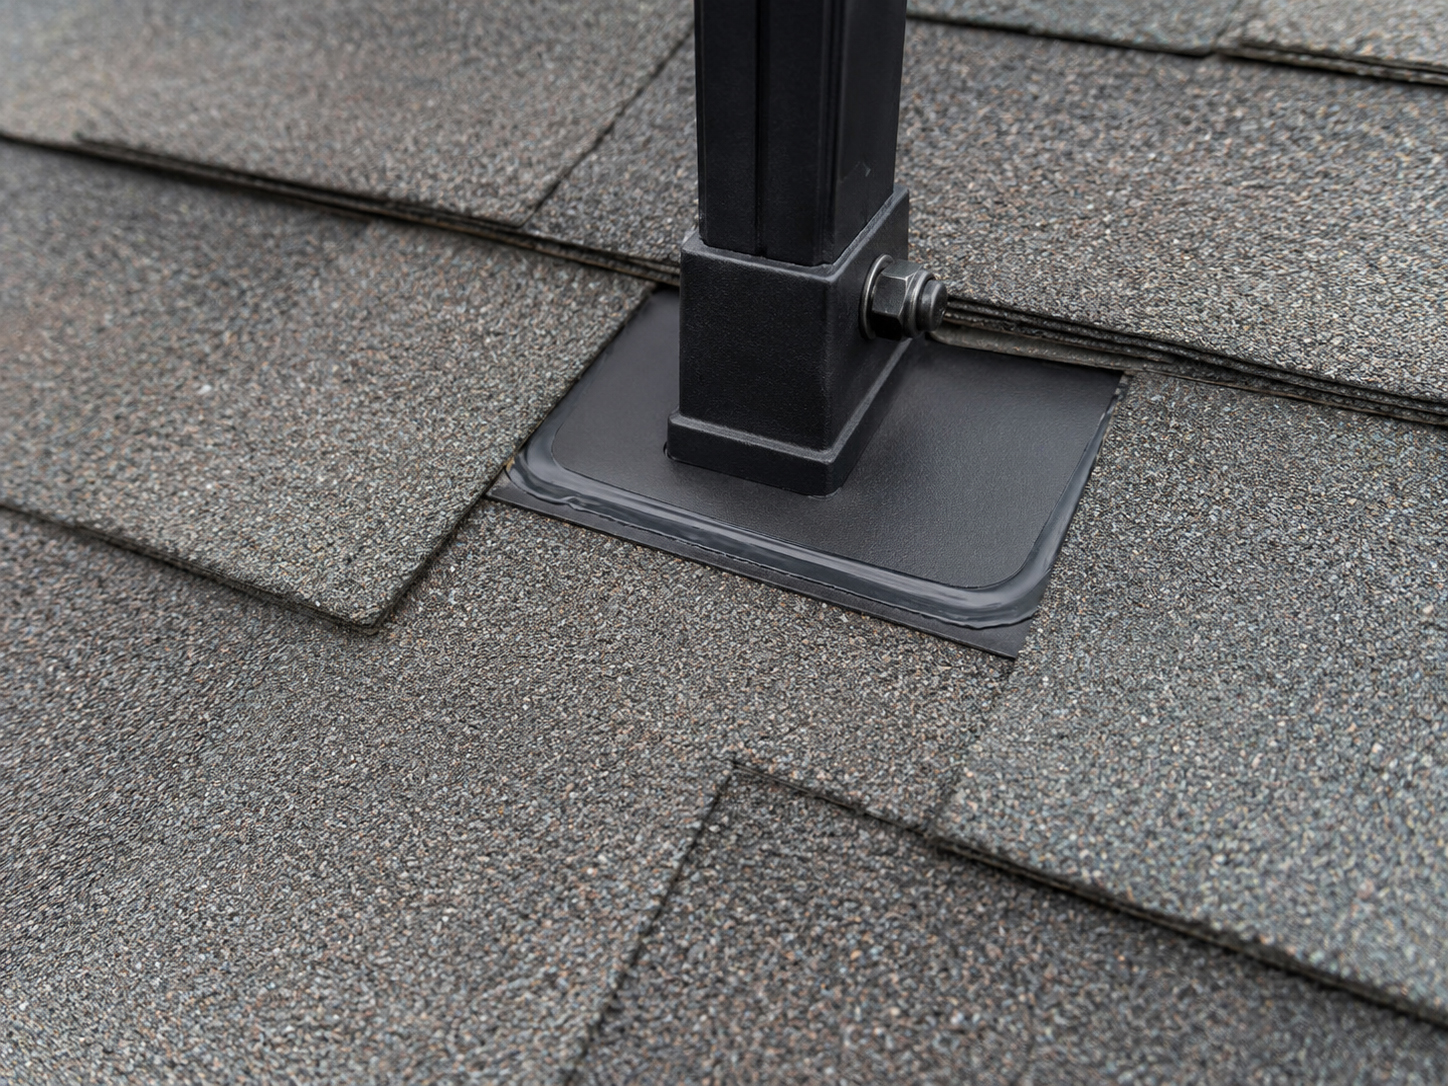
Roof-type leak prevention
Different roofs create different leak-prevention questions.
The waterproofing conversation changes with the roof material.
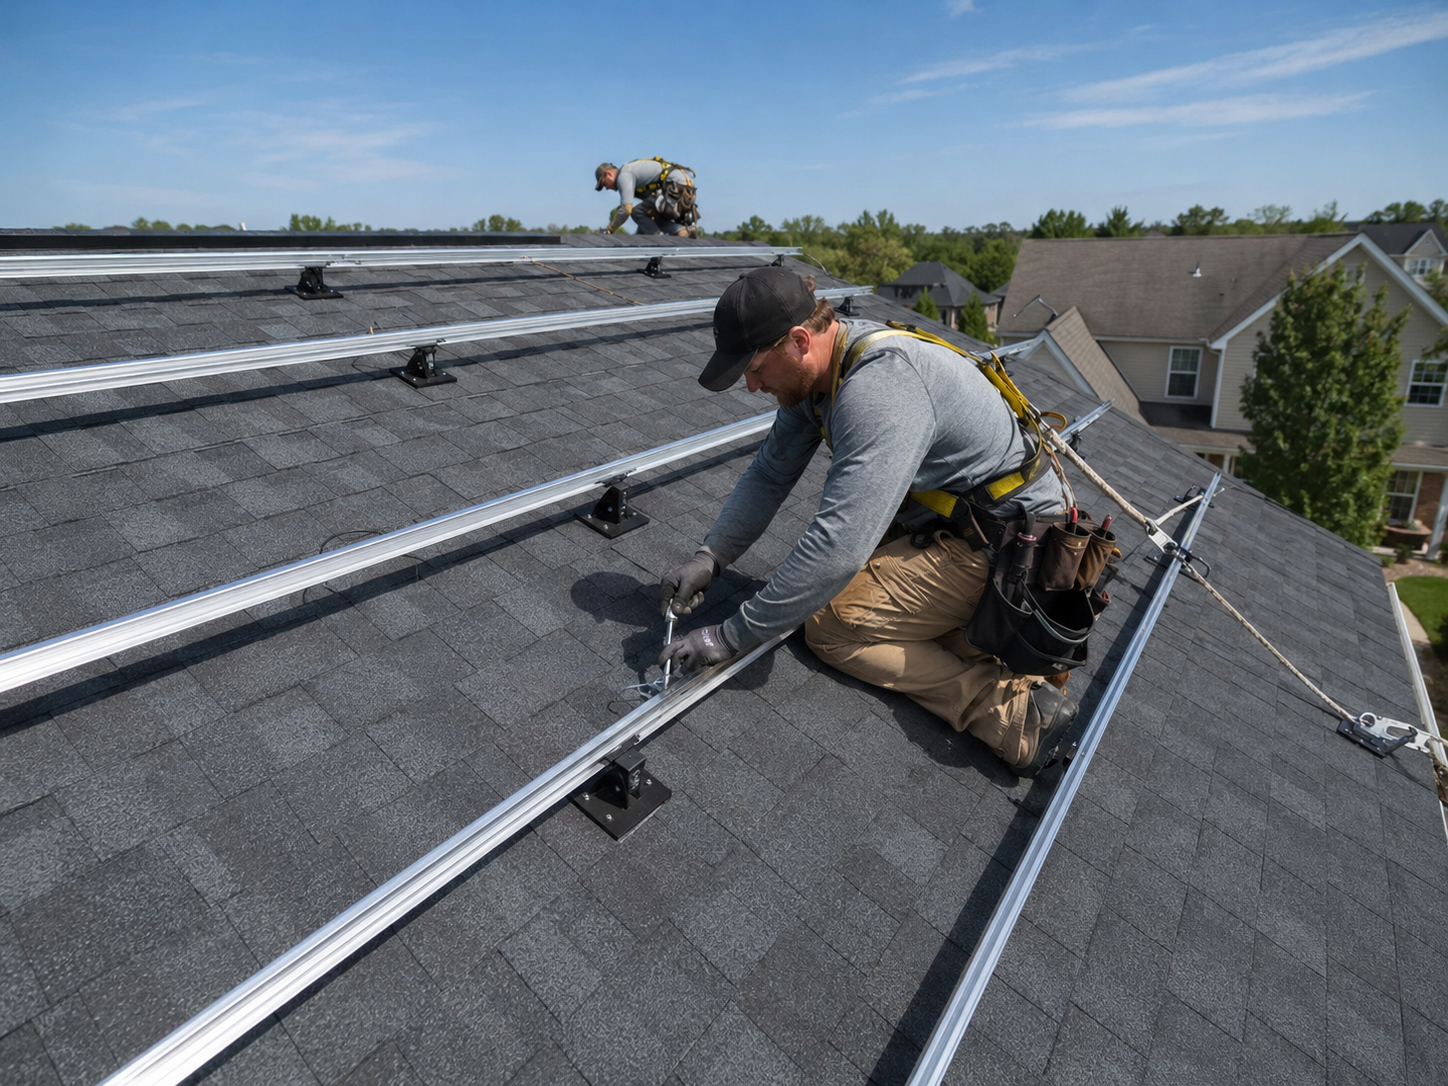
Composition Shingle
Flashing must work with shingle overlap, rafter attachment, and roof condition.

Tile Roofs
Tile roof leak prevention begins with underlayment, access, tile condition, and serviceability.
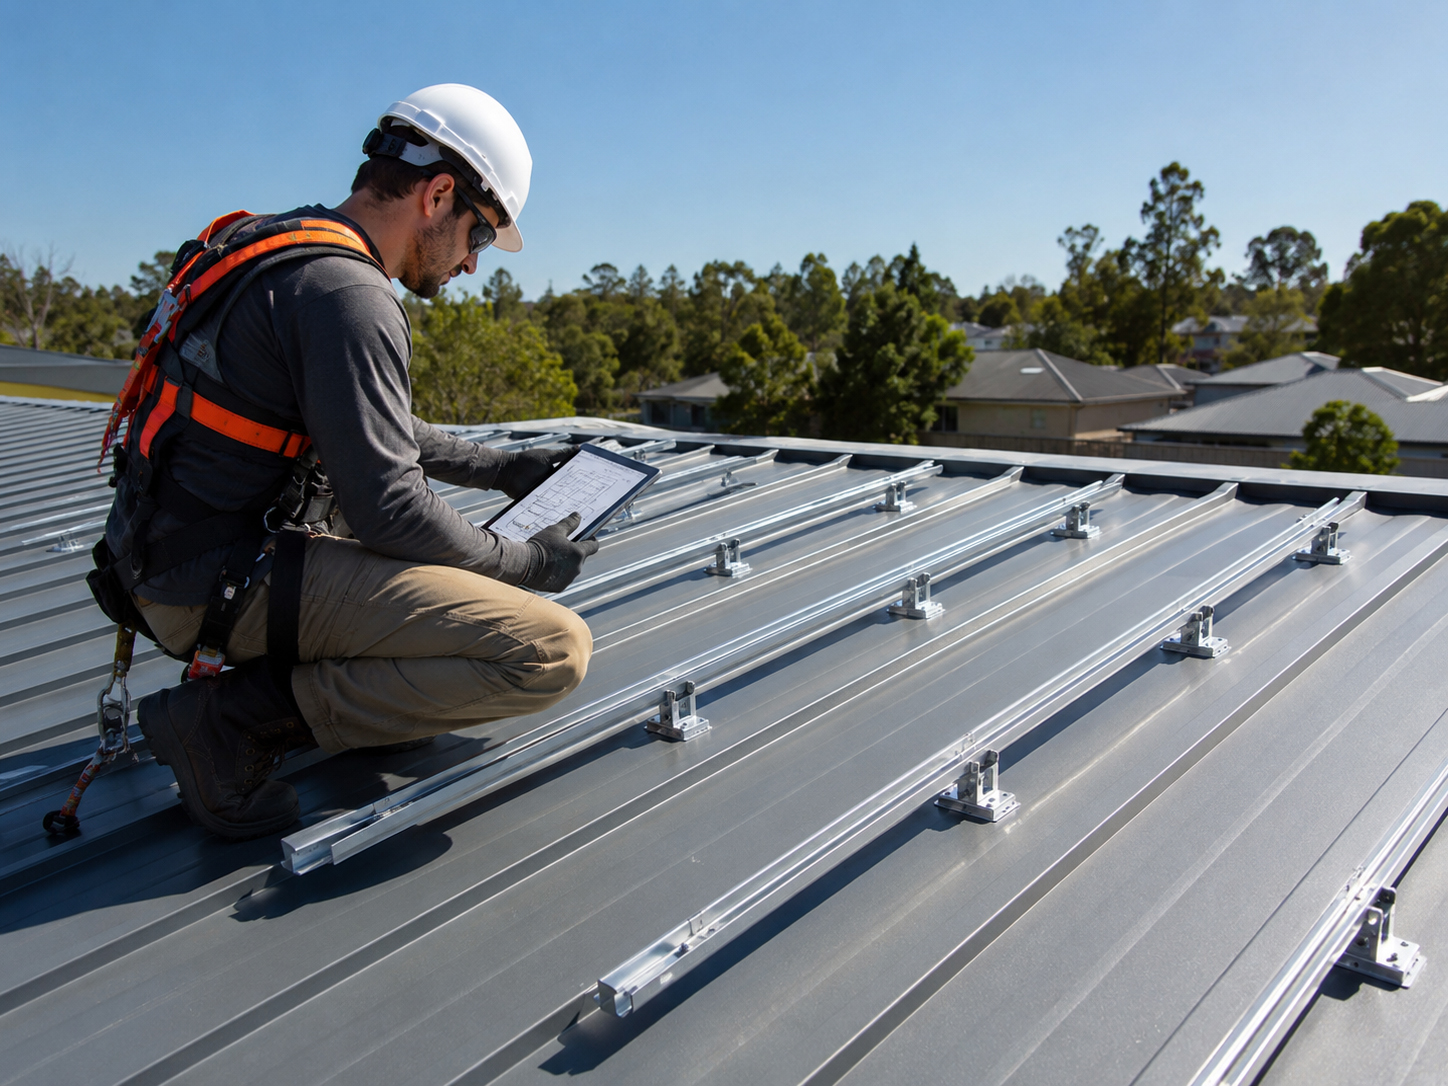
Metal Roofs
Review seams, fasteners, penetrations, coatings, clamps, and manufacturer guidance.
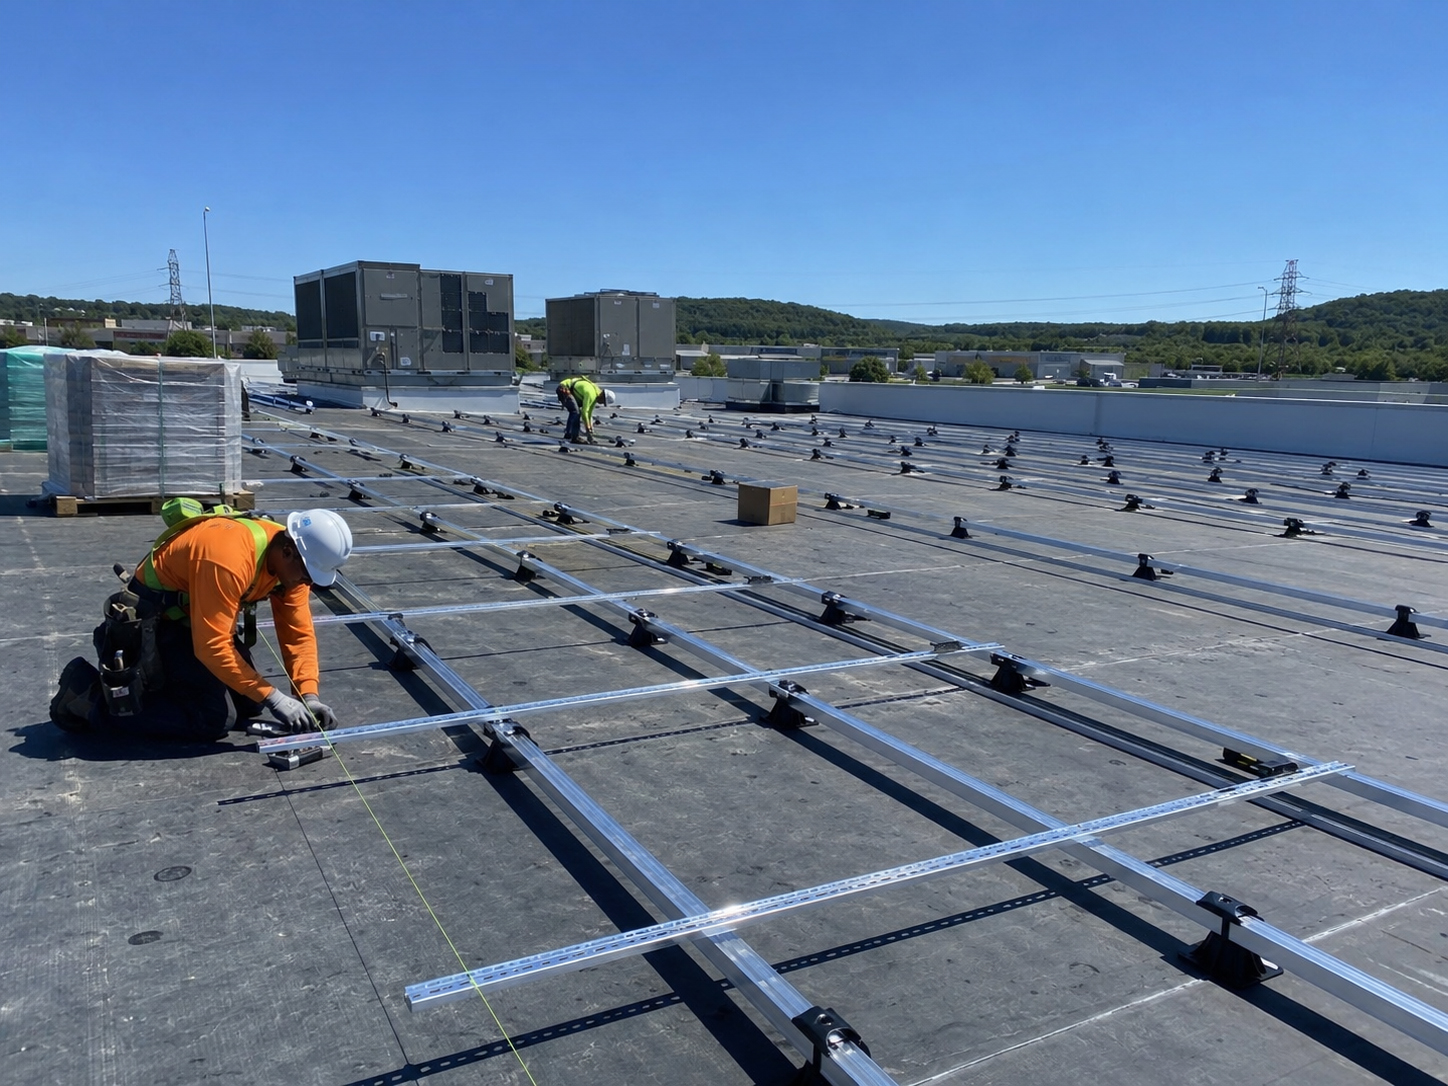
Flat Roofs
Protect membranes, drainage, contact points, walk paths, and roof service access.
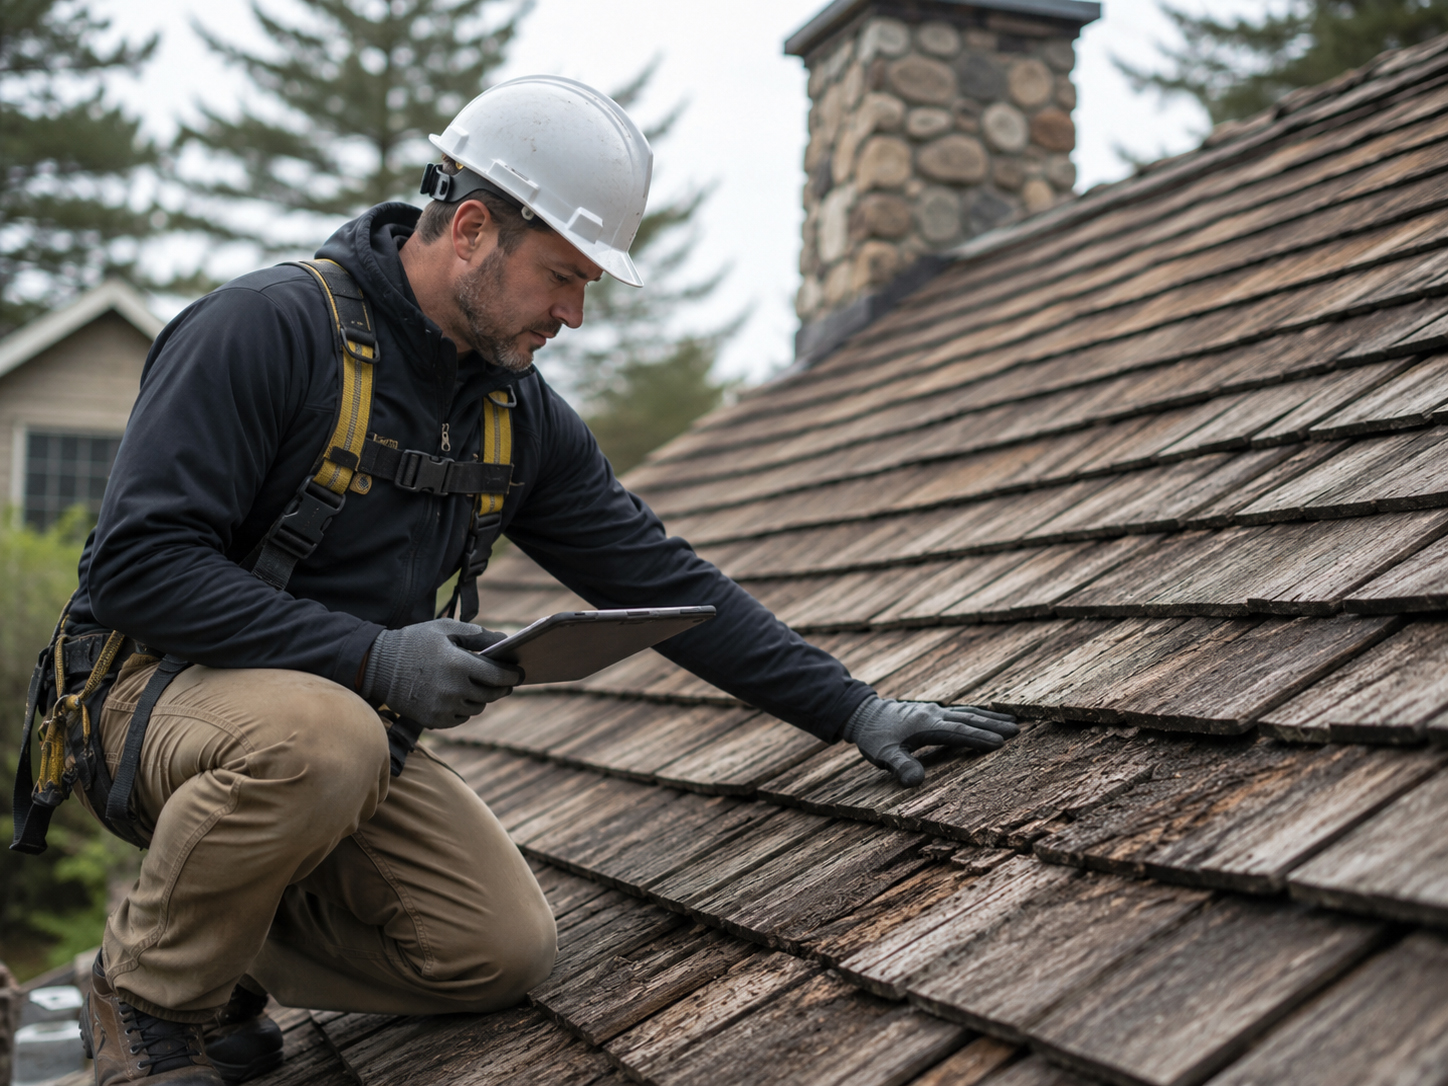
Wood Shake
Older or fragile roofs may need reroofing review before solar should proceed.

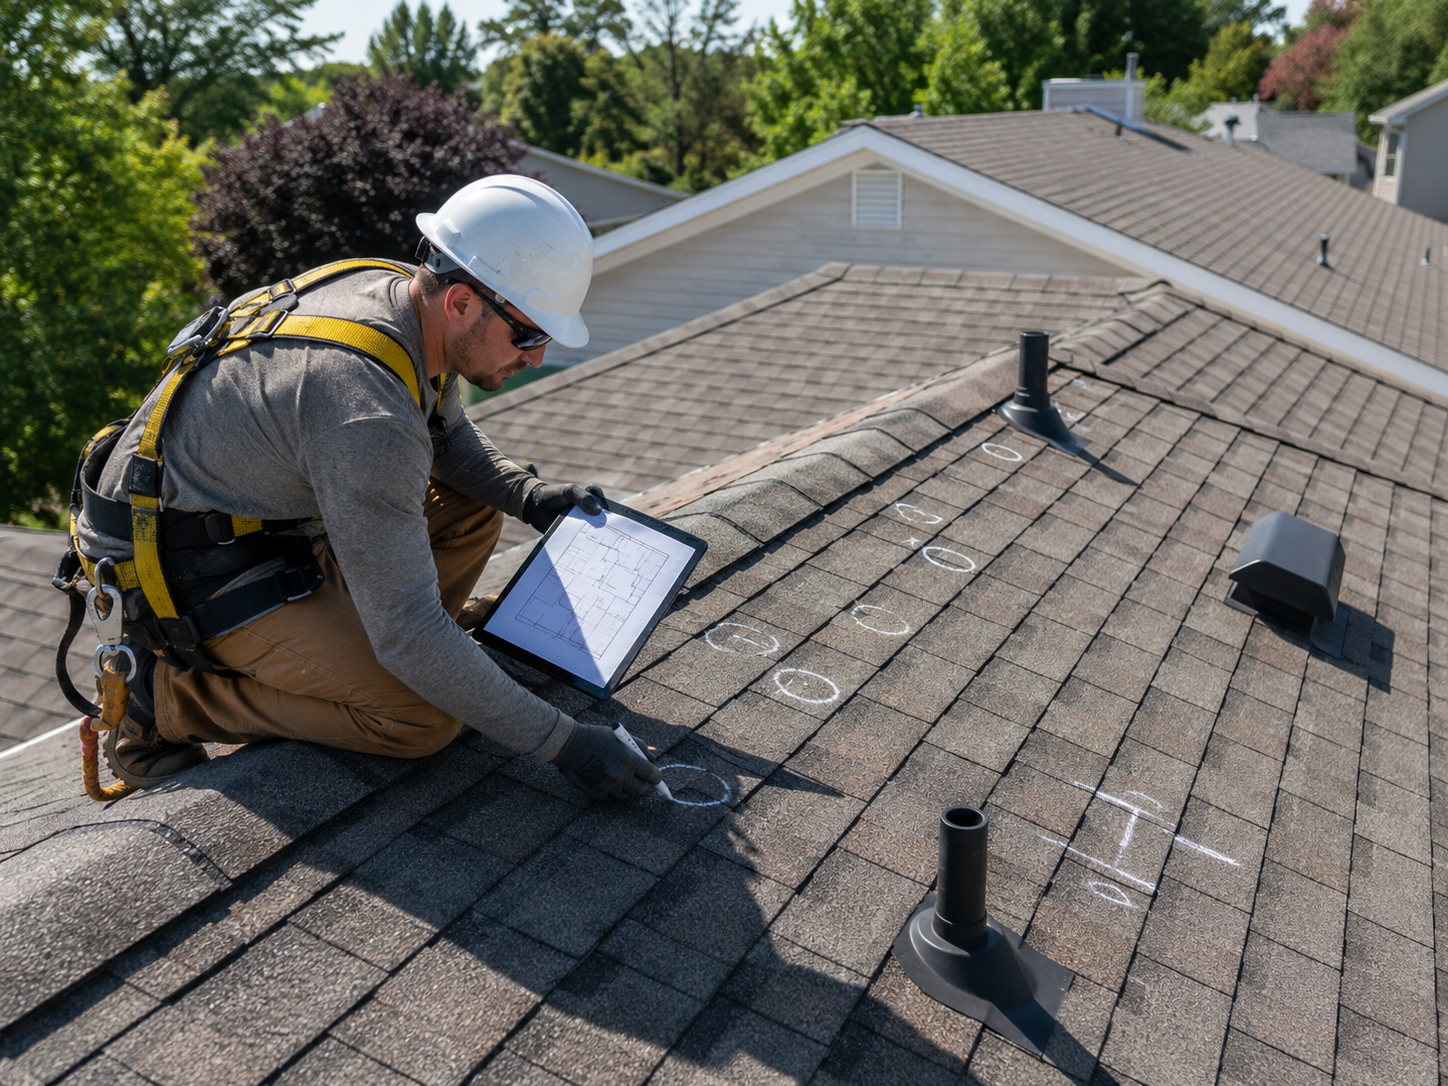
Unique Roofs
Valleys, dormers, skylights, mixed materials, and odd geometry need extra review.
Penetration planning
Every penetration should have a reason and a protection plan.
A roof opening is not automatically a leak. A careless roof opening is the problem.
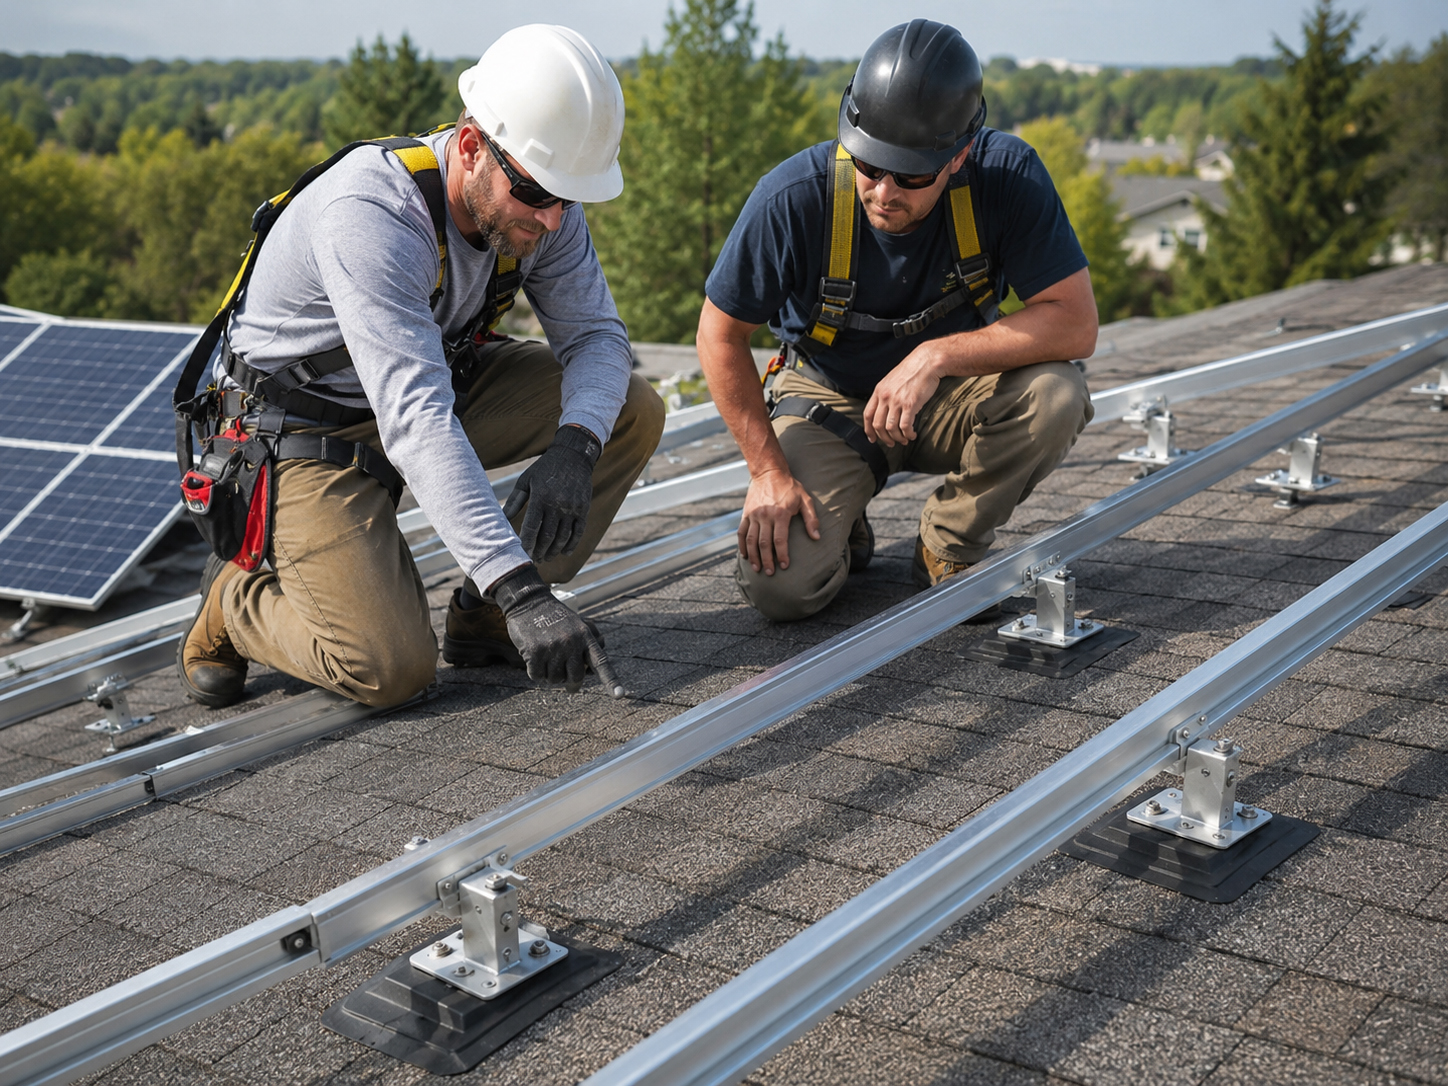
The mounting location should make sense for the structure below and the water path above. The detail should include the approved hardware, flashing, sealant, inspection timing, and documentation before the array hides the work.
Good field question: “Can we explain why this penetration goes here and how it is protected before the panels cover it?”
Roofer and solar contractor
Leak prevention improves when roofers and solar contractors cooperate.
The roofer understands the water path. The solar contractor understands the array.
Good coordination can identify roof age, warranty issues, underlayment concerns, existing leaks, fragile materials, flashing requirements, service paths, and documentation needs before the solar installation begins.
Plain-language summary: leak prevention is easier when the trades talk before installation, not after the homeowner sees a stain.
Homeowner questions
What should homeowners ask to prevent roof leaks?
The best questions are simple, specific, and asked before installation.
Before signing or installation
- How old is my roof?
- Has the roof condition been reviewed?
- Should a roofer inspect before solar?
- Where will roof penetrations be made?
- How will those penetrations be flashed and sealed?
- What happens if the roof needs repair later?
Before panels cover the work
- Can I see or photograph the flashing details?
- Did the mounting feet land where intended?
- Was sealant used as part of the approved detail?
- Are any roof materials cracked, loose, or damaged?
- What does the inspector need to see?
- What documentation will be kept for future service?
Good homeowner question: “Can you show me how the roof is protected before the solar panels cover the mounting details?”

Inspection readiness
Leak prevention should be visible and explainable.
The best roof protection details are not mysterious.
The plan set, field layout, mounting feet, flashing, sealant, attachment points, conduit penetrations, and inspection sequence should match. Photos and documentation can help future service teams understand what was done before the array covered the roof.
Plain-language summary: good roof leak prevention is visible before it is hidden, and understandable after it is covered.
Related field guide pages
Continue the roof leak prevention review.

Roof leak prevention conclusion
Prevent the leak before the array hides the roof.
Review the roof. Plan the penetration. Flash the mount. Use sealant with discipline. Inspect before concealment. Document the work for future service.