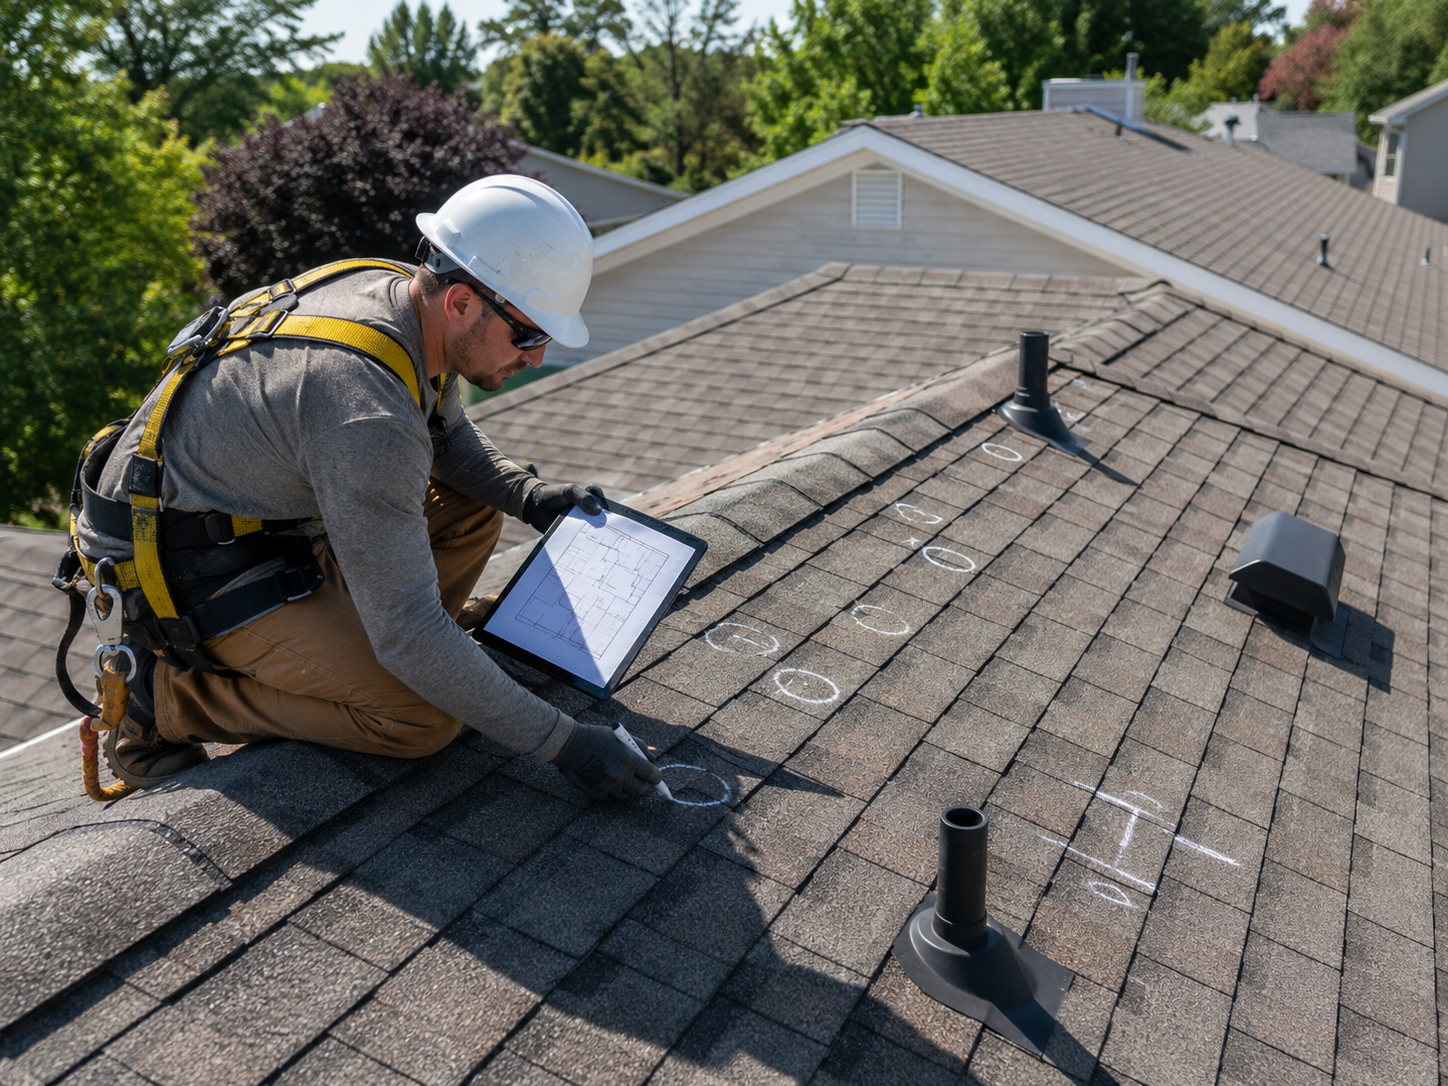
Mark before drilling
Roof penetration locations must be planned, not guessed.
Every solar roof penetration deserves a reason, a location, a structural target, a flashing plan, a sealant plan, and an inspection moment before panels cover the work.
The penetration rule
Do not drill first and explain later.
Solar mounting penetrations are manageable when the project team knows exactly where they belong.
Roof penetration locations connect the entire installation: the array layout, the rafter layout, the mounting-foot pattern, the flashing method, the conduit route, the waterproofing sequence, and the inspection plan. When these locations are guessed or rushed, the roof takes the risk.
SolarMount.com rule: a roof penetration should be visible in the plan, located in the field, attached to structure, integrated into waterproofing, and inspected before concealment.
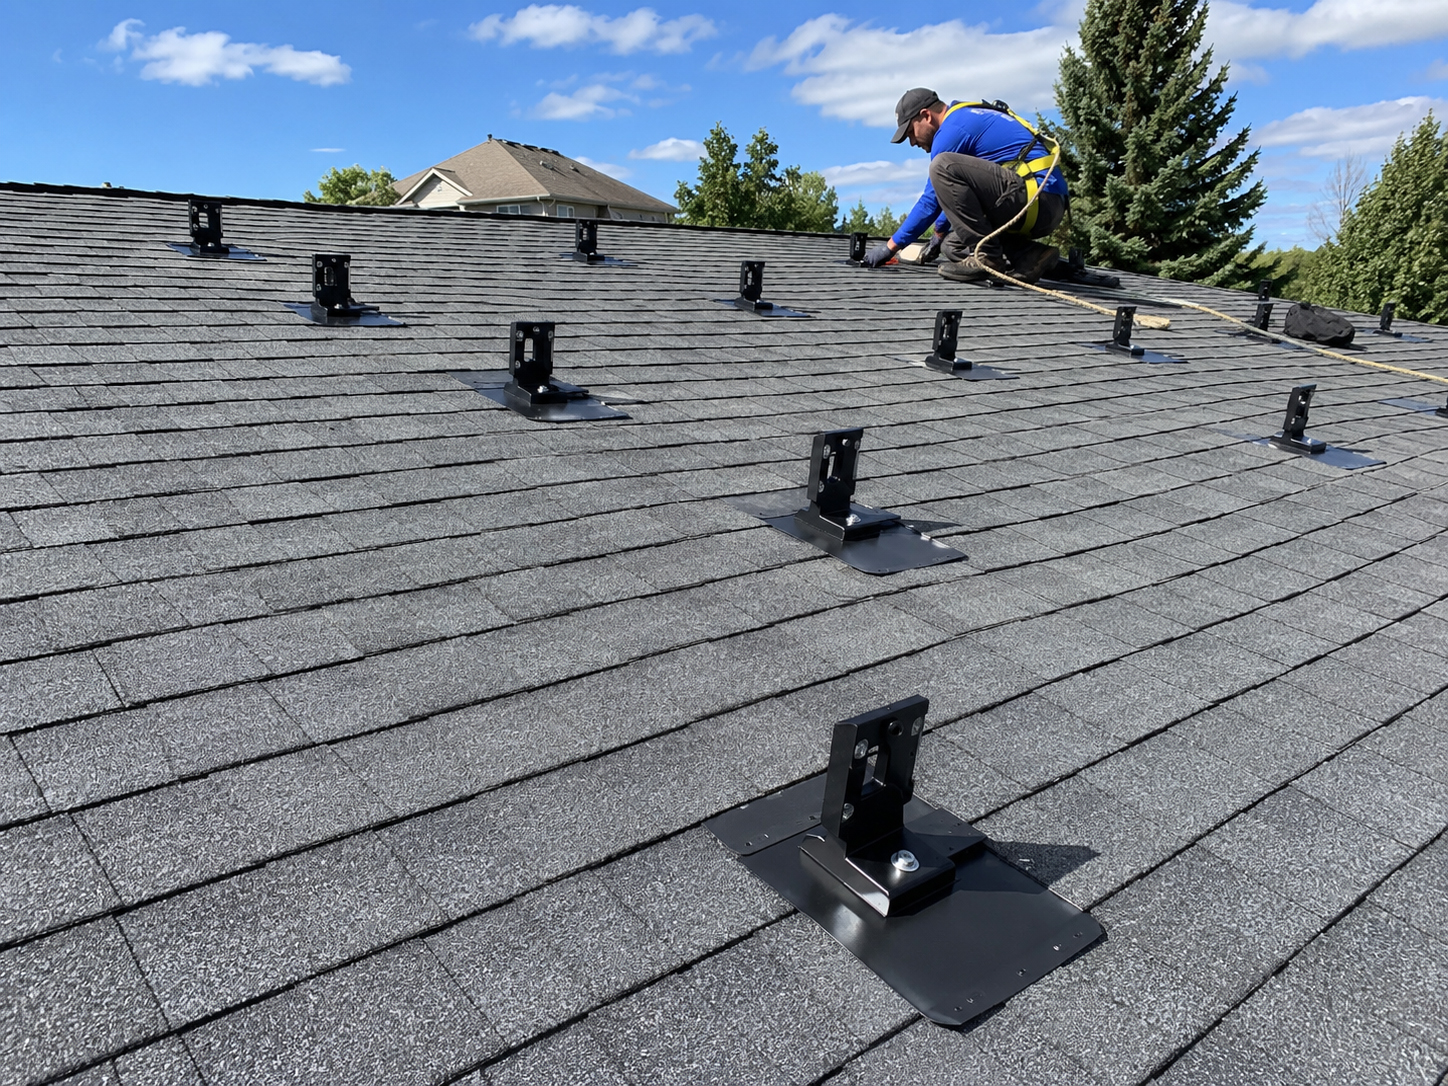
Location checklist
What must be known before a roof penetration is made?
The point is not to avoid all penetrations. The point is to make each one intentional, waterproofed, structurally meaningful, and inspectable.
Structural target
The penetration and attachment must align with the rafter, truss, blocking, or other approved structural member required by the plan.
Roof surface
The roof material determines the flashing, sealant, attachment sequence, and how water moves around the mount.
Water path
The mount should not interrupt drainage, collect debris, sit in a vulnerable valley, or create a water trap.
Array layout
Attachment locations must work with panel layout, rail spans, setbacks, fire pathways, and service access.
Conduit route
Wire paths, junction boxes, attic transitions, and exterior conduit should be considered before penetrations are finalized.
Inspection visibility
Important attachment and waterproofing details should be inspectable before rails, modules, or trim make them harder to verify.
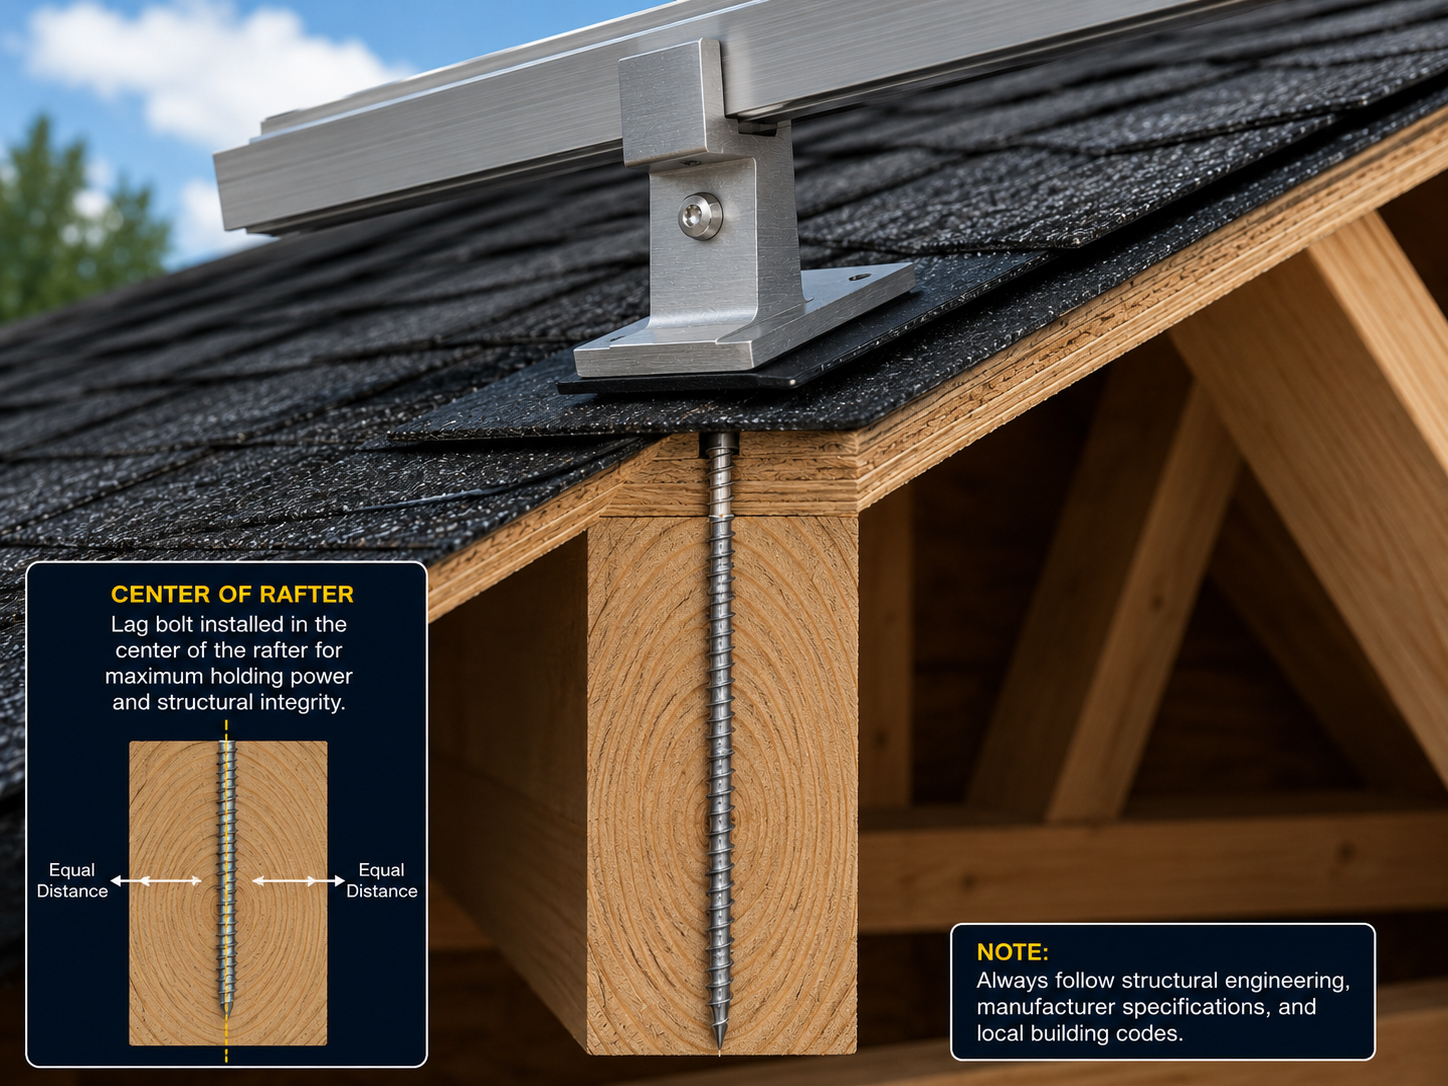
Structure alignment
The roof mark must correspond to the framing below.
A clean mark on the roof surface is only useful if it points to the right structural location.
For many sloped-roof systems, mounting requires fastening into rafters or other approved framing. That means the penetration location is also an attachment-location decision. The field mark should correspond to the rafter layout, approved spacing, approved hardware, and the required waterproofing detail.
Important: this page explains concepts only. Actual penetration locations, attachment spacing, hardware, flashing, sealant, and inspection requirements must follow the approved permit set, manufacturer instructions, engineering requirements, and local code.
Waterproofing sequence
The penetration is only part of the waterproofing story.
The roof is a water-management system. The mount must become part of that system.
Before drilling
- Confirm the roof type and condition.
- Confirm rafter or approved framing location.
- Check for nearby valleys, vents, skylights, roof edges, and obstructions.
- Confirm the planned array layout and rail direction.
- Confirm the flashing method and sealant sequence.
- Confirm whether the detail must be visible for inspection.
After drilling
- Verify the attachment landed as intended.
- Confirm the mount is properly seated.
- Integrate flashing into the roof water path.
- Apply sealant according to approved detail and manufacturer requirements.
- Photograph or document the condition before concealment.
- Prepare for inspection where required.
Practical rule: if the waterproofing detail cannot be explained clearly, slow down before panels cover the work.
Flashing discipline
Flashing is not cosmetic. It is roof protection.
The flashing detail determines whether the roof continues to shed water correctly around the mount.
Good flashing work respects gravity, water flow, roof layers, shingle overlap, underlayment conditions, and the mounting hardware. Sealant can be part of the system, but sealant alone should not be treated as a substitute for a correct waterproofing strategy.
Confirm the mount location makes sense for structure and roof-water movement.
The flashing should work with the roof material, not fight it.
Check the work before rails and panels make the detail difficult to view.

Penetration types
Not every roof opening has the same purpose.
A mounting-foot penetration, conduit penetration, junction-box location, and attic transition each need their own review.
Mounting-foot penetrations
These are structural and waterproofing decisions. They must work with rafters, rails, flashing, and array layout.
Conduit penetrations
Conduit transitions should be planned with water management, attic access, wire routing, equipment placement, and service access in mind.
Junction-box locations
Boxes and transitions must be accessible, code-aware, weather-aware, and coordinated with the array and roof layout.
Attic transitions
Interior routing may be cleaner, but attic access, heat, clearances, fire blocking, and code requirements must be reviewed.
Equipment paths
Inverters, disconnects, service panels, and wire routes affect where roof transitions should occur.
Inspection points
If an inspector needs to see an attachment or waterproofing detail, the work should be staged accordingly.

Leak prevention
Most leak prevention happens before the roof is covered.
The inspection moment matters because solar panels can conceal the very details that protect the roof.
A careful crew should be able to verify the penetration, attachment, flashing, sealant, and surrounding roof surface before the work is hidden by rails and modules. Documentation, photos, and a clear inspection sequence help prevent confusion later.
Plain-language summary: mark it, drill it correctly, flash it correctly, seal it correctly, photograph it, inspect it, then cover it.
Roof-specific review
Penetration planning changes by roof type.
The right question is not just “where does the mount go?” It is “how does this roof type manage water?”
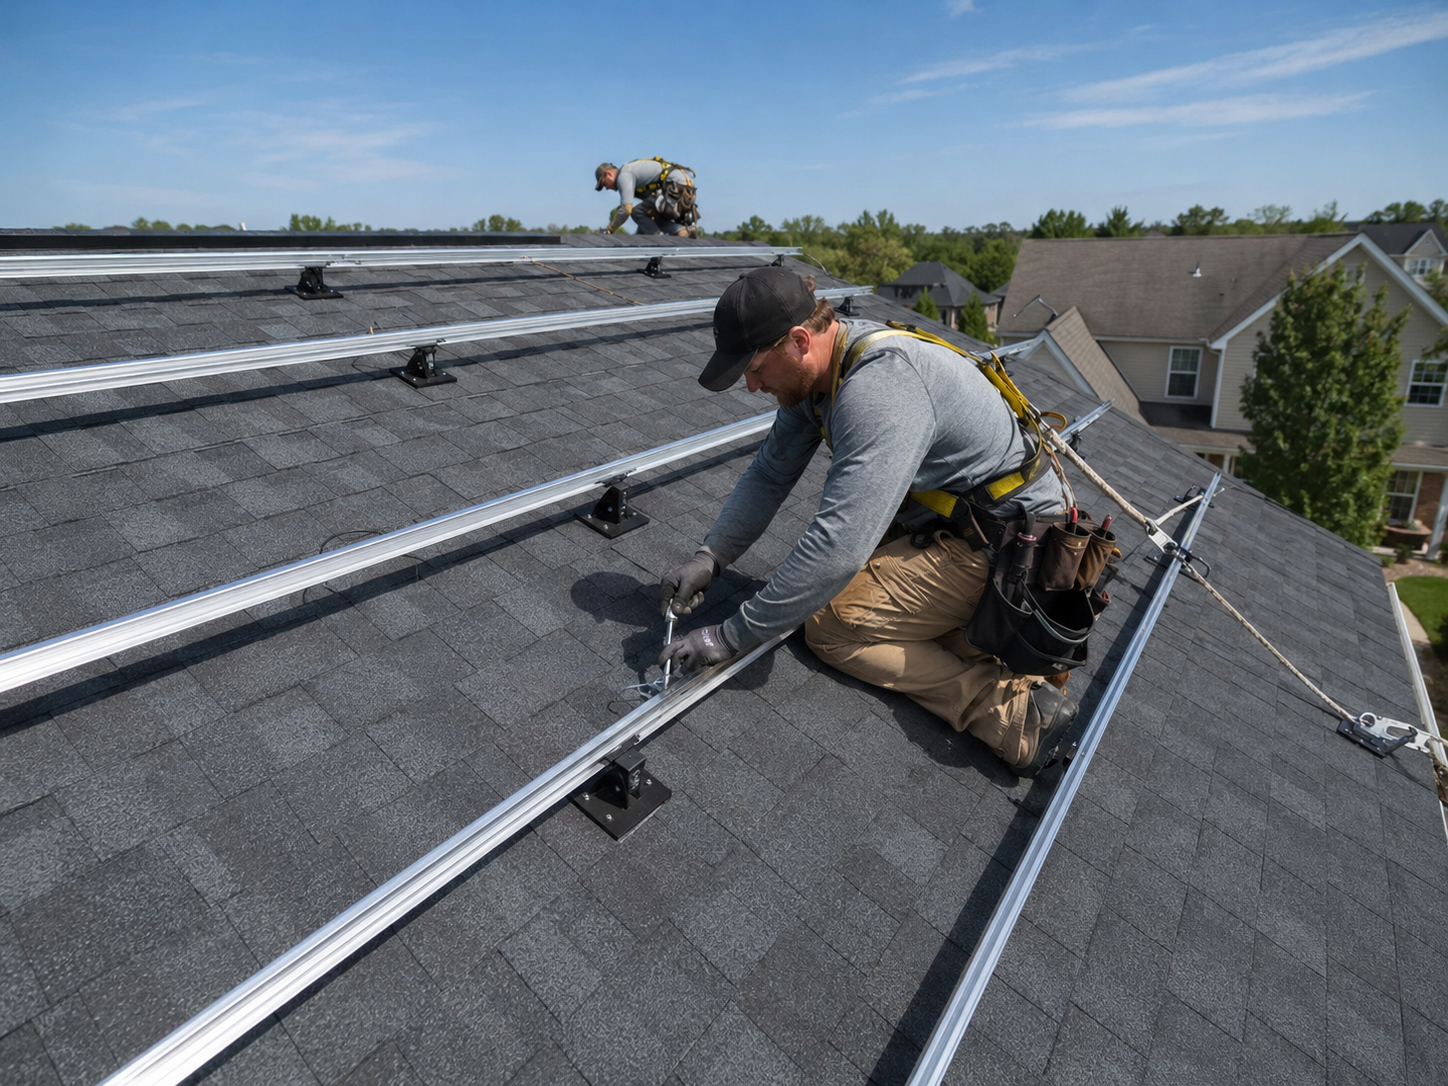
Composition Shingle
Flashing must work with shingle layers, rafter attachment, and water-shedding direction.

Tile Roof Review
Tile roofs need project-specific review of underlayment, access, tile condition, and serviceability.
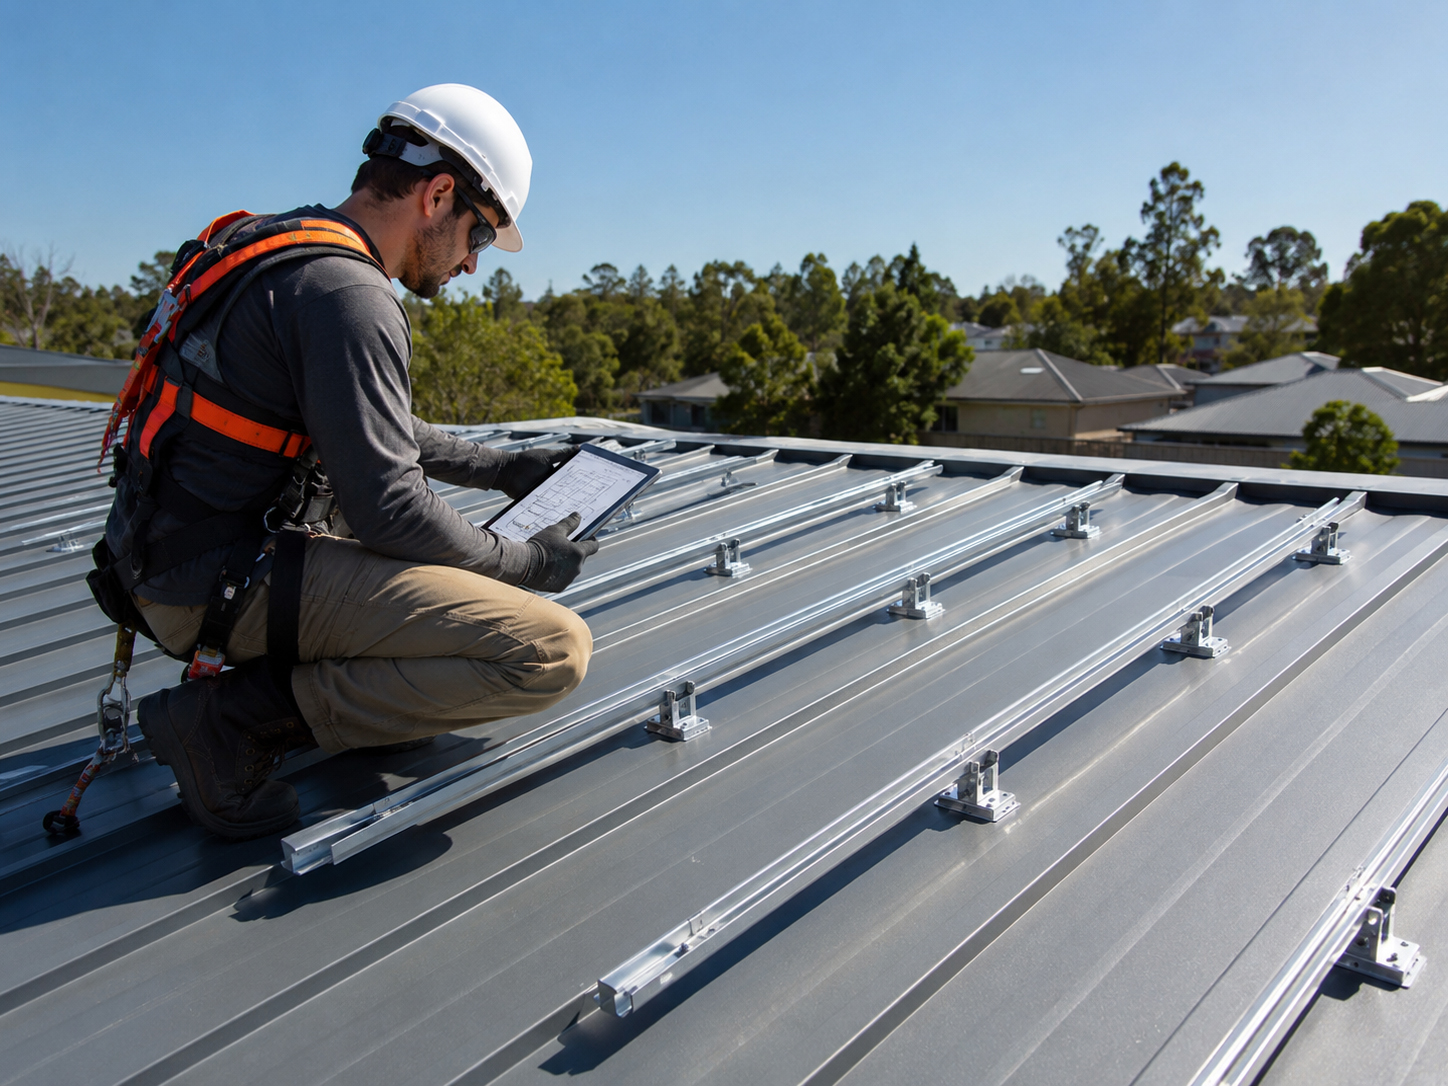
Metal Roofs
Metal roof penetration decisions depend on profile, seams, fasteners, coatings, and roof manufacturer requirements.
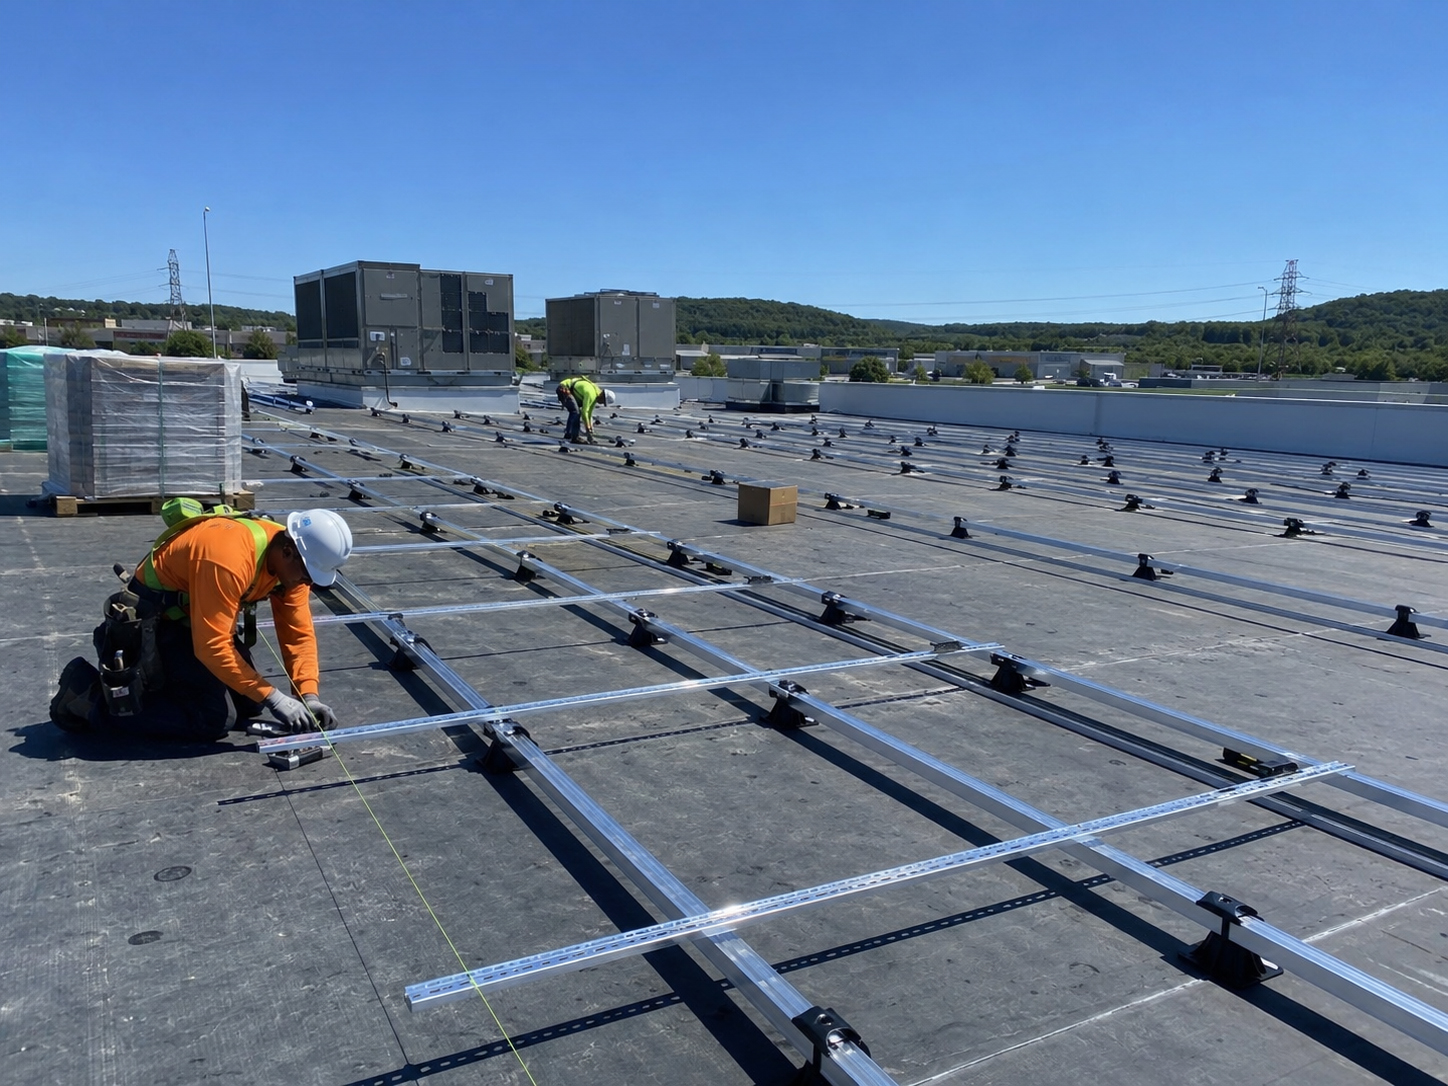
Flat Roofs
Flat-roof penetrations must be coordinated with membrane condition, drainage, ballast, and access paths.

Standing Seam
Some standing seam systems may reduce penetrations, but the roof profile and clamp requirements must be verified.

Unique Roofs
Hips, valleys, dormers, skylights, and mixed materials change penetration planning.
Homeowner transparency
The homeowner should know where the roof is being opened.
Clear communication prevents surprises and builds trust.
A homeowner does not need to become a solar installer, but they should understand the basics: why roof penetrations are needed, where they generally occur, how they are flashed, what gets inspected, and what documentation should exist if future roof service is needed.
Good question: “Before panels cover the roof, can you show me how the mounting locations are being flashed and waterproofed?”

Related field guide pages
Continue the mounting detail review.


Penetration conclusion
Every roof penetration needs a plan.
Locate the structure. Respect the roof. Flash the mount. Seal the detail. Inspect before concealment. That is the SolarMount.com approach.